
Introduction
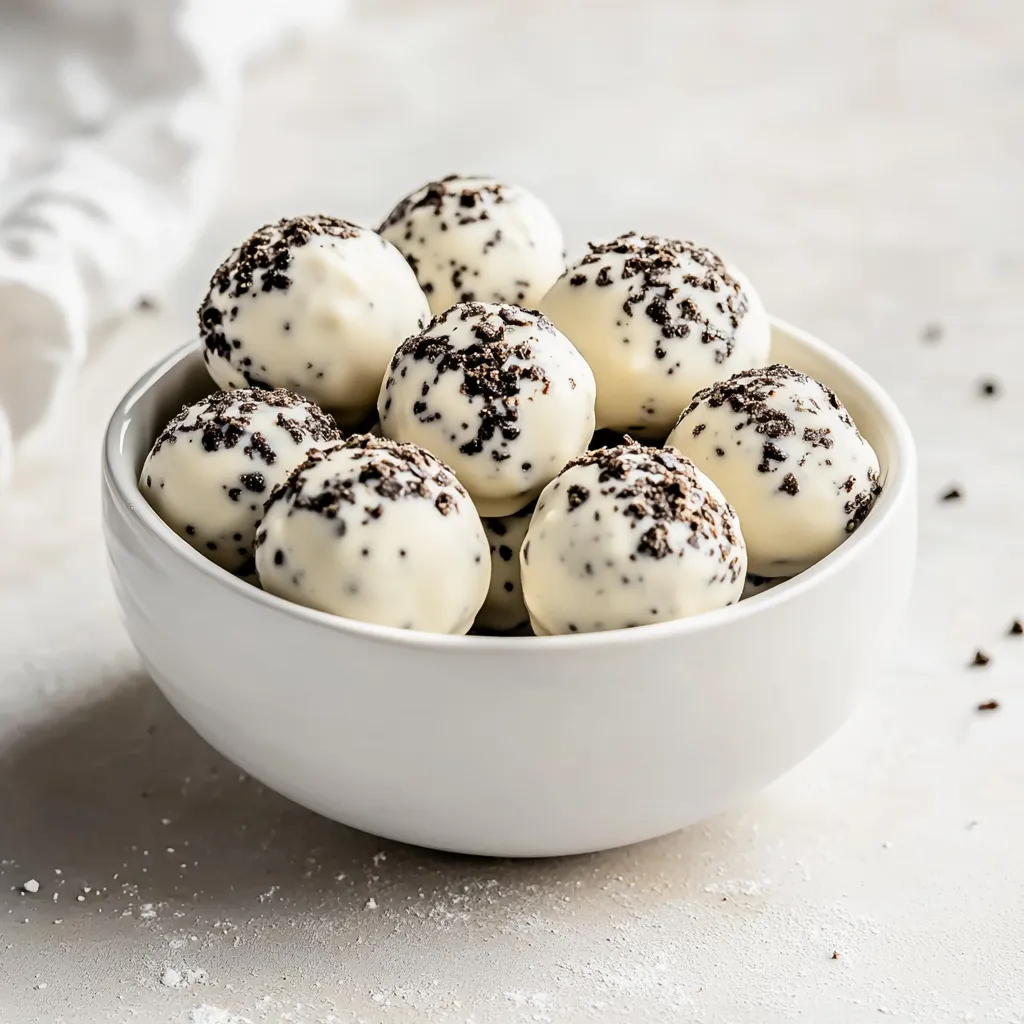
The allure of Oreo Cookie Bliss Balls is irresistible for anyone with a sweet tooth. These delightful bites combine the rich flavor of Oreo cookies with creamy cream cheese and decadent chocolate, creating a dessert that is both simple and satisfying. With their luscious texture and fantastic taste, these bliss balls are perfect for parties, celebrations, or even as a special treat at home. Whether served at a family gathering or enjoyed casually on a weekend, these treats are sure to please both children and adults alike.
The magic of Oreo Cookie Bliss Balls lies in their simplicity and quick preparation. You can whip them up in just over an hour, making them an excellent choice for a last-minute dessert option that promises maximum deliciousness with minimal effort. As each bite bursts with the iconic chocolatey flavor of Oreos complemented by creamy richness, there’s no doubt they will be a hit wherever they are served.
Recipe Overview
Oreo Cookie Bliss Balls are easy to make, requiring minimal ingredients and equipment. Here’s a quick look at what you need to know:
– Total Time: 1 hour and 15 minutes
– Prep Time: 20 minutes
– Yield: About 24 bliss balls
– Difficulty: Not specified in the recipe
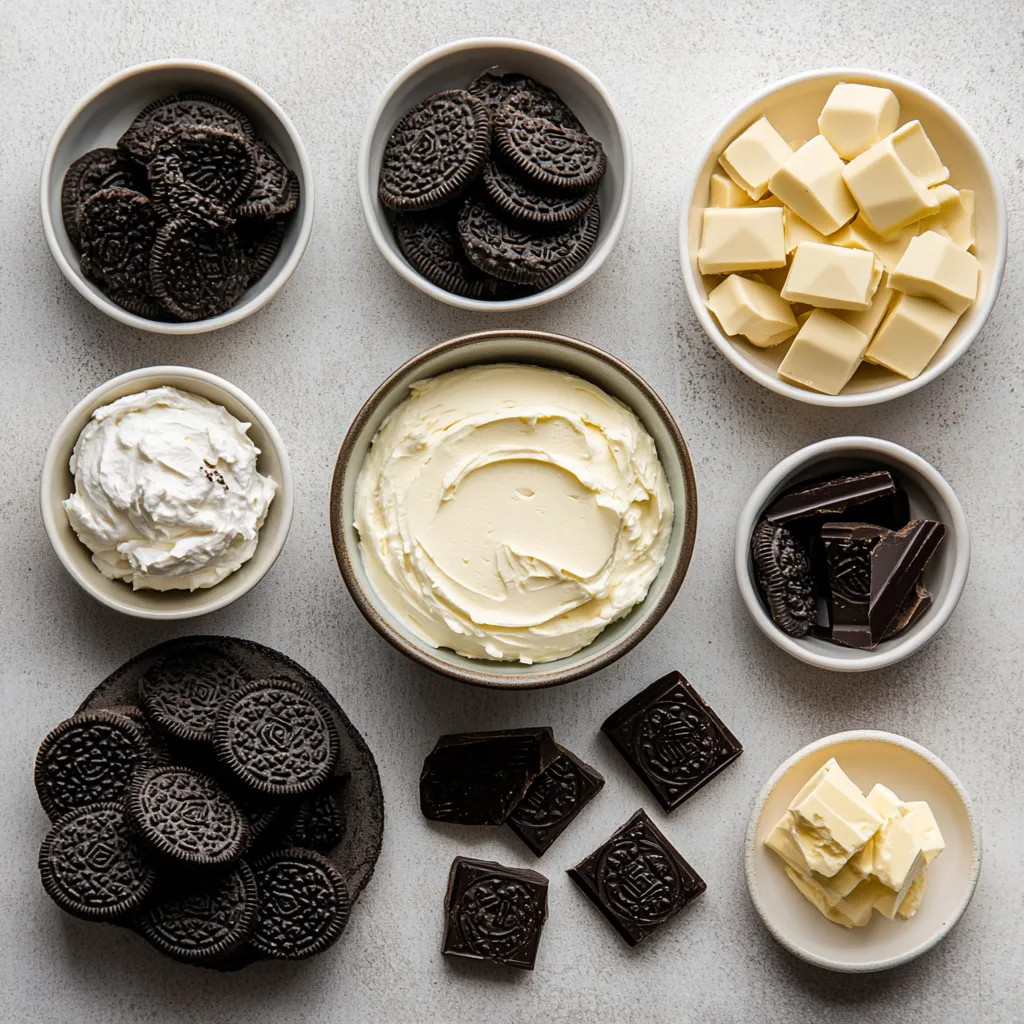
Ingredients
– 1 package (15.35 oz) Oreo cookies
– 8 oz cream cheese, softened to room temperature
– 12 oz white chocolate or chocolate melting wafers
Instructions
1. Start by placing the Oreo cookies into a food processor. Pulse them until they are finely crushed into a powdery texture, ensuring there are no large chunks remaining.
2. In a large mixing bowl, combine the finely crushed Oreos with the softened cream cheese. Use a spatula or spoon to mix them together until the mixture is well-blended and resembles a dough-like consistency.
3. With clean hands, take small portions of the mixture and roll them into balls that are approximately 1 inch in diameter. Arrange these balls on a baking sheet that has been lined with parchment paper for easy removal.
4. After forming all the balls, transfer the baking sheet to the freezer. Allow them to chill for about 30 minutes, which will help them firm up nicely.
5. While the Oreo balls are chilling, prepare to melt the white chocolate or chocolate melting wafers. Place them in a microwave-safe bowl and heat in 30-second intervals, stirring thoroughly between each interval, until the chocolate is completely melted and smooth.
6. Once the Oreo balls are firm, take them out of the freezer. Using a fork, dip each ball into the melted chocolate, ensuring they are completely coated. Gently tap the fork against the bowl to remove any excess chocolate, then place the coated balls back onto the parchment-lined baking sheet.
7. Optional: For an extra touch, drizzle additional melted chocolate over the tops of the coated balls for decoration, and sprinkle with crushed Oreo crumbs for added texture and visual appeal, if desired.
8. Allow the chocolate coating to set at room temperature, or place the baking sheet in the refrigerator for about 15 minutes until the chocolate is fully hardened.
Equipment Needed
Food Processor
A food processor is essential for achieving finely crushed Oreo cookies. Make sure to pulse them thoroughly to avoid any large chunks that will disrupt the texture of the bliss balls. A finely crushed consistency is crucial for a smooth blend with cream cheese.
Mixing Bowl
You will need a large mixing bowl to combine the crushed Oreos and softened cream cheese. Using a bowl with enough space will help you mix the ingredients more effectively, avoiding mess and allowing for a uniform distribution of flavors.
Baking Sheet
A baking sheet is necessary for placing the rolled bliss balls during the chilling process. Using a baking sheet allows for easy transfer of the finished treats and helps maintain their shape while they firm up.
Parchment Paper
Lining the baking sheet with parchment paper aids in easy cleanup and prevents the bliss balls from sticking to the sheet. This ensures your treats maintain their spherical shape when you’re ready to coat them.
Microwave-Safe Bowl
A microwave-safe bowl is needed for melting the chocolate. Opting for a bowl that is both heat-resistant and spacious will help in making the melting process easier and more efficient.
Preparation Steps
Crushing the Oreo Cookies
Crushing the Oreo cookies is the first step to creating Oreo Cookie Bliss Balls. This process involves using a food processor to pulverize the cookies into fine crumbs. The importance of achieving the right consistency cannot be overstated; fine crumbs ensure that the mixture binds well with cream cheese, resulting in a uniform texture. For best results, pulse the cookies in batches if your food processor is small. This will allow you to avoid the frustration of larger chunks that can interfere with the creamy mixture.
Mixing with Cream Cheese
After crushing the cookies, the next step is to combine them with softened cream cheese. This mixture needs to achieve a perfect dough-like consistency. Mixing the two ingredients thoroughly is vital, as it allows for the rich flavors of the Oreos to blend harmoniously with the cream cheese. Using a spatula or spoon, ensure there are no dry patches of dough, which could lead to an uneven texture in the final product.
Forming the Bliss Balls
Once the dough is well mixed, it’s time to shape it into bliss balls. Using clean hands, roll small portions of the mixture into uniform balls, approximately 1 inch in diameter. Ensuring consistency in size is crucial for even coating later on. Place these formed balls on the prepared baking sheet lined with parchment paper to prevent sticking and facilitate easy removal later.
Chilling the Bliss Balls
Why Chilling is Essential
Chilling the bliss balls is an essential step that allows the balls to firm up, making them easier to handle when coating in chocolate. The chilling process enhances the overall texture of the bliss balls, ensuring they maintain their shape after being dipped. A well-chilled bliss ball will yield a pleasing bite that isn’t too soft or difficult to manage.
Timing for Freezing
The optimal chilling duration for Oreo Cookie Bliss Balls is about 30 minutes. If you leave them in the freezer too long, they might become too hard, making the coating process more challenging. However, if they are not chilled long enough, they may lose shape during the dipping phase. To know when they are ready, the bliss balls should feel firm to the touch but still retain some softness inside.
Melting the Chocolate
Choosing the Right Chocolate
When melting chocolate for coating your Oreo Cookie Bliss Balls, you have the option between white chocolate and chocolate melting wafers. Each choice has its unique properties—white chocolate tends to be creamier and sweeter, while chocolate melting wafers offer a more traditional chocolate flavor. Both types will create a beautiful and delicious outer layer, so the choice ultimately depends on your personal preference for flavor and presentation.
Tips for ensuring smooth melting
Achieving the perfect melted chocolate for coating your Oreo Cookie Bliss Balls is essential for both flavor and presentation. The key is to ensure the chocolate melts evenly, remaining smooth and fully emulsified.
Best Melting Practices
Step-by-step instructions for safe melting in the microwave
1. Start by breaking the chocolate or chocolate wafers into uniform pieces. This ensures even melting.
2. Place the chocolate into a microwave-safe bowl. Choose a bowl that is large enough to allow for easy mixing and stirring.
3. Heat the chocolate in the microwave at 50% power to prevent scorching. This is crucial, as high heat can cause chocolate to burn.
4. Heat in 30-second intervals, checking the chocolate after each interval. Stir well to distribute the heat evenly, which helps to melt any remaining solid pieces.
5. Continue this process until the chocolate is mostly melted but still has a few small lumps. Remove it from the microwave and stir until the residual heat melts the remaining bits.
How to avoid seizing the chocolate
Avoid adding any moisture, as even a drop of water can cause chocolate to seize and become grainy. Ensure your bowl and utensils are completely dry before melting. If you accidentally add liquid or if the chocolate appears too thick, you can try to rescue it by adding a small amount of vegetable oil or shortening. This should restore some fluidity, but it’s best to handle chocolate carefully from the beginning.
Coating the Bliss Balls
Dipping Techniques
Using a fork for easy coating
Utilizing a fork is one of the most effective techniques for coating your bliss balls. It allows for easy lifting and dipping while minimizing the mess. Place the ball onto the fork, submerge it into the melted chocolate, and use the fork tines to move it around gently.
Ensuring complete coverage without excess
After dipping, some chocolate may drip off. To avoid clumping, gently tap the fork against the bowl to shake off the excess chocolate before placing the coated ball back on the parchment-lined sheet.
Tips for Presentation
Optional melted chocolate drizzle
Enhance the visual appeal of your bliss balls by creating a chocolate drizzle. To achieve a decorative drizzle, melt a small amount of chocolate and use a piping bag or a fork to create a zigzag pattern across the tops of each ball. This not only adds flair but also extra chocolatey goodness.
Sprinkling crushed Oreos for added texture
Before the chocolate sets, you may also sprinkle crushed Oreo crumbs on top. This adds texture and reinforces the flavor, creating a beautiful contrast between the dark cookie crumbles and the white chocolate coating.
Setting the Chocolate
Importance of Setting Time
Allowing the chocolate to set properly is crucial for the texture and presentation of your bliss balls. Properly set chocolate not only adds a delightful snap but also ensures the bliss balls are easier to serve without messy coatings.
Methods for Setting
Allowing to set at room temperature vs. refrigerating
You can choose to set your bliss balls at room temperature for a more natural result or refrigerate them for a quicker hardening process. If you opt for the refrigerator, about 15 minutes should be enough for the chocolate to firm up nicely. If left at room temperature, the setting may take longer but will maintain a consistent texture that melts in your mouth when bitten into.
Serving Suggestions
Decorative Presentation
Ideas for serving on a decorative platter
Present your Oreo Cookie Bliss Balls on a decorative platter for an eye-catching display. A tiered cake stand can elevate their presence, especially during gatherings or celebrations. Consider arranging them in patterns or in clusters for added visual appeal.
Using garnishes like whole Oreos and edible glitter
To further beautify your serving, consider garnishing your platter with whole Oreos, edible glitter, or even small sprigs of mint or edible flowers for a pop of color.
Ideal Pairings
Beverages that complement Oreo Cookie Bliss Balls
Pair your bliss balls with beverages that harmonize with their rich flavors. A glass of cold milk, a cup of coffee, or even dessert wines like Moscato are excellent choices that balance the sweetness and add a sophisticated note.
Other desserts that can accompany these treats
For dessert spreads, consider including additional light desserts that contrast the rich oreo balls. Mini fruit tarts or a fresh fruit platter can add a refreshing contrast and create a balanced dessert experience.
Storage and Shelf Life
Best Practices for Storage
To keep your Oreo Cookie Bliss Balls fresh, store them in an airtight container. Layer them carefully with parchment paper to avoid sticking and keep the chocolate coating intact.
Shelf Life Expectations
Under proper storage conditions, bliss balls can last for about a week in the refrigerator. If you intend to keep them longer, consider freezing them. In the freezer, they can be stored for up to two months without sacrificing taste or texture.
Variations on the Recipe
Alternative Coatings
While white chocolate is the primary coating for these bliss balls, consider using dark chocolate or milk chocolate for a different flavor direction. Each type of chocolate contributes its unique richness and sweetness, allowing for customization based on preference.
Mixing in Additional Ingredients
Incorporating flavors like peppermint or almond extract into the Oreo and cream cheese mixture can elevate the taste further. Additionally, consider adding sprinkles or nuts into the roll mixture for a crunchy element and enhanced flavor profile.
Nutritional Information
Basic Nutritional Breakdown
Each bliss ball provides a delightful combination of carbohydrates and fats due to the Oreos and cream cheese, but specific nutritional values were not provided in the recipe. The white chocolate adds additional sugars and fats, making each ball a rich indulgence.
Healthier Alternatives
For those looking to create a lighter version, consider using reduced-fat cream cheese or dark chocolate for the coating, which can offer a different taste experience while cutting down on sugar and calories.
Conclusion
Oreo Cookie Bliss Balls present a delightful mix of textures and flavors, with a creamy center enveloped in a smooth chocolate shell. The recipe is quick, taking just about an hour and a quarter to make, perfect for both casual treats and special occasions. The indulgent fusion of Oreo and cream cheese, wrapped in chocolate, ensures a satisfying experience in each bite.

Oreo Cookie Bliss Balls Recipe
Ingredients
- 1 package Oreo cookies
- 8 oz cream cheese softened
- 12 oz white chocolate or chocolate melting wafers
Instructions
-
Crush Oreo cookies in a food processor until finely powdered.
-
Mix crushed Oreos with softened cream cheese until well-blended.
-
Roll mixture into 1-inch balls and place on a parchment-lined baking sheet.
-
Freeze the balls for about 30 minutes to firm up.
-
Melt white chocolate in a microwave-safe bowl in 30-second intervals, stirring in between.
-
Dip each ball into melted chocolate, ensuring full coverage, and tap off excess.
-
Place coated balls back on the parchment-lined sheet.
-
Optional: Drizzle more melted chocolate on top and sprinkle with crushed Oreos.
-
Let chocolate set at room temperature or refrigerate for 15 minutes.