

Introduction
The joy of baking cookies transcends generations, and what better way to express this love than with a classic recipe for Decadent Soft and Chewy Chocolate Chip Cookies? This all-time favorite dessert is not only a delightful treat but also offers a comforting experience, reminding us of home and warmth. Perfect for any occasion, these chocolate chip cookies promise a soft, chewy texture complemented by bursts of rich chocolate sweetness in every bite. Join us as we dive into the decadent world of cookie-making and explore the steps to create your very own batch.
Baking chocolate chip cookies is often more than just preparing a dessert; it’s about creating an experience that brings back cherished memories. The irresistible aroma wafting through your kitchen as these cookies bake creates an enticing atmosphere that evokes nostalgia. Family gatherings, after-school snacks, or quiet evenings are all perfectly complemented with a warm cookie in hand. Whether you enjoy them fresh out of the oven or let them cool, each cookie is a delicious bite of happiness.
In this article, we’ll take you step by step through the process, ensuring that even novice bakers can achieve cookie perfection. With just the right balance of ingredients, you will create cookies that are not only soft and chewy but also incredibly indulgent. Each ingredient, from the unsalted butter to the semi-sweet chocolate chips, plays a crucial role in crafting the ultimate chocolate chip cookie experience.
Recipe Overview
– Prep Time: 15 minutes
– Cook Time: 12 minutes
– Total Time: 27 minutes
– Course: Dessert
– Cuisine: American
– Servings: Makes approximately 24 cookies
– Calories: Approximately 150 calories per cookie
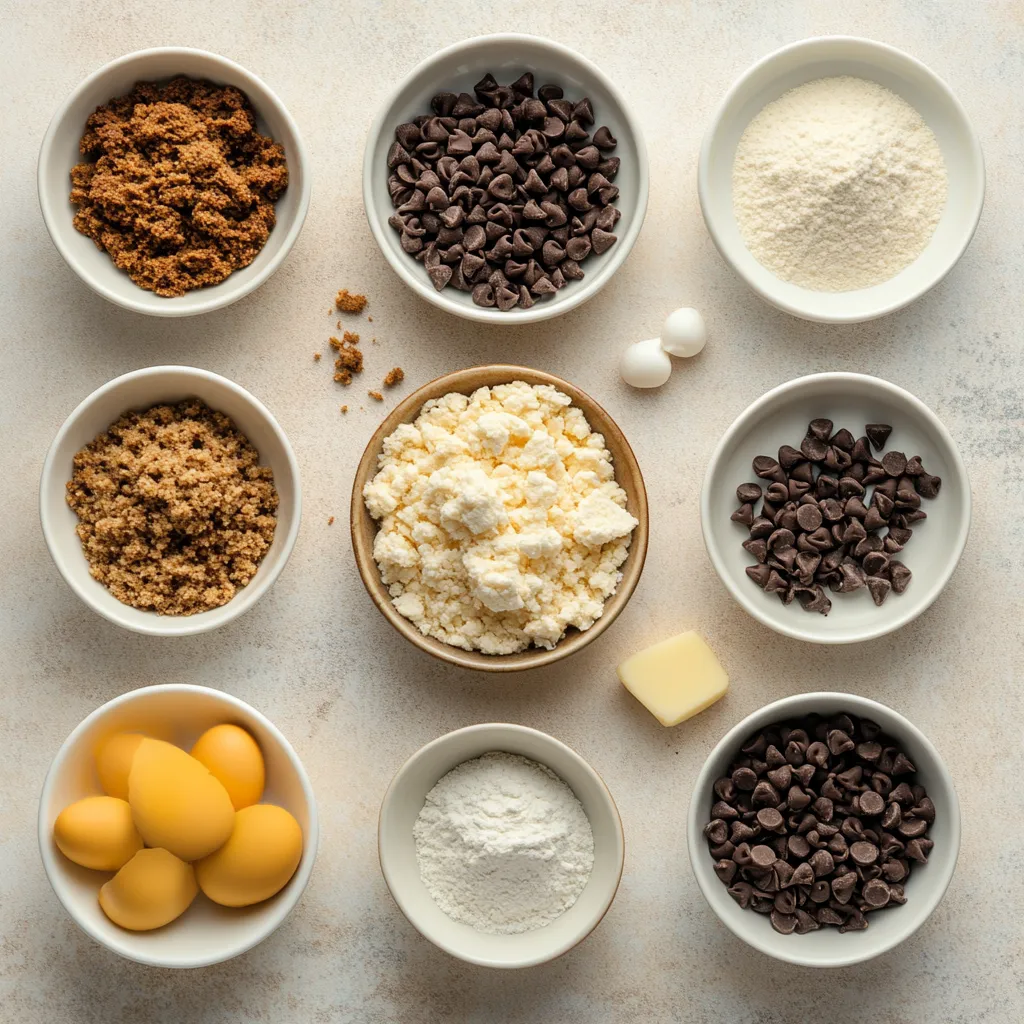
Ingredients
To prepare these delightful cookies, you’ll need the following ingredients, which are essential for achieving the desired texture and flavor:
– 1 cup unsalted butter, softened to room temperature
– 1 cup packed brown sugar
– 1/2 cup granulated sugar
– 2 large eggs, at room temperature
– 2 teaspoons pure vanilla extract
– 3 cups all-purpose flour
– 1 teaspoon baking soda
– 1/2 teaspoon fine sea salt
– 2 cups semi-sweet chocolate chips
Instructions
Understanding the steps involved in making these cookies is crucial for achieving the best results. Each step builds upon the last, contributing to the perfect soft and chewy texture.
1. Begin by preheating your oven to 350°F (175°C). Prepare your baking sheets by lining them with parchment paper to prevent sticking.
2. In a large mixing bowl, combine the softened butter, packed brown sugar, and granulated sugar. Use a hand mixer or a whisk to cream the mixture together until it is smooth and fluffy.
3. Crack the eggs into the bowl, adding them one by one. Mix thoroughly after each addition, then pour in the vanilla extract and blend until fully incorporated.
4. In a separate bowl, whisk together the all-purpose flour, baking soda, and sea salt. This will ensure even distribution of the leavening agent and salt in the dough.
5. Gradually add the dry ingredients to the wet mixture, stirring gently with a spatula or wooden spoon until just combined. Be cautious not to overmix; a few lumps are perfectly fine.
6. Carefully fold in the semi-sweet chocolate chips, making sure they are evenly dispersed throughout the cookie dough.
7. Using a tablespoon or cookie scoop, drop mounds of dough onto the prepared baking sheets, leaving about 2 inches of space between each cookie to allow for spreading.
8. Bake in the preheated oven for 10-12 minutes. Keep an eye on them; the edges should turn a light golden color while the centers remain soft and slightly underbaked.
9. Once baked, remove the cookies from the oven and let them rest on the baking sheets for about 5 minutes. This helps them set before transferring them to a wire rack to cool completely.
10. Serve these delectable soft and chewy chocolate chip cookies warm, ideally paired with a cold glass of milk for the ultimate treat!
Optional Presentation Tips
For an added touch, sprinkle a pinch of sea salt over the warm cookies right after they come out of the oven. This enhances the chocolate flavor and adds a delightful contrast. Consider stacking a few cookies on a decorative plate and garnishing with chocolate shavings for an eye-catching display. This not only makes for a tempting treat but also serves as an excellent centerpiece for gatherings or special occasions.
The appearance of your cookies can be just as important as their taste. Well-baked cookies with a light golden edge and a slightly glossy surface from the melted chocolate chips are sure to captivate anyone’s attention. From family to friends, these chocolate chip cookies are made to impress, making them ideal for any event, whether it’s a casual coffee morning or festive celebrations.
Stay tuned as we explore more about the richness of this classic dessert, including tips on storing and enjoying these cookies at their best!
Mixing Dry Ingredients
To ensure that your chocolate chip cookies turn out perfectly every time, it’s crucial to start with the right preparation of your dry ingredients. In a separate bowl, take the time to whisk together the all-purpose flour, baking soda, and fine sea salt. This step promotes even distribution of the leavening agent and salt throughout the cookie dough, ensuring consistent texture and flavor. By sifting or whisking the flour, you also introduce lightness to the mixture. This simple practice will result in soft and chewy cookies that everyone will enjoy.
Combining Wet and Dry Ingredients
Once you have properly mixed your dry ingredients, it’s time to bring them together with the wet mixture. The key here is to gradually incorporate the dry ingredients into the wet mixture, which consists of the creamed butter and sugars, eggs, and vanilla extract. This gradual addition allows for a more controlled mixing process and helps prevent overmixing, an important factor that can affect the texture of your cookies.
Using a spatula or a wooden spoon, stir gently until the two mixtures are just combined. It’s perfectly acceptable for the dough to remain slightly lumpy; this will not only help maintain the soft texture of the final product but also ensure that the cookies don’t become tough.
Adding Chocolate Chips
The star of the show in any chocolate chip cookie recipe is undoubtedly the chocolate chips. After the wet and dry ingredients are combined, it’s time to carefully fold in the semi-sweet chocolate chips. Take care to distribute them evenly throughout the cookie dough. This step ensures that every bite is filled with the delicious melty goodness that we all crave.
Avoid stirring too vigorously during this stage; the goal here is gentle incorporation. This method preserves the integrity of your cookie dough and leads to the perfect chewy cookie texture once baked.
Baking the Cookies
Getting the baking timing right is essential to achieving the soft and chewy result characteristic of these cookies.
Portioning the Dough
Using a tablespoon or cookie scoop, drop mounds of dough onto the prepared baking sheets, ensuring that you leave about 2 inches of space between each cookie. This spacing is vital to allow the cookies to spread while baking; overcrowding the pan may result in cookies that stick together, losing their individual shape and texture.
If you prefer larger or smaller cookies, adjust the size of your dough mounds accordingly, but always remember to leave enough space for spreading.
Baking Process
Now it’s time for the magic to happen in the oven. Bake the cookies in the preheated oven for 10 to 12 minutes. Monitor them closely; they are done when the edges turn a light golden color while the centers remain soft and slightly underbaked. This balance guarantees that your cookies will have that desirable chewy consistency.
For uniform baking, consider rotating your baking sheets halfway through the cooking time. Different ovens can have hot spots, and rotating ensures that all cookies get the perfect exposure to heat.
Cooling and Serving the Cookies
To preserve the soft and chewy texture of your cookies, proper cooling is key.
Cooling on the Baking Sheet
Once baked, remove the cookies from the oven and place them on a cooling rack for about 5 minutes before transferring them. This resting period allows the cookies to set, making them easier to transfer without breaking apart. The residual heat will continue to cook the cookies slightly, ensuring they remain gloriously soft.
Transferring to Wire Rack
After the resting period, carefully transfer the cookies to a wire rack. Allowing them to cool completely on the wire rack is essential. This method prevents steam from accumulating on the bottom of the cookies, which could lead to a soggy texture.
Serving Suggestions
For the ultimate taste experience, serve your cookies warm, fresh out of the oven. Pairing them with a cold glass of milk elevates this classic treat to new heights. The combination of the warm, gooey chocolate with the cold milk creates a satisfying contrast that can’t be beaten.
Optional Presentation Tips
Enhancing the visual appeal of your cookies can elevate the overall experience. Consider the following presentation tips:
Sea Salt Finish
For an added touch, sprinkle a pinch of sea salt over the warm cookies immediately after they come out of the oven. This sprinkle enhances the chocolate flavor and adds a delightful contrast that many find irresistible. The salinity complements the sweetness perfectly, creating a well-rounded dessert.
Decorative Serving Ideas
To make your cookie presentation even more eye-catching, stack a few cookies neatly on a decorative plate. Garnishing with chocolate shavings not only adds visual interest but also tempts the taste buds. A well-presented plate of cookies is always a crowd-pleaser.
Storage Tips
Understanding how to store your cookies can help maintain their delicious texture and flavor for longer periods.
Room Temperature Storage
To keep your chocolate chip cookies fresh and chewy, store them in an airtight container at room temperature for up to a week. This method prevents them from becoming stale and maintains that soft bite you strive for.
Freezing Cookies
For longer storage, consider freezing your cookies. Cool them completely on the wire rack before placing them in an airtight container or a freezer bag. When stored this way, they can last for up to three months. For a quick treat, you can bake the frozen cookie dough straight from the freezer; just add a couple of extra minutes to the baking time.
In conclusion, following these meticulous steps ensures that your chocolate chip cookies are not only delicious but also beautifully presented. With the right techniques from mixing to serving, you can enjoy homemade cookies that are soft, chewy, and utterly satisfying.

Decadent Soft and Chewy Chocolate Chip Cookies Recipe
Ingredients
- 1 cup unsalted butter softened
- 1 cup packed brown sugar
- ½ cup granulated sugar
- 2 large eggs
- 2 teaspoons pure vanilla extract
- 3 cups all-purpose flour
- 1 teaspoon baking soda
- ½ teaspoon fine sea salt
- 2 cups semi-sweet chocolate chips
Instructions
- Preheat your oven to 350°F (175°C) and line baking sheets with parchment paper.
- In a large bowl, cream together the softened butter, brown sugar, and granulated sugar until smooth and fluffy.
- Add the eggs one at a time, mixing thoroughly after each addition, then stir in the vanilla extract.
- In a separate bowl, whisk together the flour, baking soda, and sea salt.
- Gradually mix the dry ingredients into the wet mixture until just combined.
- Fold in the chocolate chips until evenly distributed.
- Drop mounds of dough onto the prepared baking sheets, leaving space between each cookie.
- Bake for 10-12 minutes until the edges are golden and the centers are soft.
- Let the cookies rest on the baking sheets for 5 minutes before transferring to a wire rack to cool.
- Serve warm, ideally with a cold glass of milk.