
Introduction
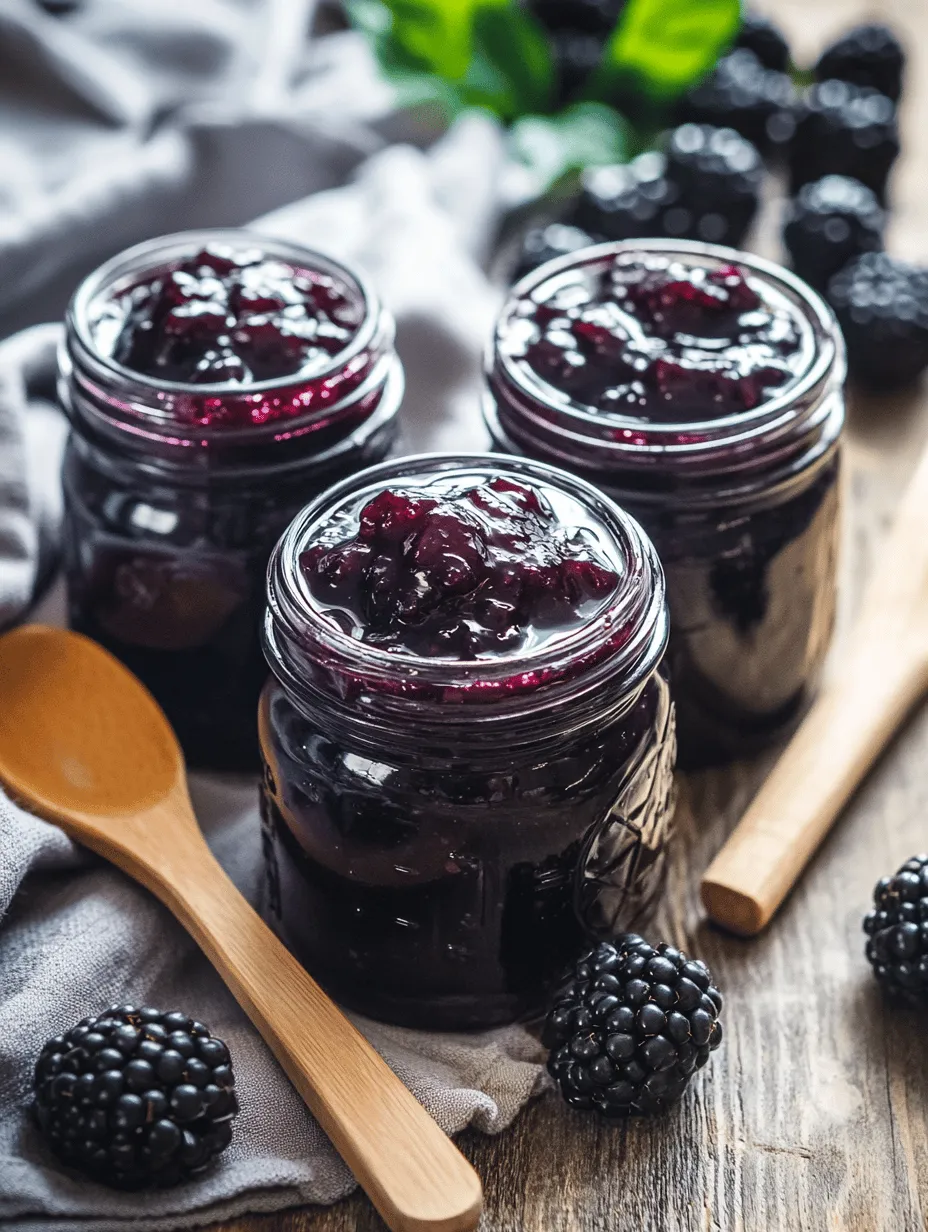
There’s something incredibly satisfying about making your own jams and preserves at home. The process not only fills your kitchen with delightful aromas but also allows you to capture the essence of seasonal fruits. Among the myriad of berry options, blackberries stand out for their rich flavor and vibrant color, making them an ideal choice for crafting a homemade jam that bursts with summer sweetness. Our Blissful Blackberry Jam recipe is a simple yet rewarding way to savor the taste of fresh blackberries year-round.
Blackberries are not just delicious; they are also packed with nutritional benefits. These little gems are high in antioxidants, vitamins C and K, and dietary fiber, making them a smart addition to your diet. The unique flavor profile of blackberries—a perfect balance of sweetness and tartness—makes them a versatile ingredient that can elevate everything from breakfast toast to dessert toppings.
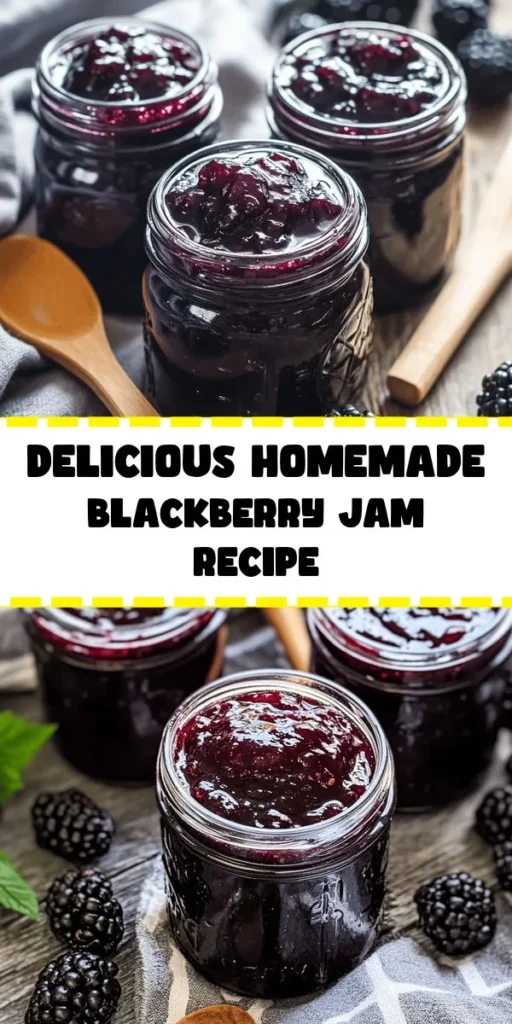
In this recipe, we will guide you through the process of creating Blissful Blackberry Jam, a delightful preserve that captures the essence of summer in every jar. With just a few simple ingredients, you can enjoy this homemade treat all year long. Let’s dive into the essentials of this recipe, starting with an understanding of the ingredients that will come together to create this luscious jam.
Understanding the Ingredients
Fresh Blackberries
The star ingredient of our Blissful Blackberry Jam is, of course, fresh blackberries. When selecting blackberries, look for plump, firm berries that are deep purple to black in color. Avoid any that are overly soft, mushy, or have a dull appearance, as these may indicate overripeness. Ideally, you want to choose berries that are organic and locally sourced, if possible, to ensure the freshest flavor and to support local farmers.
In addition to their delightful taste, blackberries offer numerous health benefits. They are rich in antioxidants, which help combat oxidative stress in the body, and they contain essential vitamins and minerals that support overall health. The high fiber content also aids in digestion and can contribute to a feeling of fullness, making blackberries a nutritious choice for your diet.
Granulated Sugar
Next up is granulated sugar, which plays a crucial role in the jam-making process. Sugar not only adds sweetness to the jam but is also essential for preservation. It helps to inhibit the growth of bacteria and mold, allowing your jam to stay fresh for longer periods when properly canned. The sugar interacts with the pectin (which we’ll discuss shortly) to create the gel-like consistency that we associate with jams and jellies.
It’s important to note that while sugar is a necessary ingredient for traditional jam-making, there are alternatives available for those looking to reduce their sugar intake. However, if you choose to substitute with lower-sugar options, be sure to follow recipes specifically designed for those products to ensure proper setting.
Fresh Lemon Juice
Fresh lemon juice is another key component of our Blissful Blackberry Jam. Not only does it enhance the flavor profile of the jam, adding a bright acidity that balances the sweetness of the blackberries and sugar, but it also plays an essential role in the setting process. The acidity from lemon juice helps to activate the pectin, which is necessary for achieving the desired thickness of the jam.
When selecting lemons, choose ones that are firm and heavy for their size, as these tend to be juicier. For this recipe, freshly squeezed lemon juice is preferred over bottled varieties, as it offers a more vibrant flavor and ensures that no preservatives interfere with the jam’s purity.
Fruit Pectin
Pectin is a naturally occurring substance found in fruits that aids in thickening jams and jellies. It is the secret ingredient that transforms your blackberry mixture into a spreadable delight. When heated with sugar and acid, pectin forms a gel-like consistency that is vital for the texture of your jam.
There are different types of pectin available, including liquid and powdered forms. Some pectins require a high level of sugar to gel properly, while others are low-sugar or no-sugar options. For our Blissful Blackberry Jam, we will be using a standard fruit pectin that works well with the natural sugars of the blackberries, ensuring a perfect set without compromising flavor.
Unsalted Butter
Lastly, we have unsalted butter, which is optional in this recipe but can be very beneficial. Adding a small amount of butter to your jam mixture helps to reduce foaming during the cooking process, creating a smoother texture. While it doesn’t contribute much in terms of flavor, the addition of butter can improve the overall appearance and mouthfeel of your finished jam.
Now that we understand the ingredients that will come together to create our Blissful Blackberry Jam, let’s move on to the step-by-step guide for making this delightful preserve.
Step-by-Step Guide to Making Blissful Blackberry Jam
Preparation of Blackberries
The first step in making your Blissful Blackberry Jam is to prepare the blackberries. Start by rinsing the berries gently under cool running water to remove any dirt or debris. Be careful not to crush them during this process, as you want to keep them intact for the best texture in your jam.
Once the blackberries are clean, place them in a large bowl. At this point, you can choose to mash some of the berries lightly with a fork or potato masher to achieve a chunkier consistency in your jam. This step is entirely up to your personal preference; if you prefer a smoother jam, you can skip this and leave the berries whole.
After preparing the blackberries, it’s a good idea to check for any stems or unripe berries. Removing these will ensure that your jam has the best flavor and texture. Once your blackberries are cleaned and prepared, set them aside while you move on to the next steps in the jam-making process.
Mixing the Ingredients
Now that your blackberries are ready, it’s time to mix the ingredients together. In a large pot, combine the prepared blackberries with the granulated sugar and fresh lemon juice. Stir gently to ensure that the sugar is evenly distributed among the berries. This initial mixing is crucial, as it allows the sugar to begin drawing out the juices from the blackberries, creating a delicious syrup that will form the base of your jam.
Next, sprinkle in the fruit pectin, taking care to follow the package instructions regarding the correct amount for the quantity of fruit you are using. It’s essential to ensure that the pectin is evenly mixed into the blackberry-sugar mixture to prevent clumping. To do this, you can sift the pectin over the mixture or even mix it with a small amount of sugar before adding it to the fruit.
Once everything is combined, allow the mixture to sit for about 10 minutes. This resting period will help the sugar dissolve and the blackberries to release more of their natural juices. After the mixture has rested, you’re ready to start cooking your Blissful Blackberry Jam.
Stay tuned for the next steps where we will guide you through the cooking process, the importance of temperature control, and how to can your jam for long-term storage!
Cooking the Jam
To make the blissful blackberry jam, begin by cooking your prepared blackberries in a large, heavy-bottomed pot. This step is crucial as it not only helps break down the fruit but also releases its natural juices. Place the pot over medium heat and add the sugar, stirring until it is fully dissolved.
Once the sugar is integrated, raise the heat to medium-high, bringing the mixture to a rolling boil. A rolling boil is when the jam bubbles vigorously and cannot be stirred down. This stage is significant because it helps the pectin activate, which is essential for achieving that perfect jam consistency.
As your mixture reaches that rolling boil, it’s important to monitor the cooking time closely. Typically, you’ll want to boil the jam for about 10-15 minutes, but this can vary based on the size of your batch and the moisture content of the blackberries. Use a candy thermometer to check the temperature; your jam should reach around 220°F (104°C) for it to be set properly.
Checking the Consistency
To determine if your jam is ready to be jarred, you can use the cold plate method. Prior to starting the cooking process, place a couple of small plates in the freezer. When you think your jam has reached the right consistency, take a plate from the freezer and drop a spoonful of jam onto it. Allow it to sit for about 1 minute before running your finger through the center. If the jam holds its shape and the line stays clear, it’s ready to jar. If not, return it to the heat and continue boiling for a few more minutes before testing again.
Other signs that indicate your jam is ready include a thickening appearance and a glossy sheen. You may also notice that the bubbles in the mixture become larger and slower as it thickens.
Jarring the Jam
Once you’ve confirmed the jam has reached the desired consistency, it’s time to jar it. Start by ensuring that your canning jars are clean and sterilized. You can do this by placing them in a boiling water bath for a few minutes or running them through a hot cycle in the dishwasher.
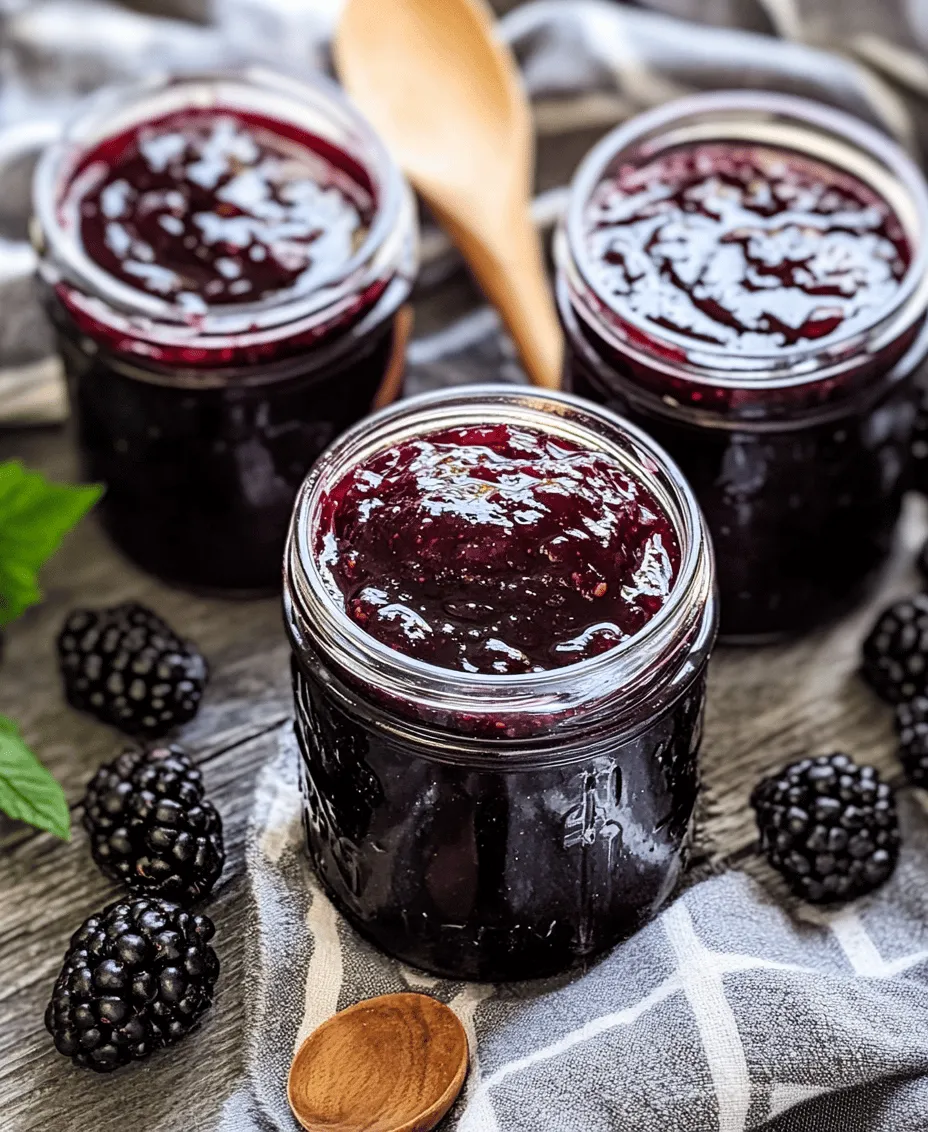
Using a ladle, carefully pour the hot jam into the prepared jars, leaving about 1/4 inch of headspace at the top. This is important as it allows for expansion during the sealing process. After filling, wipe the rims of the jars with a clean, damp cloth to remove any residue, which is crucial for ensuring a proper seal.
Sealing and Storing
To seal the jars, place the lids on top and screw on the metal bands until they are fingertip-tight. Next, you will need to process your jars using the boiling water bath method. Fill a large pot with enough water to cover the jars by about an inch and bring it to a rolling boil. Carefully lower the jars into the water bath, ensuring they remain upright.
Process the jars for about 10-15 minutes, depending on your altitude (higher altitudes may require longer processing times). Once the time is up, carefully remove the jars from the water and place them on a clean towel or cooling rack to cool down. During the cooling process, you should hear the satisfying ‘pop’ of the lids sealing.
To check for a proper seal, press down in the center of each lid. If it does not spring back, the jar is sealed. If it does spring back, place it in the refrigerator and consume within a few weeks.
The Joy of Enjoying Your Jam
Serving Suggestions
The beauty of homemade blackberry jam lies in its versatility. Spread it generously on toast for a delightful breakfast or mix it into yogurt for a sweet snack. It can also be used as a filling for pastries, cakes, or cookies. For a refreshing twist, consider swirling it into oatmeal or drizzling it over pancakes and waffles. Additionally, it makes for a fantastic topping on cheesecakes or served alongside a cheese platter, pairing beautifully with soft cheeses like brie or goat cheese.
Storage Tips
When it comes to storing your blackberry jam, keep in mind the importance of proper storage methods to maximize its shelf life. Canned blackberry jam can be stored in a cool, dark, and dry place for up to a year. Once opened, however, it should be refrigerated and consumed within a few weeks.
If you prefer to refrigerate your jam rather than canning it, make sure to use a clean spoon each time you scoop out some jam to prevent contamination. Homemade blackberry jam can last up to three months in the refrigerator.
Nutritional Information
Each tablespoon of homemade blackberry jam contains approximately 50 calories, with about 13 grams of carbohydrates and 11 grams of sugar. Blackberries themselves are low in calories and packed with important nutrients. They are rich in vitamins C and K, fiber, and antioxidants, which provide numerous health benefits. Incorporating blackberry jam into your diet can support digestive health and provide a delicious way to enjoy the nutritional advantages of blackberries.
Conclusion
Making homemade blackberry jam is not only a rewarding culinary project but also a delightful way to preserve the fruits of summer. The simplicity of the recipe allows you to transform fresh blackberries into a sweet treat that can be enjoyed all year long. Experimenting with different fruits or adding spices can lead to exciting variations that elevate your jam-making experience.
As you savor the fruits of your labor, consider sharing jars with friends and family. Homemade jam makes for a thoughtful, personal gift that carries the warmth of home and the joy of sharing. So gather your ingredients, embrace the process, and enjoy the blissful experience of creating your very own blackberry jam!
Best Homemade Blackberry Jam
Ingredients