
Introduction
The perfect blend of nostalgia and indulgence, Cookies and Cream Rice Krispie Treats offer a delightful twist on the classic dessert. These treats combine the airy crunch of Rice Krispies with the sweetness of marshmallows and the chocolatey richness of cookies, resulting in a dessert that’s satisfying in both flavor and texture. Ideal for sharing with family and friends, they transform any gathering into a special occasion, whether it’s a birthday party, a school event, or simply a cozy day at home.
The joy of making these treats lies in their simplicity. With just a few core ingredients and easy-to-follow steps, you can whip up a batch of these delectable snacks in no time. Plus, their eye-catching presentation, especially with the optional white chocolate drizzle, adds to their appeal. As you prepare to embark on this culinary adventure, know that the outcome will be a delicious treat that appeals to kids and adults alike, igniting fond memories of childhood while introducing a new generation to this delightful dessert.
Recipe Overview
– Total Time: 45 minutes
– Prep Time: 15 minutes
– Yield/Servings: 12-16 servings
– Difficulty: Not specified in the recipe
Ingredients
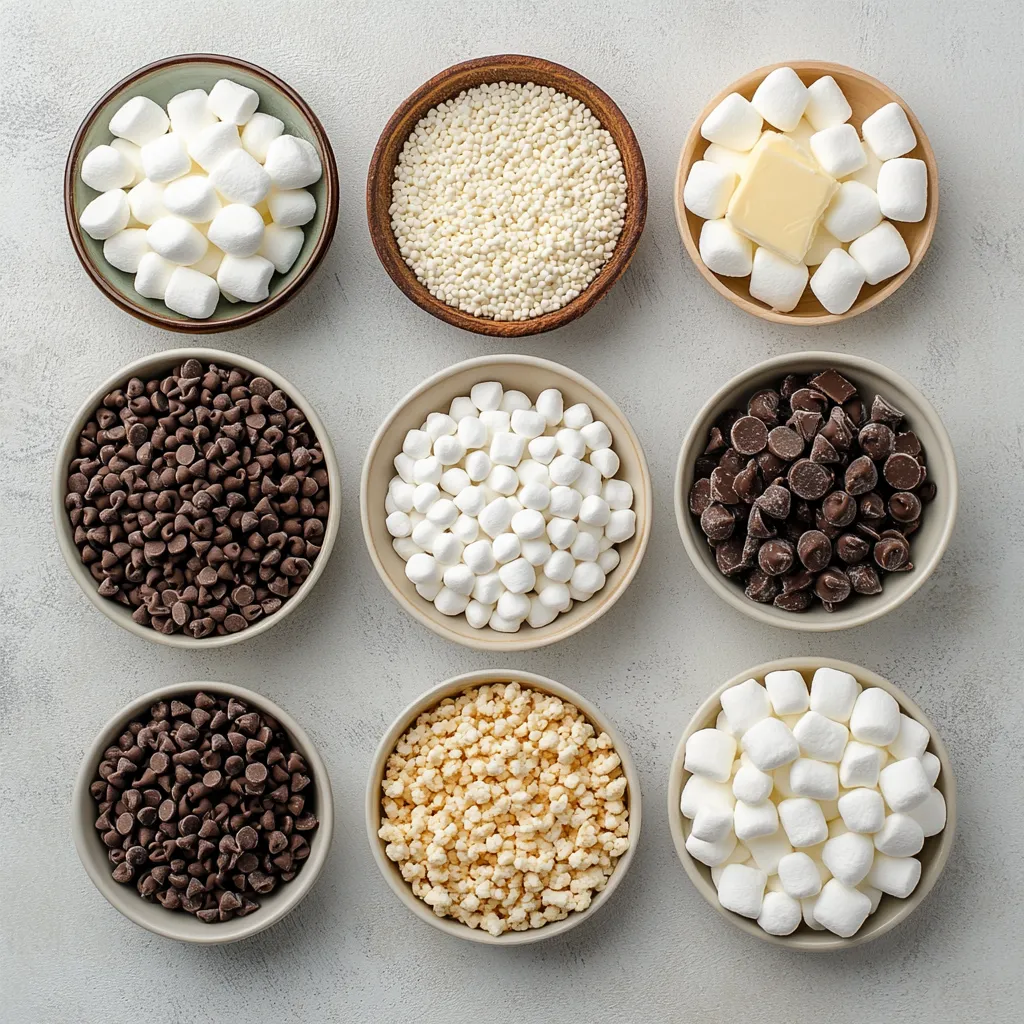
– 4 cups Rice Krispies cereal
– 2 cups mini marshmallows
– 2 tablespoons unsalted butter
– 1 cup vanilla or cookies and cream flavored protein marshmallow mix
– 1 cup crushed chocolate sandwich cookies (such as Oreos)
– ½ cup white chocolate chips (optional, for drizzling)
– A pinch of salt
Preparing Your Workspace
Choosing the Right Baking Dish
Selecting the appropriate baking dish is crucial for achieving the best results when making Rice Krispie treats. For this recipe, a 9×13-inch baking dish is ideal. This size allows for an even distribution of the mixture, ensuring that the treats set uniformly. Opt for a non-stick variety to further ease the removal of your treats once they are set. If you only have metal pans, consider lining them as described in the preparation steps to prevent sticking.
Lining and Preparing the Dish
To ensure easy removal of the Rice Krispie treats once they have set, line your 9×13-inch baking dish with parchment paper. Cut the parchment to size, allowing for some overhang on the sides. This overhang will serve as handles, making it easier to lift the treats out of the pan later. Lightly coat the parchment with a bit of non-stick spray or butter; this will further help in preventing any stickiness that might occur while cutting the treats.
Organizing Ingredients
Before diving into the cooking process, it’s beneficial to gather and measure all your ingredients. Having everything on hand will streamline your prep and cooking times and help avoid any last-minute scrambles. Measure out the Rice Krispies cereal, mini marshmallows, and protein marshmallow mix into separate bowls ahead of time. This organizational tip will allow for a smoother cooking experience, making it effortless to follow the steps in the recipe once you begin.
Step-by-Step Instructions
Melting the Butter and Marshmallows
Begin by melting the unsalted butter in a large saucepan over low heat to prevent burning. Once the butter is fully melted, add the mini marshmallows to the pan. Stir continuously to ensure that the marshmallows melt evenly, resulting in a smooth, creamy mixture free of lumps. The goal here is to achieve a consistency that allows you to pour it later, so take your time in this step to make sure everything is well combined.
Adding the Protein Marshmallow Mix
Once the marshmallows have completely melted, remove the saucepan from heat before adding the protein marshmallow mix. This is an important step as you want to prevent the mix from cooking further, which could alter its properties. Stir vigorously to ensure that the protein mix is well incorporated into the melted marshmallow mixture, creating a unified blend that enhances the flavor and texture of your Rice Krispie treats.
Combining with Rice Krispies
Next, transfer to a separate large mixing bowl the Rice Krispies cereal and a pinch of salt. The addition of salt enhances the overall flavor profile, balancing the sweetness of the marshmallows and cookies. Now, pour the warm marshmallow mixture over the cereal. Gently stir the ingredients together, ensuring that every piece of Rice Krispies is coated evenly. This step is crucial — taking care not to crush the cereal will preserve the light and crispy texture of your treats.
Folding in the Chocolate Sandwich Cookies
Choosing the Right Cookies
When it comes to selecting chocolate sandwich cookies for this recipe, the classic choice is Oreos. However, you might also experiment with other brands or varieties, such as chocolate cream-filled biscuits, which could add their own unique twist. The combination of the creamy filling and the chocolate cookie will contribute to the delightful contrast of flavors in your treats.
Crushing Cookies for the Perfect Texture
The texture of the crushed cookies plays a vital role in the final product. For this recipe, you want to ensure they are crushed to a medium coarseness rather than a fine powder. You can use a rolling pin and a plastic bag, or a food processor, to achieve the desired consistency. Aim for chunks that are small enough to be evenly distributed through the Rice Krispie mixture, providing delightful bites of chocolate without overwhelming the other flavors.
Mixing Techniques for Even Distribution
As you fold the crushed chocolate sandwich cookies into the Rice Krispie mixture, do so gently. The aim here is to incorporate them without breaking them down too much. Use a spatula to lift and fold, rather than stirring aggressively. This technique will help maintain the integrity of the cookie pieces, ensuring that you get a good mix of cookie crunch in each bite of the final treat mixture.
Transferring to the Baking Dish
Techniques for Even Pressing
Once all the ingredients are well combined, it’s time to transfer the mixture into the prepared baking dish. Pour the mixture into the dish and use a spatula or your damp hands to press it down evenly. Pressing firmly but gently will help to compact the mixture without crushing the cereal or cookies. This compacting is essential for ensuring that the treats hold their shape once fully set. To achieve a smooth top, you can use the spatula to level off the surface or apply gentle pressure with your hands to even it out.
In Part 2 of this article, we will explore the cooling and setting process, the optional white chocolate drizzle for added sweetness, and how to cut and serve these delicious Cookies and Cream Rice Krispie Treats. Stay tuned for the final touches that will create a perfect presentation for sharing these delightful treats with your loved ones!
Guide on How to Press the Mixture into the Dish
Pressing the Rice Krispie treat mixture into the baking dish is crucial for ensuring that your treats maintain their shape and structure. To do this effectively, follow these steps:
Using Utensils or Hands
If you choose to use a spatula, lightly coat it with non-stick spray to prevent sticking. Alternatively, dampening your hands with a little water can also help when pressing down the mixture. Start by transferring the mixture into the prepared baking dish, then use the spatula or your hands to begin pressing down. Work from the center of the dish outward, applying even pressure. Aim to create a compact and level layer, ensuring that corners and edges receive the same attention as the center.
Avoiding Sticking
Preventing the mixture from sticking to your utensils or hands is key to a hassle-free preparation. Here are some effective tips:
– Use a Non-Stick Spray: Spraying your hands and the spatula with a light coating of non-stick cooking spray can significantly reduce stickiness.
– Dampen Your Hands: Wetting your hands with a small amount of water can provide a barrier, preventing the mixture from clinging to your fingers.
– Work Quickly: The mixture will set as it cools, so pressing it down while it’s still warm can help avoid it sticking excessively to your tools.
Cooling and Setting
Importance of Proper Cooling
Letting the Rice Krispie treats cool at room temperature is critical for achieving the right texture. If they are cut too soon, they may crumble or fall apart. Cooling allows the marshmallow mixture to firm up effectively, creating that desirable chewy yet slightly crispy texture.
Signs that the Treats Are Ready
You’ll know the treats are ready when they are cool to the touch and have a firm texture. Press gently on the surface; it should feel sturdy and spring back slightly. If they are still soft and sticky, allow them to cool for an additional 10-15 minutes before checking again.
Optional White Chocolate Drizzle
Melting the White Chocolate
To create the decadent white chocolate drizzle, there are two popular methods for melting the chocolate safely:
– Microwave Method: Place the white chocolate chips in a microwave-safe bowl. Heat in 30-second intervals, stirring after each interval until fully melted and smooth. Be careful not to overheat, as white chocolate can burn easily.
– Double Boiler Method: Fill a pot with a few inches of water and place it on low heat. In a heatproof bowl that rests on top of the pot (but doesn’t touch the water), add the white chocolate chips. Stir frequently until melted and smooth.
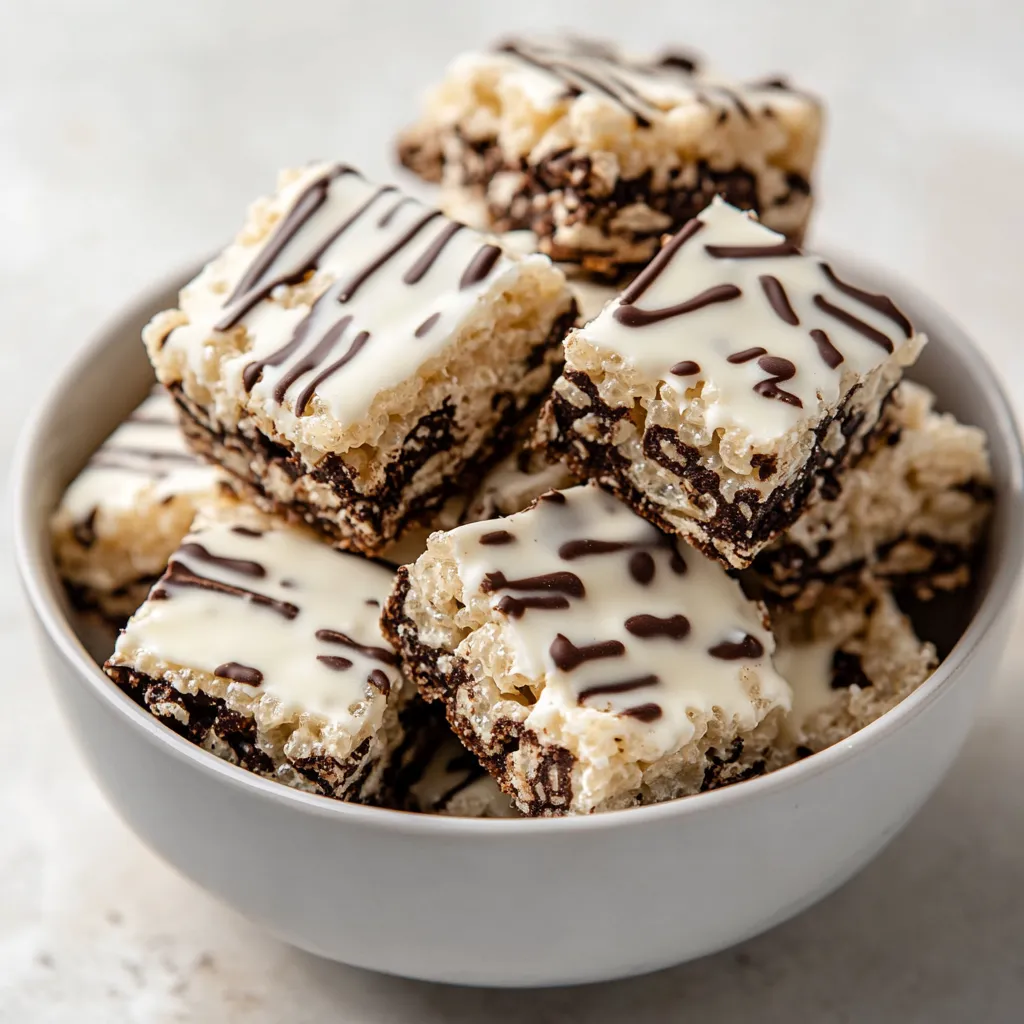
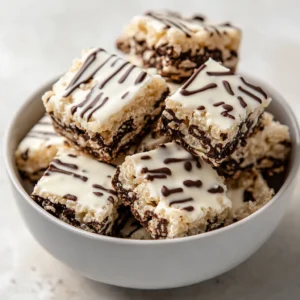
Drizzling Techniques
For drizzling the white chocolate, you can use a spoon or a fork to create beautiful patterns over the cooled treats. Alternatively, transfer the melted chocolate to a small plastic bag, snip off the tip, and squeeze to create fine lines or swirls over the surface. For added visual appeal, consider mixing in a dash of food coloring to the melted chocolate for a colorful effect.
Cutting and Serving
How to Cut for Uniformity
To achieve uniform squares or rectangles, use a sharp knife or a pizza cutter. Lightly grease the blade with non-stick spray to prevent sticking. For the best results, score the surface of the treats first to create your desired portion sizes, then press down firmly but gently to cut all the way through without squishing the treats.
Presentation Ideas
Presentation can enhance the overall enjoyment of your Cookies and Cream Rice Krispie Treats. Arrange them on a colorful platter and garnish with additional crushed chocolate sandwich cookies or a light sprinkle of edible glitter for that special touch. You could also wrap individual squares in cellophane tied with a ribbon for a delightful treat to give as gifts.
Storage and Shelf Life
Best Storage Methods
To keep these rice crispy treats fresh, store them in an airtight container at room temperature. If you live in a particularly humid climate, consider refrigerating them; however, this may alter the texture slightly, making them firmer than intended.
How Long Do They Last?
The Rice Krispie treats will typically last about 3 to 5 days when stored at room temperature. In the refrigerator, they can last up to a week. For even longer-lasting treats, consider freezing them. Wrap the pieces tightly in plastic wrap and then place them in a freezer-safe container to maintain their quality.
Nutritional Information
Breakdown of Key Ingredients
Analyzing the primary ingredients, each serving of these delicious treats will typically contain approximately 150 calories, with about 2 to 3 grams of protein and 6 to 8 grams of fat, depending on the specific types of butter and chocolate used. The addition of protein marshmallow mix can significantly boost the protein content.
Adjusting for Dietary Needs
While this recipe includes standard ingredients, those with dietary restrictions can adapt it by ensuring they use dairy-free butter and selecting gluten-free sandwich cookies. Always check the labels for allergens and ingredients to ensure they meet your dietary needs.
Variations and Customizations
Flavor Tweaks
For those looking to mix things up, consider adding a teaspoon of vanilla extract to the marshmallow mixture for an enhanced flavor. Alternatively, you could mix in different flavored protein marshmallow mixes for a unique twist.
Personalizing with Different Mix-Ins
Experimenting with different mix-ins can yield delicious results. Consider adding mini chocolate chips, butterscotch chips, or even nuts for added texture and flavor. Dried fruits like cranberries or raisins can also bring a sweet tang, adding another layer of complexity to the treats.
Conclusion
Cookies and Cream Rice Krispie Treats bring together a delightful combination of textures and flavors that are sure to please. Their preparation is quick, taking just 15 minutes, with a total time of around 45 minutes until they’re ready to serve. The soft, gooey base combined with the sharp crunch of the Rice Krispies creates a nostalgic yet modern treat that charms the palate.
Cookies and Cream Rice Krispie Treats Recipe
Ingredients
- 4 cups Rice Krispies cereal
- 2 cups mini marshmallows
- 2 tablespoons unsalted butter
- 1 cup vanilla or cookies and cream flavored protein marshmallow mix
- 1 cup crushed chocolate sandwich cookies
- ½ cup white chocolate chips
- a pinch of salt
Instructions
-
Line a 9×13-inch baking dish with parchment paper and coat with non-stick spray.
-
Melt the unsalted butter in a large saucepan over low heat, then add mini marshmallows and stir until smooth.
-
Remove from heat and stir in the protein marshmallow mix until well blended.
-
In a separate bowl, combine Rice Krispies and a pinch of salt, then pour the marshmallow mixture over and stir to coat.
-
Fold in the crushed chocolate sandwich cookies evenly.
-
Transfer the mixture to the prepared baking dish and press down firmly.
-
Allow to cool at room temperature for about 30 minutes until set.
-
If desired, melt white chocolate chips and drizzle over the cooled treats.
-
Lift out using parchment overhang, cut into squares, and serve.