
Introduction
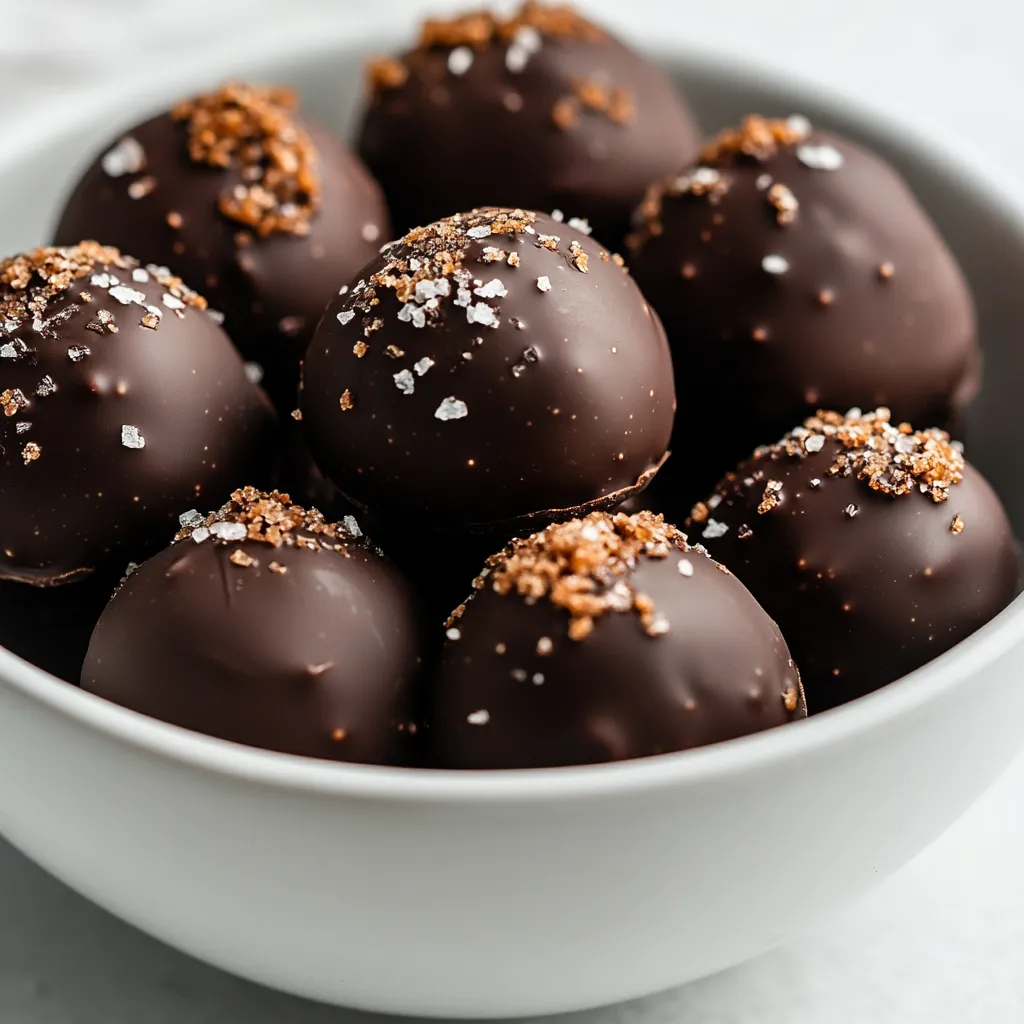
Delve into the world of no-bake desserts with the delightful Butterfinger Bliss Balls. These irresistible treats combine the rich flavors of creamy peanut butter and buttery candy, all rolled into bite-sized pieces that are perfect for sharing or indulging alone. The combination of the crunchy Butterfinger candy bars with smooth peanut butter creates a harmonious blend of textures, while the chocolate coating adds a luxurious touch. Whether you’re hosting a party, celebrating a special occasion, or simply craving something sweet, these bliss balls promise a satisfying experience with every bite.
These Butterfinger Bliss Balls are especially appealing for those who appreciate a quick, easy dessert without the time-consuming processes of baking. With just a few pantry staples, you can whip up a batch of these decadent treats in no time. Serve them at gatherings or keep them handy for a delightful snack – either way, they’re bound to impress with their rich flavor profile and gorgeous appearance.
Recipe Overview
Butterfinger Bliss Balls are a blend of simplicity and decadence. With a prep time of just 15 minutes and a total time of 1 hour, these treats yield around 20-25 bite-sized creations. The combination of Butterfinger bars, creamy peanut butter, and a chocolate coating results in a dessert that is both sweet and crunchy, making it a perfect addition to any dessert table.
– Total Time: 1 hour
– Prep Time: 15 minutes
– Servings: 20-25 bliss balls
– Difficulty: Not specified in the recipe
Ingredients
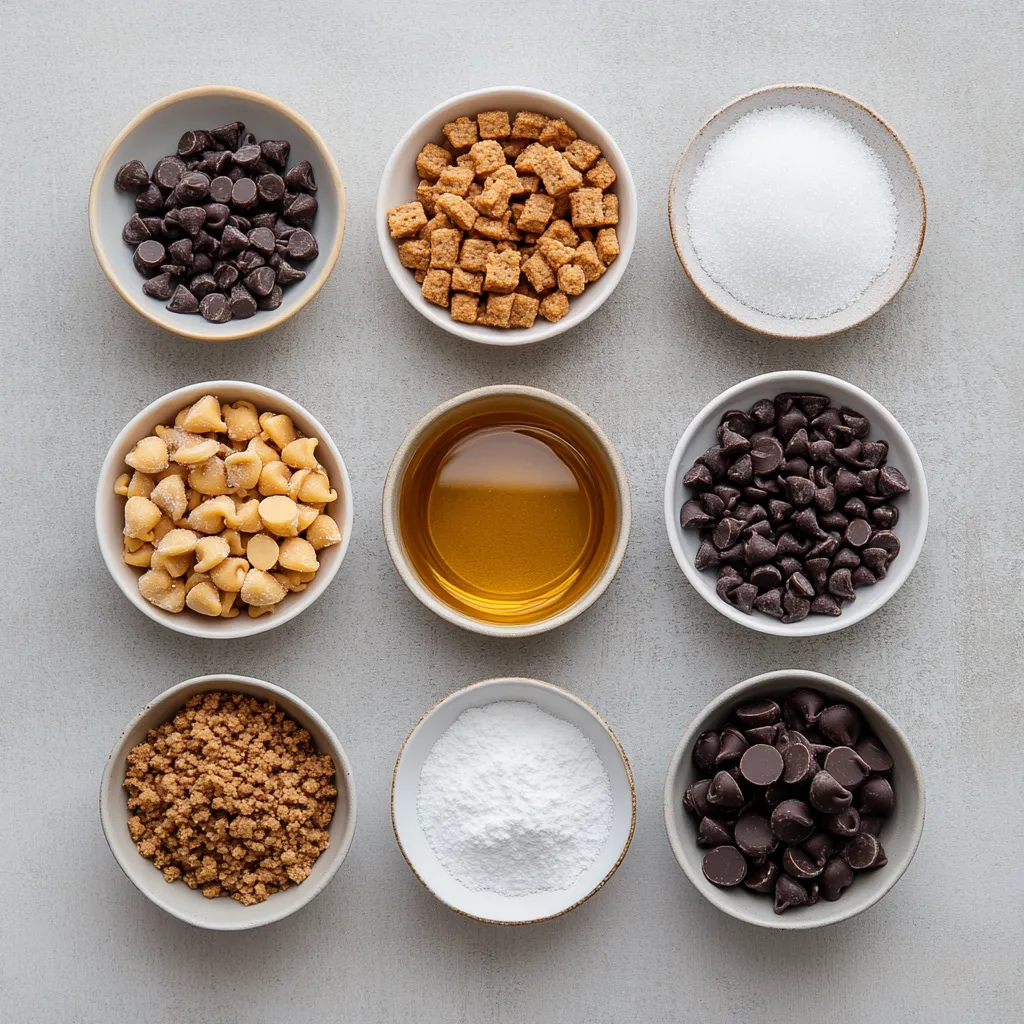
To make your own Butterfinger Bliss Balls, you will need the following ingredients:
– 1 cup crushed Butterfinger candy bars (approximately 5-6 bars)
– 1 cup creamy peanut butter
– 2 cups powdered sugar
– 1 cup graham cracker crumbs
– 1 cup semi-sweet chocolate chips
– 1 tablespoon coconut oil (optional, for a smoother chocolate coating)
– Sea salt (optional, for sprinkling)
Instructions
The process for making Butterfinger Bliss Balls is straightforward and fun. Follow these steps for perfectly crafted treats:
1. In a large mixing bowl, combine the crushed Butterfinger candy bars, creamy peanut butter, powdered sugar, and graham cracker crumbs. Stir the mixture thoroughly until all ingredients are well blended and a cohesive dough forms.
2. With your hands, take small portions of the mixture and roll them into balls, approximately 1 inch in diameter. Arrange the formed balls on a baking sheet lined with parchment paper to prevent sticking.
3. Once all the mixture has been shaped into balls, place the baking sheet in the refrigerator and chill for about 30 minutes. This step helps the balls firm up for easier handling.
4. While the bliss balls are chilling, prepare the chocolate coating. In a microwave-safe bowl, combine the semi-sweet chocolate chips and coconut oil (if using). Heat in the microwave in 30-second intervals, stirring after each interval, until the chocolate is completely melted and smooth.
5. Remove the chilled bliss balls from the refrigerator. Dip each ball into the melted chocolate, ensuring they are evenly coated. Use a fork to lift them out, allowing any excess chocolate to drip back into the bowl.
6. Place the chocolate-coated bliss balls back onto the parchment-lined baking sheet. If desired, sprinkle a small pinch of sea salt on top of each ball before the chocolate sets for an added flavor contrast.
7. Return the baking sheet to the refrigerator for an additional 15-20 minutes, or until the chocolate coating has hardened completely.
8. Serve these delightful no-bake treats chilled, and enjoy the rich, sweet flavors of your Butterfinger Bliss Balls!
Mixing the Base
The first step to creating the bliss balls involves mixing the core ingredients together. In a large mixing bowl, combine crushed Butterfinger candy bars, creamy peanut butter, powdered sugar, and graham cracker crumbs. It’s essential to stir the mixture thoroughly until a cohesive dough forms. This blending ensures that each delightfully sweet ball has a perfect balance of flavors – the sweetness of the powdered sugar complements the saltiness of the peanut butter and the buttery crunch of the Butterfinger candies. It’s vital that you achieve a dough that holds together well, which will make it easier to shape into balls later on.
Shaping the Bliss Balls
Once you’ve mixed your base, it’s time to create the bliss balls. To do this, take small portions of the mixture and roll them into uniform balls about an inch in diameter. This size is perfect for an ideal texture, allowing for both a satisfying bite and the right balance of flavors. Uniformity is key in this step, as it ensures even chocolate coating and consistent texture. Arrange the formed balls on a baking sheet lined with parchment paper to prevent them from sticking, making it easier for the next steps.
Chilling the Balls
The chilling stage is crucial in the process of making Butterfinger Bliss Balls. Once you have shaped all the balls, placing them in the refrigerator for about 30 minutes allows them to firm up significantly. This firming is essential as it makes the balls easier to handle when you coat them in chocolate later. Chilling not only enhances the structure of the balls but also allows the flavors to meld together, creating a more cohesive taste. It’s an important step that should not be skipped if you’re aiming for bliss balls that hold their shape when dipped.
Chocolate Coating Process
Now comes the exciting part: the chocolate coating. Coating the bliss balls with melted chocolate not only adds flavor but also gives them an elegant finish making them perfect for any occasion.
Melting the Chocolate
To create the chocolate coating, begin by combining the semi-sweet chocolate chips and coconut oil (if chosen) in a microwave-safe bowl. The coconut oil is optional but highly recommended as it helps achieve a smoother consistency when melted. Heat the mixture in the microwave, breaking it up into intervals of 30 seconds to avoid overheating, stirring after each interval until the chocolate is completely melted and smooth. This technique allows for easy melting without the risk of burning the chocolate, resulting in a luscious coating ready to envelop each bliss ball.
Dipping Technique
Once your chocolate is perfectly melted, it’s time to dip each bliss ball. Using a fork, gently lower a ball into the melted chocolate, making sure it is fully coated. Afterward, lift the ball out and allow any excess chocolate to drip back into the bowl; this prevents a messy finish and ensures that your treats are coated evenly. Place the coated bliss balls back on the prepared parchment paper. If you want to elevate the flavor further, consider sprinkling a small pinch of sea salt on top of each ball before the chocolate sets to create a delightful contrast.
Benefits of Adding a Pinch of Sea Salt for Contrast
Incorporating a pinch of sea salt onto your Chocolate-Coated Butterfinger Bliss Balls can dramatically enhance their flavor profile. Salt acts as a natural flavor amplifier, elevating the sweetness of the chocolate and the richness of the peanut butter. This is not just a matter of taste; it also brings balance to the joyously sweet and creamy elements of the bliss balls. The contrasting saltiness melds with the sweetness and adds a layer of complexity that makes every bite more engaging.
Timing for Adding Salt to Ensure Adherence to the Chocolate
To ensure that the sea salt adheres properly to the chocolate coating, the ideal time to sprinkle is right after dipping each bliss ball into the melted chocolate but before it has fully set. The warmth of the melted chocolate will help secure the salt, making sure it sticks without falling off when you serve or store the bliss balls.
Optional Garnishes
Beyond just a sprinkle of sea salt, there are several garnishing options that can elevate the visual appeal of your Butterfinger Bliss Balls. A light dusting of cocoa powder not only adds an appealing color contrast but also integrates a slight bitterness that can balance the sweetness. Crushed Butterfinger pieces sprinkled on top provide not only a textural variety but also reinforce the signature flavors of the candy bar, creating a more visually enticing dessert.
How Garnishes Can Improve Visual Appeal and Taste
Garnishes should never be an afterthought. Not only do they enhance the visual presentation, making your dessert more inviting, but they also serve a practical purpose in flavor development. Using a combination of cocoa powder and crushed Butterfinger enhances both the aesthetic and the taste, as it gives guests a preview of the delicious treat waiting for them. It invites them in, creating an irresistible allure.
Serving Suggestions
Creative ideas for presenting and enjoying Butterfinger Bliss Balls can transform a simple dessert into a festive centerpiece. Consider arranging these treats in a clear dessert tray that highlights their chocolatey exterior and colorful garnishes.
Party Platter Presentation
For special occasions, elevate your dessert game by creating a stunning dessert table display. Arrange the bliss balls in a circular pattern, or stack them in varying heights to create visual interest. Surround them with seasonal decorations or additional treats, like fruit or other chocolate confections, to further entice your guests.
Tips for Creating an Enticing Dessert Table Display
Remember, presentation is key. Use tiered cake stands to add height. Additionally, utilizing small decorative labels can provide guests with information about the indulgent treats they are about to enjoy, elevating the overall experience.
Perfect Pairings
Choose beverages that complement the sweetness of these bliss balls, such as rich, cold milk or a creamy latte. For a more adult-friendly option, consider serving them with coffee or dessert wines that can contrast the level of sweetness.
Other Dessert Items That Could Be Served Alongside
Incorporating complementary sweet treats can enhance the overall dessert experience. Chocolate-dipped strawberries, brownies, or a light vanilla cheesecake can make delightful companions to your Butterfinger Bliss Balls, appealing to diverse palates.
Storage Instructions
To maintain the integrity of the Butterfinger Bliss Balls, proper storage is imperative.
Best Practices for Refrigeration
Store leftover bliss balls in an airtight container to prevent them from drying out. Keeping them in the fridge will help to maintain their firmness, making sure they retain their delightful texture. The optimal storage time in the fridge is up to one week. With time, keep in mind that flavors may intensify, impacting the taste, while the chocolate may lose some sheen.
Freezing Options
For longer storage, freezing is a viable choice. Arrange the bliss balls on a baking sheet lined with parchment paper and freeze until solid. Once frozen, transfer them to a freezer-safe container or bag for up to two months.
Thawing Instructions to Maintain Flavor and Texture
When you’re ready to enjoy the bliss balls again, take them out of the freezer and let them thaw in the refrigerator for a few hours. This method helps maintain their texture and flavor without compromising quality.
Dietary Considerations
Looking into dietary adaptations for Butterfinger Bliss Balls can ensure that everyone can enjoy them.
Gluten-Free Adaptation
To create a gluten-free version, substitute standard graham crackers with gluten-free graham cracker alternatives or other suitable options like crushed gluten-free cookies. Always ensure that all other ingredients, including chocolate and peanut butter, are certified gluten-free.
Vegan Alternatives
For those following a plant-based lifestyle, a few substitutions can transform this recipe. Look for plant-based peanut butter and chocolate chips to ensure your bliss balls are vegan-friendly. Many brands offer excellent quality alternatives that maintain the same creamy texture and rich flavor expected from the traditional versions.
Frequently Asked Questions
Can I Use Other Candy Bars?
Certainly! While Butterfinger provides a unique flavor, other candy bars can also be utilized. Consider treats like Heath bars for a toffee flavor or Snickers for added chocolate and nut texture. Just be mindful that the flavor profile will shift accordingly.
What If I Don’t Have Graham Cracker Crumbs?
In instances where graham cracker crumbs are unavailable, you can achieve a similar texture using crushed digestive biscuits or even oatmeal cookies as substitutes, adjusting sweetness as necessary.
How Can I Make These Less Sweet?
To reduce sweetness without losing flavor, consider decreasing the amount of powdered sugar. Additionally, opting for dark chocolate instead of semi-sweet can also create a less sweet and more nuanced flavor while adding a pleasant bitterness.
Conclusion
Butterfinger Bliss Balls offer a delightful combination of sweet and salty flavors, with a satisfying texture brought from the crunch of crushed Butterfingers combined with the creaminess of peanut butter. Preparation is efficient, requiring minimal time to achieve a decadent dessert. Enjoy these bliss balls chilled for the best flavor experience.

Decadent Butterfinger Bliss Balls Recipe
Ingredients
- 1 cup crushed Butterfinger candy bars
- 1 cup creamy peanut butter
- 2 cups powdered sugar
- 1 cup graham cracker crumbs
- 1 cup semi-sweet chocolate chips
- 1 tablespoon coconut oil
- to taste sea salt
Instructions
-
In a large mixing bowl, combine the crushed Butterfinger candy bars, creamy peanut butter, powdered sugar, and graham cracker crumbs.
-
Stir the mixture thoroughly until all ingredients are well blended and a cohesive dough forms.
-
Take small portions of the mixture and roll them into balls, approximately 1 inch in diameter.
-
Arrange the formed balls on a baking sheet lined with parchment paper.
-
Chill the baking sheet in the refrigerator for about 30 minutes.
-
In a microwave-safe bowl, combine the semi-sweet chocolate chips and coconut oil, and heat until melted and smooth.
-
Dip each ball into the melted chocolate, ensuring they are evenly coated.
-
Place the chocolate-coated bliss balls back onto the parchment-lined baking sheet.
-
Sprinkle a small pinch of sea salt on top of each ball if desired.
-
Return the baking sheet to the refrigerator for an additional 15-20 minutes until the chocolate coating has hardened.