
Introduction
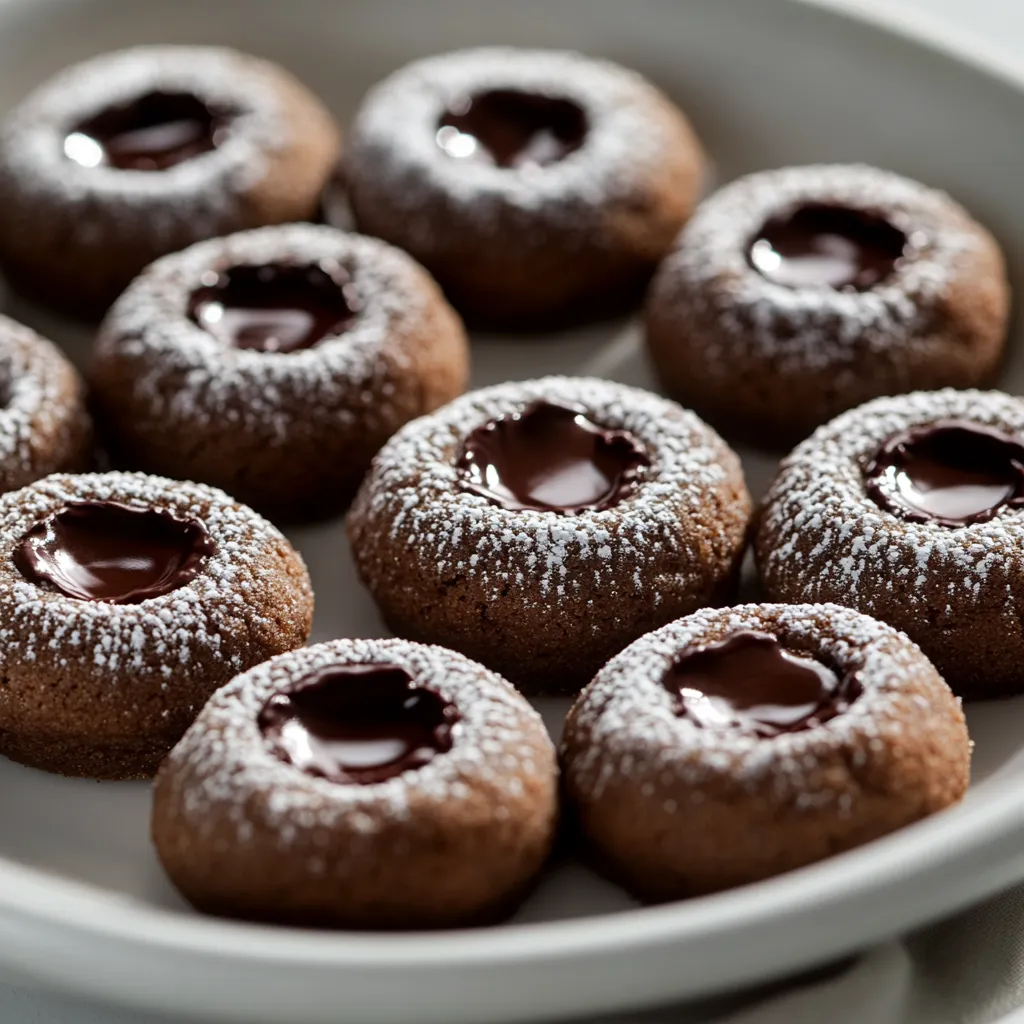
Exploring the world of desserts often leads to delightful discoveries, and among the sweetest of treats are the Decadent Dark Chocolate Thumbprint Cookies. These cookies are a true indulgence, boasting a rich chocolate flavor that makes them a standout choice for any occasion. Whether you’re celebrating a birthday, hosting a cookie swap, or simply treating yourself on a cozy evening, these thumbprint cookies will surely impress.
The combination of robust dark cocoa powder and creamy chocolate chips ensures a depth of flavor that is both intense and satisfying. Each bite offers a soft, chewy texture, complementing the subtle crunch of the edges. These cookies are not only a feast for the palate but also for the eyes, especially when dusted with powdered sugar, making them an inviting choice for your dessert spread.
Recipe Overview
– Prep Time: 15 minutes
– Cook Time: 12 minutes
– Total Time: 27 minutes
– Course: Dessert
– Cuisine: American
– Servings: 24 cookies
– Calories: Approximately 150 per cookie
The Decadent Dark Chocolate Thumbprint Cookies are characterized by their rich, chocolatey flavor and soft, chewy texture. With the dark cocoa powder enhancing the chocolate notes and a hint of vanilla rounding off the taste, these cookies are a must-try for all chocolate lovers.
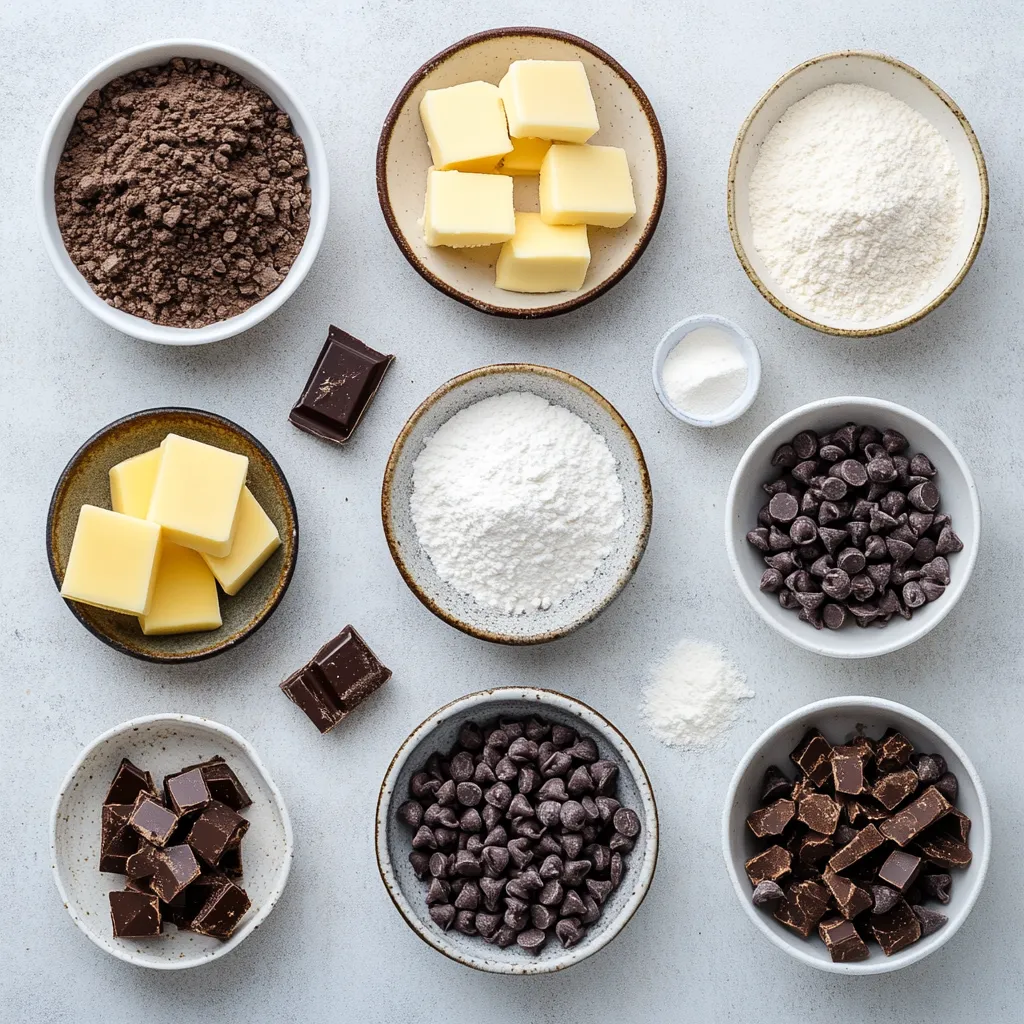
Ingredients
Understanding the ingredients used in this recipe is essential for achieving the best texture and flavor.
– Unsalted butter: 1 cup, softened to room temperature
– Brown sugar: 1 cup, packed for added moisture and caramel flavor
– All-purpose flour: 2 cups, the backbone for cookie structure
– Dark cocoa powder: 1/2 cup, preferably Dutch-process for enhanced richness
– Baking powder: 1/2 teaspoon, to provide lift
– Fine sea salt: 1/4 teaspoon, to balance sweetness
– Pure vanilla extract: 1 teaspoon, for flavor depth
– Dark chocolate chips: 1/2 cup, semi-sweet or bittersweet for a rich bite
– Powdered sugar: 1/4 cup, for dusting and visual appeal
These ingredients collectively craft the delightful experience that is the Decadent Dark Chocolate Thumbprint Cookies. The buttery base, complemented by the nutty sweetness of brown sugar, and enhanced by the deep flavors of dark cocoa, make each cookie a luxurious treat. The addition of chocolate chips adds a wonderful texture, creating glorious pockets of melted chocolate with every bite.
Instructions
Detailed instructions ensure that the cookies turn out perfect every time.
1. Begin by preheating your oven to 350°F (175°C). Prepare a baking sheet by lining it with parchment paper to prevent sticking.
2. In a large mixing bowl, use an electric mixer to cream the softened butter and brown sugar together until the mixture becomes light and fluffy, which should take about 3-5 minutes.
3. Incorporate the vanilla extract into the butter-sugar mixture, blending until fully combined.
4. In a separate bowl, whisk together the all-purpose flour, dark cocoa powder, baking powder, and fine sea salt until well mixed.
5. Gradually add the dry ingredients to the wet mixture, stirring gently until a cohesive dough forms. Be careful not to overmix.
6. Gently fold in the dark chocolate chips, ensuring they are evenly distributed throughout the dough.
7. Using a tablespoon, scoop out portions of dough and roll them into balls. Place the dough balls on the prepared baking sheet, making sure to leave adequate space between each to allow for spreading.
8. With your thumb, gently press down in the center of each cookie to create a small indentation.
9. Bake the cookies in the preheated oven for 10-12 minutes, until the edges are firm but the centers remain soft. Remove from the oven and allow the cookies to cool on the baking sheet for a few minutes before transferring them to a wire rack.
10. Once the cookies are cooled, lightly dust them with powdered sugar to add a sweet finishing touch.
11. Savor your luscious dark chocolate thumbprint cookies, perfect for any sweet tooth!
Preheating the Oven
Start by heating your oven to 350°F (175°C). This step is crucial as it ensures that the cookies bake evenly. A hot oven ensures that the edges of the cookies firm up while allowing the centers to remain soft, preserving that delightful chewy texture that makes these cookies so appealing.
Creaming Butter and Sugar
In a large mixing bowl, combine the softened butter and packed brown sugar. Using an electric mixer, beat them together until the mixture is light and fluffy; this should take about 3-5 minutes. This step is vital because creaming introduces air into the butter, giving the cookies a lighter texture. The combination of butter and brown sugar also adds a wonderful caramel flavor that enhances the richness of the chocolate.
Mixing in Vanilla
After achieving the right texture, add the vanilla extract to the butter-sugar mixture. The vanilla enhances the overall flavor profile of the cookies, rounding off the sweetness with its aromatic essence. Blend until fully incorporated, ensuring that each cookie is infused with that wonderful vanilla taste.
Combining Dry Ingredients
In a separate bowl, whisk together the dry ingredients—flour, dark cocoa powder, baking powder, and fine sea salt. This ensures an even distribution of the elements that contribute to texture and flavor. Sifting or whisking these ingredients together also helps break up any lumps in the cocoa powder, resulting in a smoother, more cohesive dough. The dark cocoa powder, especially if using Dutch-process, brings a depth of flavor, giving the cookies a profound chocolate richness.
Creating the Dough
Gradually mix the dry ingredients into the wet mixture. Stir gently until a cohesive dough forms, being careful not to overmix. Overmixing can lead to tough cookies by developing the gluten in the flour too much, which is not desired in soft, chewy cookies. This gentle mixing allows the dry ingredients to integrate without compromising the tenderness we seek.
Adding Chocolate Chips
Incorporate the dark chocolate chips by folding them into the dough gently. This ensures that every cookie contains delicious chunks of chocolate, providing bursts of rich flavor with each bite. The choice between semi-sweet and bittersweet chocolate chips adds a layer of customization to the cookies, allowing you to cater to your specific chocolate affinity.
Shaping the Cookies
This section explains the technique used to create the iconic thumbprint shape.
Scooping the Dough
Using a tablespoon, scoop out portions of the dough and roll them into small balls. This method helps ensure uniform cookie sizes for even baking. When placing the dough balls on the prepared baking sheet, keep adequate space between each ball. As the cookies bake, they will spread out, and proper spacing prevents them from merging into one another, maintaining their individual shape and thumbprint feature.
Arranging on Baking Sheet
When preparing to bake your decadent dark chocolate thumbprint cookies, the arrangement of the dough balls on the baking sheet is crucial for ensuring they bake evenly. After rolling the dough into balls, place them on a parchment-lined baking sheet, maintaining adequate space between each ball. Leaving space is important because the cookies will spread as they bake, and you want to prevent them from merging into one another. Aim for about 2 inches between each dough ball to allow ample room for spreading while maintaining their individual charm.
Creating Indentations
This step is not just a decorative one—creating indentations in the center of each cookie is essential for both presentation and taste. Using your thumb, gently press down in the center of each cookie, forming a small well. This indentation serves dual purposes: it holds the delicious powdered sugar topping after baking and creates a perfect reservoir for any potential filling you might want to add in the future. A well-formed indentation will also prevent the cookie from puffing up too much, allowing it to maintain its delightful thumbprint shape.
Baking Process
Baking cookies requires a balance of precision and intuition; understanding the nuances of the process can elevate your cookies to perfection.
Oven Settings
It is crucial to ensure that your oven is fully preheated to the required temperature of 350°F (175°C). A properly preheated oven allows the cookies to start baking immediately upon entering, resulting in a consistent baking environment. To achieve the best results, invest a few minutes in allowing your oven to come to the proper temperature. Using an oven thermometer can help ensure accuracy, as some ovens may display inaccurate temperatures.
Baking Duration
Once you place the baking sheet in the oven, the magic begins. Bake your cookies for a duration of 10-12 minutes, but keep a close watch during the final minutes. You’re looking for a consistent visual cue: the edges should appear firm, while the centers remain soft. This achieved texture provides a delightful contrast and ensures that the cookies are indulgently chewy. Baking for too long can result in overly dry cookies, so it’s best to err on the side of caution and remove them from the oven when they show just a hint of softness in the middle.
Cooling Period
After removing the cookies from the oven, patience is essential. Allow them to rest on the baking sheet for 3-5 minutes before transferring them to a wire rack. This cooling period allows the cookies to set and firms them up slightly, preventing them from breaking apart during the transfer. Once they are on the wire rack, let them cool completely. The cooling stage not only finishes the cooking process but also enhances the flavors as they develop further.
Finishing Touch
The final steps in the preparation of your dark chocolate thumbprint cookies are equally important—the finishing touch makes all the difference in taste and presentation.
Dusting with Powdered Sugar
Once your cookies are cooled, it’s time to elevate their appearance and flavor with a light dusting of powdered sugar. Use a fine sieve or sifter to evenly sprinkle the powdered sugar over each cookie. This adds not only a touch of sweetness but also an elegant presentation, contrasting beautifully against the rich, dark cocoa base. This simple refinement transforms your cookies from delicious to stunning, making them an appealing choice for gatherings or simply as a special treat.
Decorative Presentation
Consider showcasing your cookies on a decorative platter, which invites guests to indulge. A few extra dark chocolate chips scattered among the cookies can create a lovely visual appeal, enhancing the overall presentation. You may also include a few sprigs of mint or edible flowers around the cookies to elevate the display further. Such touches make your cookie presentation attractive and comforting, enticing everyone who lays eyes on them.
Pairing Suggestions
The indulgence of these dark chocolate thumbprint cookies is heightened when paired with complementary beverages, enhancing the overall tasting experience.
Milk
A timeless classic, pairing these cookies with a cold glass of milk enhances the rich chocolate flavor, creating a creamy contrast that balances the cocoa’s intensity. The refreshing nature of milk also allows for a delightful texture experience, as you dip each cookie into the glass for a satisfying treat.
Coffee
For those looking to elevate their cookie experience, a cup of coffee is an excellent option. The bold flavors of coffee harmonize beautifully with the dark chocolate, as the bitter notes of the brew complement the sweetness of the cookies. Whether you prefer an espresso, cappuccino, or a simple black coffee, this pairing is sure to bring out the deeper flavors of both the drink and the cookies.
Storage Tips
To maintain the freshness and quality of your cookies, the storage method you choose is important.
Airtight Containers
To keep your cookies fresh and delicious, store them in an airtight container. Place the cooled cookies in the container and ensure that it is sealed tightly. Keeping cookies at room temperature in this manner will preserve their soft texture and rich flavors, making sure they are ready to enjoy whenever your sweet tooth strikes.
Freezing for Later
If you find yourself with extra cookies or want to save some for later enjoyment, consider freezing them. To freeze, place the cookies in a single layer on a baking sheet and freeze until solid. Once hardened, transfer them to an airtight freezer-safe container, separating layers with parchment paper to prevent sticking. This method allows you to enjoy your decadent dark chocolate thumbprint cookies at a later date, making it easy to satisfy your sweet cravings anytime.
Nutritional Information
A glance at the caloric content of these cookies reveals that each cookie contains approximately 150 calories. With a serving size of 24 cookies, these delightful treats can fit into many dietary plans, offering a rich chocolatey indulgence without significant guilt. The balance of flavors in these cookies proves that deliciousness can coexist with mindful eating.
In conclusion, these dark chocolate thumbprint cookies not only stand out for their rich flavors and lovely presentation but also offer versatility in pairing and enjoyment. Whether served at a gathering or savored on your own, they provide a delicious treat to satisfy any chocolate lover’s cravings.

Decadent Dark Chocolate Thumbprint Cookies Recipe
Ingredients
- 1 cup unsalted butter softened
- 1 cup packed brown sugar
- 2 cups all-purpose flour
- ½ cup dark cocoa powder
- ½ teaspoon baking powder
- ¼ teaspoon fine sea salt
- 1 teaspoon pure vanilla extract
- ½ cup dark chocolate chips
- ¼ cup powdered sugar
Instructions
- Preheat the oven to 350°F (175°C) and line a baking sheet with parchment paper.
- Cream the softened butter and brown sugar together until light and fluffy.
- Incorporate the vanilla extract into the butter-sugar mixture.
- Whisk together the flour, cocoa powder, baking powder, and salt in a separate bowl.
- Gradually add the dry ingredients to the wet mixture, stirring gently until a dough forms.
- Fold in the dark chocolate chips evenly throughout the dough.
- Scoop out portions of dough, roll into balls, and place on the baking sheet.
- Press down in the center of each cookie to create an indentation.
- Bake for 10-12 minutes until edges are firm and centers are soft.
- Cool on the baking sheet for a few minutes before transferring to a wire rack.
- Dust with powdered sugar before serving.