
Introduction
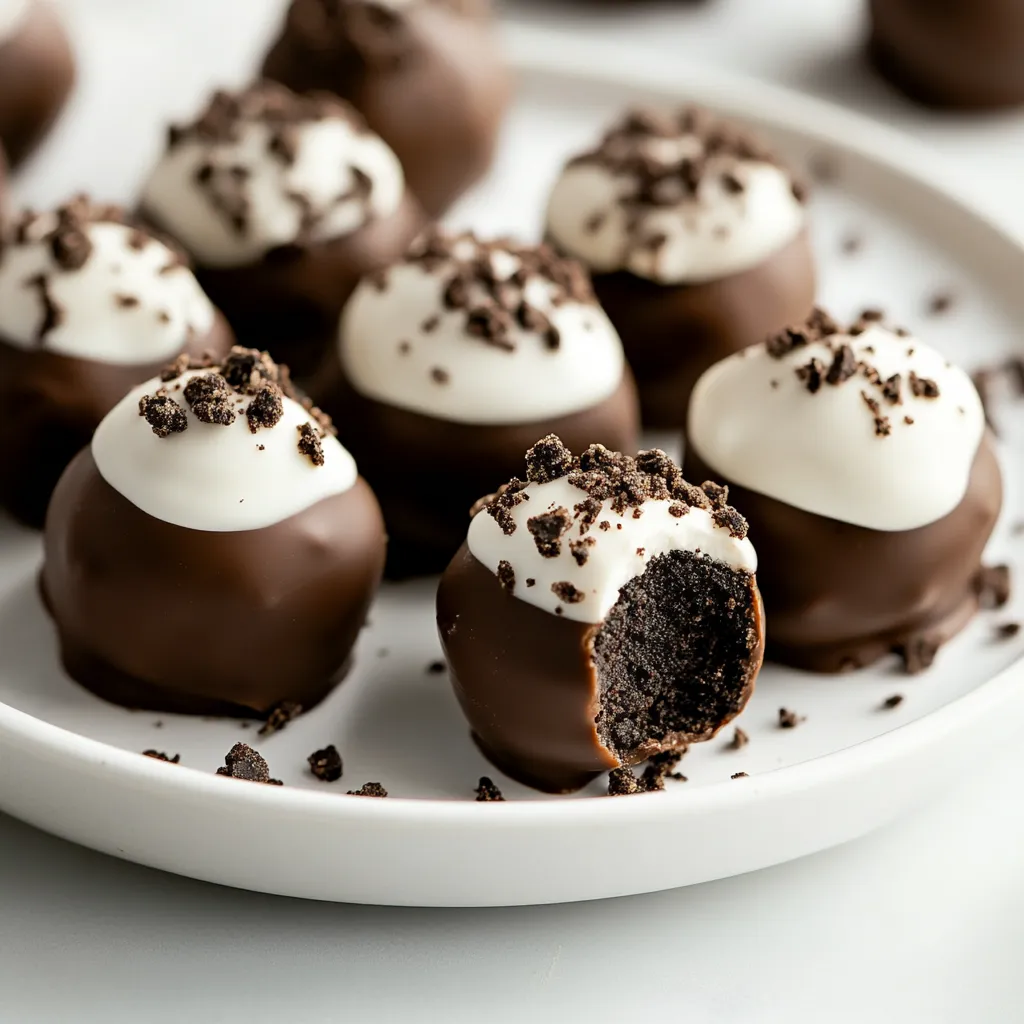
Exploring the world of desserts can often lead to delightful and indulgent treats, and there’s something irresistibly charming about no-bake desserts. One such treat that quickly garners attention is the Decadent No-Bake Oreo Truffles. Known for their rich flavor and creamy texture, these truffles are a perfect addition to any dessert table. Whether for a family gathering, a festive celebration, or just a special treat at home, these truffles blend the beloved Oreo cookie with the smooth creaminess of cream cheese, creating an indulgence that is hard to resist.
What makes these truffles particularly appealing is their simplicity. With just a handful of ingredients, you can create bite-sized wonders that pack a flavor punch in every single piece. The process is entirely sans-baking, making it an excellent choice for even the most novice cooks or those short on time. Imagine the joy of enjoying decadent sweets while spending minimal time in the kitchen – and let’s not forget how impressive these treats appear when displayed!
Each bite of these truffles delivers a delightful crunch from the Oreos, balanced with the subtle richness from cream cheese and a luscious chocolate coating. They are perfect for any occasion, whether you’re celebrating a birthday, hosting a holiday gathering, or seeking a sweet ending to a casual meal. The contrast of textures and flavors makes these truffles not only a dessert but an experience.
Recipe Overview
– Prep Time: 15 minutes
– Cook Time: 0 minutes
– Total Time: 1 hour
– Course: Dessert
– Cuisine: American
– Servings: 24 truffles
– Calories: Approximately 90 per truffle
Ingredients
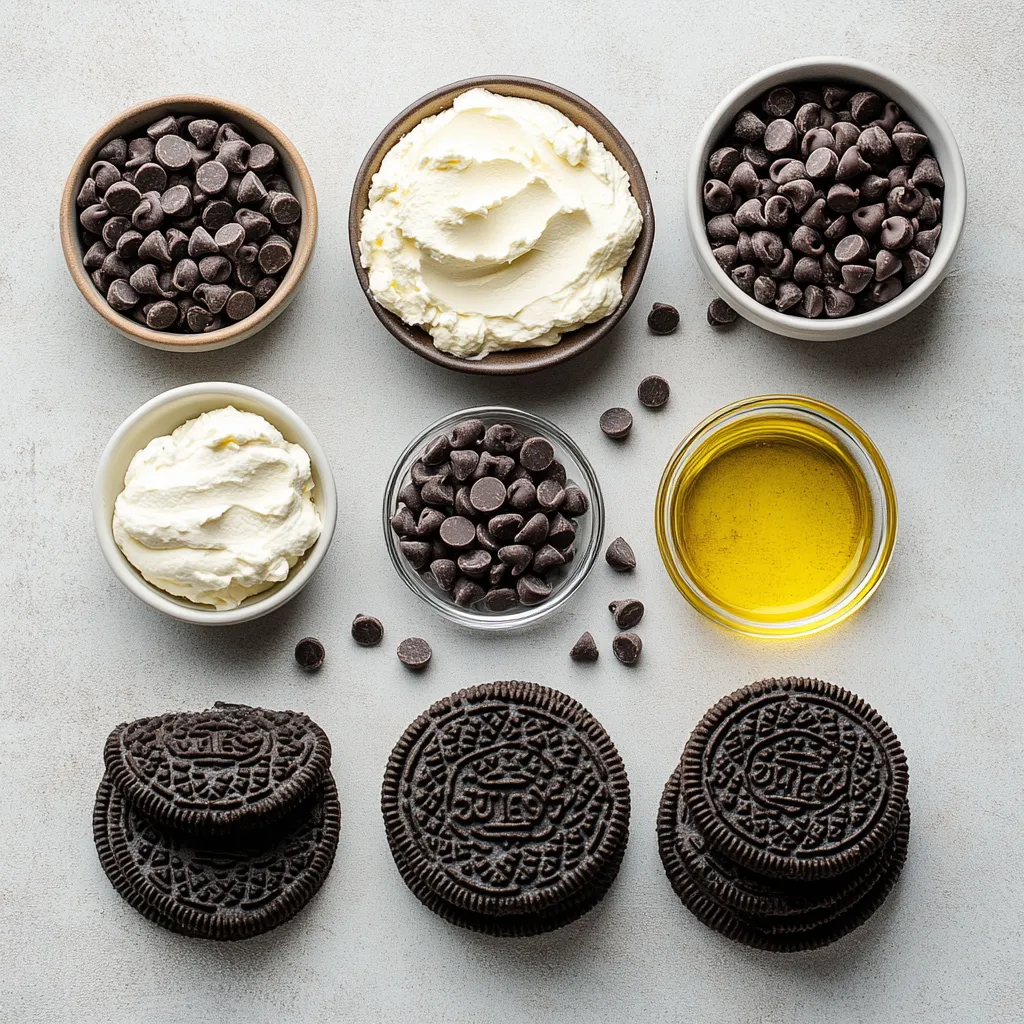
– 1 package (15.25 oz) Oreo cookies
– 8 oz cream cheese, softened to room temperature
– 1 cup chocolate chips (either dark or milk chocolate)
– 1 tablespoon vegetable oil
– Optional: extra crushed Oreos for garnish
Instructions
1. Begin by placing the Oreo cookies in a food processor. Pulse the cookies until they are finely crushed, resembling a sandy texture.
2. In a medium mixing bowl, combine the finely crushed Oreos with the softened cream cheese. Use a spatula or your hands to mix until the two ingredients are thoroughly blended and form a cohesive mixture.
3. Once combined, take small portions of the mixture and roll them into balls, approximately 1 inch in diameter. Arrange the formed truffles on a baking sheet lined with parchment paper.
4. Transfer the baking sheet to the freezer and chill the truffles for about 30 minutes to allow them to firm up.
5. While the truffles chill, prepare the chocolate coating. In a microwave-safe bowl, combine the chocolate chips and vegetable oil. Heat in the microwave in 30-second intervals, stirring after each interval until the mixture is completely melted and smooth.
6. Remove the chilled truffles from the freezer. Carefully dip each truffle into the melted chocolate, ensuring that it is fully coated. Allow any excess chocolate to drip off.
7. Place the chocolate-covered truffles back onto the parchment-lined baking sheet.
8. For an extra touch, sprinkle crushed Oreos on top of the truffles while the chocolate is still wet, so they adhere well.
9. Return the baking sheet to the refrigerator and chill the truffles for at least 30 minutes, or until the chocolate coating is firm to the touch.
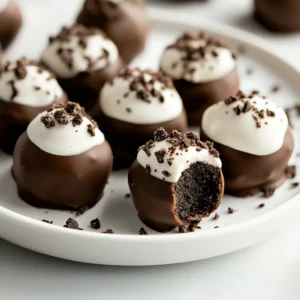
10. Once set, serve your delightful no-bake Oreo truffles and savor the rich, creamy flavors!
The Appeal of No-Bake Desserts
Convenience and Time Efficiency
No-bake desserts like Oreo truffles are remarkably quick to prepare, making them a favorite among home cooks and busy individuals. This recipe, taking merely 15 minutes of preparation time and requiring no baking, is perfect for those who crave something sweet without the need for extensive kitchen time. The process is straightforward and uncomplicated, allowing anyone to create tasty treats without the fear of baking mishaps.
Additionally, the absence of baking means you can avoid the heat of the oven, making these truffles an ideal treat to make even during warmer months. The simplicity of mixing, rolling, and coating means that you can whip up a batch almost any time – whether as a last-minute dessert for guests or a delightful surprise for family.
Versatility
These truffles can be adapted with different flavor profiles or ingredients, allowing for a personalized touch. While the classic Oreo is certainly beloved, you could also consider experimenting with other cookie varieties or adding flavorings like mint or peanut butter for a twist on the traditional. The basic method of crushing cookies, mixing with cream cheese, forming balls, and coating in chocolate provides a foundational recipe that can cater to a plethora of preferences.
This versatility makes Oreo truffles a adaptable dessert to fit various occasions. Want to cater to seasonal flavors? Add seasonal spices or use festive decorations. The only limit is your imagination.
Cohesive Family Creation
Making these truffles can be a fun family activity, combining play and production in the kitchen. Children love the hands-on experience of rolling the mixture into balls and dipping them into the melted chocolate. It’s an opportunity to bond with family members while doing something deliciously productive. Engaging children in cooking can foster a love for food and cooking from an early age, while also developing their motor skills. Whether you’re teaching them how to measure, mix, or roll, these little truffles can become a joint creation filled with laughter and joy.
The process of making these treats together not only provides quality family time but also allows everyone to express their creativity – from garnishing with additional crushed Oreos to deciding how to present them. It transforms a simple dessert into cherished memories.
As you explore these components—convenience, versatility, and the joy of family creation—the appeal of no-bake desserts like Oreo truffles becomes undeniably evident, making them a perfect choice for a crowd-pleasing treat.
Health Benefits of Ingredients
Nutritional Profile of Oreo Cookies
While delicious, Oreo cookies do contain sugar and fats that should be consumed in moderation. With each truffle carrying approximately 90 calories, it’s wise to enjoy them in moderation despite their scrumptious flavor. The balance of sweetness in the truffles compliments the cream cheese, creating a perfectly indulgent bite without overwhelming the palate.
Cream Cheese: A Creamy Delight
Cream cheese adds richness and creaminess while providing a source of calcium. Although it’s not a health food per se, it does contribute to the overall texture and flavor profile of the truffles. Using a spreadable cream cheese that’s softened to room temperature enhances the mixing process, turning a simple cookie crumble into a smooth, creamy delight.
Dark Chocolate Selection
Using dark chocolate can increase the health benefits, offering antioxidants and a richer flavor. If you opt for dark chocolate chips, your truffles not only achieve a more intense chocolate flavor but also benefit from the health properties associated with dark chocolate, which is often hailed for its potential heart health benefits.
In summary, while these Decadent No-Bake Oreo Truffles should be enjoyed as a treat, understanding the ingredients and their attributes can give you a complete picture of these little pleasures. They are more than just a testament to your culinary skills; they are a fusion of flavors, textures, and delightful memories in the making.
Chill the Rolled Truffles
Once you have formed the truffles into approximately 1-inch balls, the next step is crucial for achieving the right texture. Place the baking sheet filled with the rolled truffles into the freezer. This chilling process lasts for about 30 minutes and allows the truffles to firm up properly, making them easier to coat in chocolate. The colder the truffles are, the better the chocolate will adhere to them, resulting in a smoother and more polished finish.
Chocolate Coating Process
Melting the Chocolate
To create that luxurious outer layer for your truffles, start by melting the chocolate chips combined with vegetable oil. Choose a microwave-safe bowl for convenience; the oil not only helps in achieving a smoother consistency when melted but also allows for a more fluid coating. Heat the mixture in the microwave in 30-second increments, stirring gently after each session to monitor the melting process. This careful approach will prevent the chocolate from burning, enabling you to achieve a creamy texture that is ideal for coating.
Dipping Technique
Once your chocolate has melted to a silky consistency, carefully remove the chilled truffles from the freezer. Using a fork or a skewer, dip each truffle into the melted chocolate, ensuring it is entirely coated. Allow any excess chocolate to drip off back into the bowl; this technique results in a cleaner finish and avoids the dreaded “chocolate puddles” on your baking sheet. After dipping, place the coated truffles neatly back onto the prepared baking sheet.
Optional Garnish
For those who wish to elevate the aesthetics and taste of the truffles further, sprinkle extra crushed Oreos on top while the chocolate coating is still wet. This not only adds a delightful crunch but also contributes to the overall presentation. The contrast between the dark chocolate coating and the white, creamy Oreo crumbles creates a visually appealing treat that looks as good as it tastes.
Final Chilling Process
Setting the Chocolate
After all the truffles have been dipped and adorned with optional garnishes, it’s time for the final chilling process. Return the baking sheet filled with your chocolate-coated truffles to the refrigerator for at least 30 minutes. This step is essential to ensure that the chocolate hardens well, creating a firm shell that contrasts beautifully with the creamy interior once bitten into.
Serving Suggestions
When ready to serve, arrange the chilled truffles on a decorative platter. Presenting them on such a dish enhances their visual appeal and creates a delightful treat that guests will appreciate. Consider pairing them with a selection of other sweets, or simply enjoy them on their own.
Tips for Success
Ensure Proper Mixing
To achieve the perfect consistency for your truffle filling, it’s vital to thoroughly mix the softened cream cheese and the crushed Oreo mixture. This ensures that every bite will be uniformly decadent, with no pockets of dry or less flavorful areas. Use a spatula or your hands to blend the ingredients until the mixture is cohesive and smooth.
Controlled Chocolate Melting
Heating the chocolate chips at controlled intervals is key to a successful coating. Doing so not only prevents burning but also achieves a silky texture that enhances the overall quality of the finished truffle. A smooth melting process is the foundation of a perfect chocolate coating, so take your time with this step.
Choosing the Right Chocolate
For optimal flavor and texture, select high-quality chocolate chips. You can choose between dark or milk chocolate based on your personal preference, but the quality matters significantly. Premium chocolate will melt better and taste richer, resulting in truffles that leave a lasting impression.
Storage and Shelf Life
Best Practices for Storage
To keep your Oreo truffles fresh, it’s essential to store them in an airtight container in the refrigerator. This prevents moisture from affecting their texture and flavor. Layering parchment paper between the truffles can also help avoid sticking together, ensuring every truffle retains its shape and coating.
Expected Shelf Life
When stored properly, these truffles can last up to a week in the refrigerator. Their delightful flavors will remain intact for several days, making them perfect for enjoying on multiple occasions or sharing with friends and family.
Pairing Suggestions
Beverage Pairings
Decadent No-Bake Oreo Truffles pair beautifully with a variety of beverages. Coffee, with its rich, bold flavors, complements the sweetness of the truffles perfectly. Alternatively, a warm cup of tea can provide a soothing backdrop to the indulgence, or a glass of cold milk can offer a classic pairing that appeals to all ages.
Dessert Table Fit
These truffles can stand out or fit seamlessly within any dessert table setup. Their small size makes them a great addition alongside larger desserts such as brownies or cupcakes. Consider arranging them attractively on a tiered dessert stand to create an inviting display for guests.
Conclusion
These Decadent No-Bake Oreo Truffles exemplify the blend of simplicity and indulgence in dessert-making. They are easy to prepare, requiring only minimal time and effort, while still providing a rich and satisfying flavor. With their appealing appearance and delightful taste, these truffles are certain to impress at any gathering or special occasion.
Decadent No-Bake Oreo Truffles Recipe
Ingredients
- 1 package Oreo cookies
- 8 oz cream cheese softened
- 1 cup chocolate chips
- 1 tablespoon vegetable oil
- optional extra crushed Oreos for garnish
Instructions
- Place the Oreo cookies in a food processor and pulse until finely crushed.
- Combine the crushed Oreos with softened cream cheese in a mixing bowl and mix until blended.
- Roll the mixture into 1-inch balls and place them on a parchment-lined baking sheet.
- Chill the truffles in the freezer for about 30 minutes to firm up.
- Melt chocolate chips and vegetable oil in a microwave-safe bowl, stirring until smooth.
- Dip each truffle into the melted chocolate, allowing excess to drip off.
- Return the chocolate-covered truffles to the baking sheet.
- Sprinkle crushed Oreos on top while the chocolate is still wet.
- Chill the truffles in the refrigerator for at least 30 minutes until the chocolate is firm.
- Serve and enjoy the rich flavors of your no-bake Oreo truffles!