


Introduction
As the holiday season approaches, the aroma of freshly baked cookies fills the air, creating a warm and inviting atmosphere in homes everywhere. Among the myriad of festive treats, festive cut-out sugar cookies stand out as a timeless classic, beloved by children and adults alike. Their versatility allows for endless creativity, whether you’re crafting whimsical shapes, intricate designs, or simply enjoying the sweet simplicity of a classic cookie. Baking and decorating these cookies has become a cherished family tradition, evoking a sense of nostalgia that resonates deeply within the hearts of many.
The joy of gathering in the kitchen, rolling out dough, and applying colorful icing is not just about creating delicious treats but also about making memories that last a lifetime. These festive cut-out sugar cookies serve as a perfect canvas for creativity, allowing everyone—from novice bakers to seasoned chefs—to express themselves through food. In this article, we will provide you with a detailed, step-by-step recipe for crafting these delightful cookies, ensuring that your holiday baking is both enjoyable and successful.
Understanding the Ingredients
Overview of Essential Ingredients
To achieve the perfect festive cut-out sugar cookies, it’s essential to understand the role that each ingredient plays in the overall flavor and texture of the final product. Here’s a breakdown of the key components you’ll need for this recipe:
1. All-Purpose Flour: This is the backbone of your cookie dough, providing the necessary structure and stability. The protein content in all-purpose flour helps create the right balance of softness and firmness in the cookies.
2. Baking Powder and Salt: Baking powder acts as a leavening agent, giving your cookies that delightful lift while they bake. Salt, on the other hand, enhances the flavors, ensuring the sweetness of the cookies is perfectly balanced.
3. Unsalted Butter: This ingredient is crucial for both flavor and texture. Unsalted butter allows you to control the salt content in your cookies, while its fat content contributes to the rich, tender crumb that makes sugar cookies so irresistible.
4. Granulated Sugar: The primary sweetener in this recipe, granulated sugar not only adds sweetness but also affects the browning of the cookies during baking. The sugar helps create a golden exterior while keeping the inside tender.
5. Eggs: Eggs serve multiple purposes in cookie recipes: they provide moisture, help bind the ingredients together, and contribute to the overall structure. The proteins in eggs also help create a chewy texture that contrasts beautifully with the crisp edges of the cookies.
6. Extracts (Vanilla and Almond): These flavor enhancers elevate your cookies from ordinary to extraordinary. Vanilla extract adds a warm, sweet flavor, while almond extract brings a subtle nuttiness that complements the other ingredients beautifully.
Importance of Each Ingredient
Understanding the function of these ingredients is key to mastering the art of baking cut-out sugar cookies. For instance, using high-quality unsalted butter will significantly enhance the cookie’s flavor, while measuring the flour accurately ensures that your dough isn’t too dry or too wet. Each ingredient plays a pivotal role, and attention to detail can make all the difference between a good cookie and a spectacular one.
Preparation Steps for Cut-Out Sugar Cookies
Prepping the Kitchen: Setting Up for Success
Before you dive into mixing your ingredients, it’s important to prepare your kitchen environment. A well-organized workspace not only makes the baking process smoother but also more enjoyable. Here are some essential steps to set yourself up for success:
– Measure All Ingredients: Start by measuring out all your ingredients and having them ready to go. This practice, known as “mise en place,” will save you time and reduce the likelihood of forgetting any ingredients.
– Gather Your Tools: Ensure you have the necessary tools at hand. You will need:
– Mixing bowls for combining ingredients
– An electric mixer for creaming butter and sugar
– A rolling pin for rolling out the dough
– A variety of cookie cutters for your festive shapes
– Baking sheets lined with parchment paper for easy cleanup
Step-by-Step Guide to Making Sugar Cookie Dough
Once your kitchen is prepped, you can begin the process of creating your cookie dough. Follow these detailed instructions for best results:
1. Combine Dry Ingredients: In a medium bowl, whisk together the all-purpose flour, baking powder, and salt. This step ensures that the leavening agent is evenly distributed throughout the flour, leading to uniform cookies. Set this mixture aside.
2. Cream the Butter and Sugar: In a large mixing bowl, use an electric mixer to cream together the softened unsalted butter and granulated sugar. Start on a low speed and gradually increase to medium. This process should take about 3-5 minutes until the mixture is light and fluffy. Creaming the butter and sugar properly is crucial, as it incorporates air into the mixture, which helps create a tender texture in the finished cookies.
3. Incorporate the Egg and Extracts: Once the butter and sugar are well creamed, add in one large egg and the vanilla and almond extracts. Beat the mixture on medium-high speed until fully combined. This step enhances the flavor and adds moisture to your dough.
4. Gradually Add Dry Ingredients: With the mixer on low speed, gradually add the flour mixture to the butter mixture. Mix just until the dry ingredients are incorporated. Be cautious not to overmix, as this can lead to tougher cookies. The dough should come together and be slightly sticky but manageable.
Chilling the Dough: Why It Matters
After mixing your dough, it’s essential to chill it before rolling and cutting your cookies. Chilling the dough serves several important purposes:
– Prevents Spreading: Chilled dough helps prevent the cookies from spreading too much during baking, ensuring that they maintain their cut-out shapes.
– Enhances Flavor: Allowing the dough to rest in the refrigerator gives the flavors time to meld, resulting in a richer taste.
– Easier to Roll: Chilled dough is easier to handle and roll out, making it simpler to achieve the desired thickness for your cookies.
Suggested Chilling Time: Wrap the dough in plastic wrap and refrigerate for at least 1 hour, or up to overnight. If you’re short on time, even a 30-minute chill can make a difference.
Rolling and Cutting the Cookies
Techniques for Rolling Out Dough
Once your dough is chilled and ready, it’s time to roll it out and cut your festive shapes. Here are some tips to achieve the perfect thickness for your cut-outs:
1. Prepare Your Surface: Lightly flour your work surface and the rolling pin to prevent the dough from sticking. You can also use parchment paper or a silicone baking mat for easier cleanup.
2. Divide the Dough: For easier handling, divide your dough into two or three portions. Keep the portions you’re not currently using in the refrigerator to maintain their chill.
3. Roll to the Right Thickness: Using a rolling pin, roll out the dough to about 1/4 inch thick. This thickness is ideal for cut-out cookies, as it allows for a nice rise while still maintaining a sturdy shape.
4. Cut Your Shapes: Use your cookie cutters to cut out shapes from the rolled dough. Place the cut cookies on your prepared baking sheets, leaving space between each cookie to allow for expansion during baking.
5. Re-Roll Scraps: Gather any scraps of dough, re-roll them, and cut out additional cookies. Continue this process until all the dough is used.
With these steps and tips in mind, you are well on your way to creating a batch of festive cut-out sugar cookies that will delight family and friends during the holiday season. As you embark on this baking journey, keep the spirit of creativity and fun at the forefront, and enjoy every moment spent in the kitchen. Stay tuned for the next part of the recipe, where we will dive deeper into baking and decorating these delightful treats!
Tips for Flouring Surfaces to Prevent Sticking
When rolling out your dough for festive cut-out sugar cookies, flouring your surfaces properly is essential to prevent sticking and ensure a smooth process. Here are a few tips to help you achieve the best results:
1. Use a Generous Amount of Flour: Dust your work surface with a light but generous layer of flour. This creates a barrier between the dough and the surface, making it easier to roll out and cut shapes.
2. Flour Your Rolling Pin: Don’t forget to flour your rolling pin as well. This will help prevent the dough from clinging to the pin as you roll it out.
3. Rotate Your Dough: As you roll out the dough, periodically lift it and sprinkle a little more flour underneath. This prevents it from sticking to the surface and helps maintain an even thickness.
4. Chill the Dough: If you find that your dough is too sticky, consider chilling it for 15-30 minutes before rolling. A cooler dough is firmer and less likely to stick.
5. Use Parchment Paper: For an even easier cleanup, roll out your dough between two sheets of parchment paper. This will keep the dough from sticking and also make it easier to transfer to the baking sheet.
Creative Shaping and Decorating Techniques
The beauty of festive cut-out sugar cookies lies in their versatility. Here are some creative shaping and decorating techniques to elevate your cookies:
Suggestions for Cookie Cutter Shapes
To match festive themes, consider using cookie cutters that reflect the season. Here are some popular options:
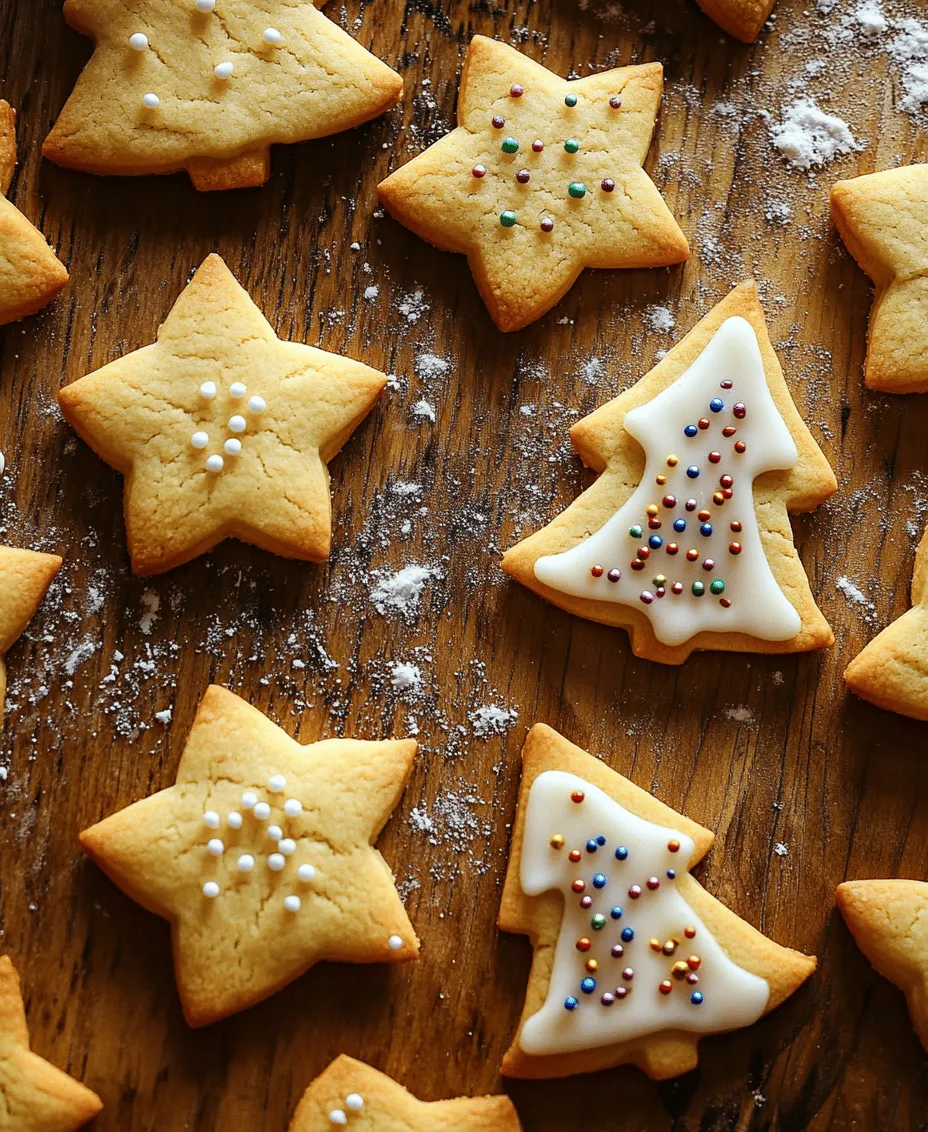
– Holiday Icons: Stars, snowflakes, Christmas trees, and gingerbread men are classic shapes that celebrate the holiday spirit.
– Seasonal Symbols: For other occasions, like Valentine’s Day, use hearts, or for Halloween, opt for bats and pumpkins.
– Custom Shapes: If you’re feeling adventurous, you can create your own cookie cutter shapes from metal or even use a knife to freehand shapes.
Pre-baking vs. Post-baking Decoration
When it comes to decorating, you have two main options: decorating before baking or after baking.
– Pre-baking Decoration: Sprinkling colored sugar over your cut-out shapes before baking adds a delightful sparkle and texture. Use coarse colored sugar for the best visual effect.
– Post-baking Decoration: This method allows for more intricate designs. Once your cookies are baked and cooled, you can use icing and sprinkles to create detailed decorations. Icing gives you the flexibility to outline, flood, and create patterns on your cookies.
Baking the Sugar Cookies
Perfecting the Baking Process
Baking your sugar cookies to perfection is crucial for achieving the right balance of texture and flavor. Here are essential tips for the baking process:
– Optimal Oven Temperature: Preheat your oven to 350°F (175°C). This temperature ensures that the cookies bake evenly without becoming too hard or overly soft.
– Knowing When Cookies Are Done: Keep an eye on your cookies as they bake. They should be golden around the edges but still soft in the center. A good rule of thumb is to take them out when they are just set; they will continue to cook slightly after being removed from the oven.
– Monitoring Baking Time: Generally, sugar cookies will take about 8-10 minutes to bake, depending on their thickness. For best results, check them a minute or two before the suggested time to prevent overbaking.
Cooling and Handling Cookies
Proper cooling is vital to maintain the integrity of your cookies:
– Cooling Times: Allow your cookies to cool on the baking sheet for about 5 minutes before transferring them to a wire rack. This short cooling period helps them firm up slightly, making them easier to move without breaking.
– Best Practices for Transferring Cookies: Use a spatula to carefully lift the cookies from the baking sheet. If they are still warm and fragile, handle them with extra care to avoid any mishaps.
Decorating Your Cookies
Fun and Creative Decoration Ideas
Once your cookies are cooled, it’s time to unleash your creativity with decoration:
– Icing Techniques: You can use various icing techniques to enhance your cookies:
– Flooding: This technique involves flooding the surface of the cookie with a thinned icing, creating a smooth, glossy finish.
– Outlining: Use thicker icing to outline shapes before flooding them. This provides a defined edge and helps keep the flooded icing contained.
– Combining Colors: For a festive look, combine colored sugars and icing. After flooding a cookie with icing, sprinkle colored sugar on top for a sparkling effect.
Tips for Making Your Decorations Stand Out
To make your decorated cookies truly shine, consider these tips:
– Flavoring Icing: Enhance the flavor of your icing by adding extracts, such as vanilla or almond, to complement the cookie’s taste. This adds an extra layer of flavor that will delight your taste buds.
– Storing Decorated Cookies: To maintain freshness, store your decorated cookies in an airtight container at room temperature. Layer them with parchment paper to prevent sticking and ensure they stay intact.
Serving and Enjoying Your Festive Cut-Out Sugar Cookies
Ideal Occasions for Serving
Festive cut-out sugar cookies are perfect for various events and gatherings. Here are some occasions where they shine:
– Holiday Parties: Bring a tray of decorated cookies to share with friends and family during holiday gatherings. They make delightful treats that everyone will enjoy.
– Gift-Giving: Pack your cookies in decorative boxes or tins to give as gifts. Homemade cookies are a heartfelt gesture that shows you care.
– Baking Traditions: Create lasting memories by baking these cookies with loved ones. The joy of sharing homemade treats is an experience that everyone will cherish.
Conclusion
Baking and decorating festive cut-out sugar cookies is not just about creating delicious treats; it’s about the joy and satisfaction that comes from making something special with your own hands. This simple act can create lasting memories, bringing friends and family together during the holiday season. Embrace the festive spirit by experimenting with shapes, flavors, and decorations, and enjoy the delightful process of creating these lovely cookies. The simple pleasures of homemade treats, shared with loved ones, truly embody the essence of the holidays.
Cut Out Sugar Cookie Recipe
Ingredients