
Introduction
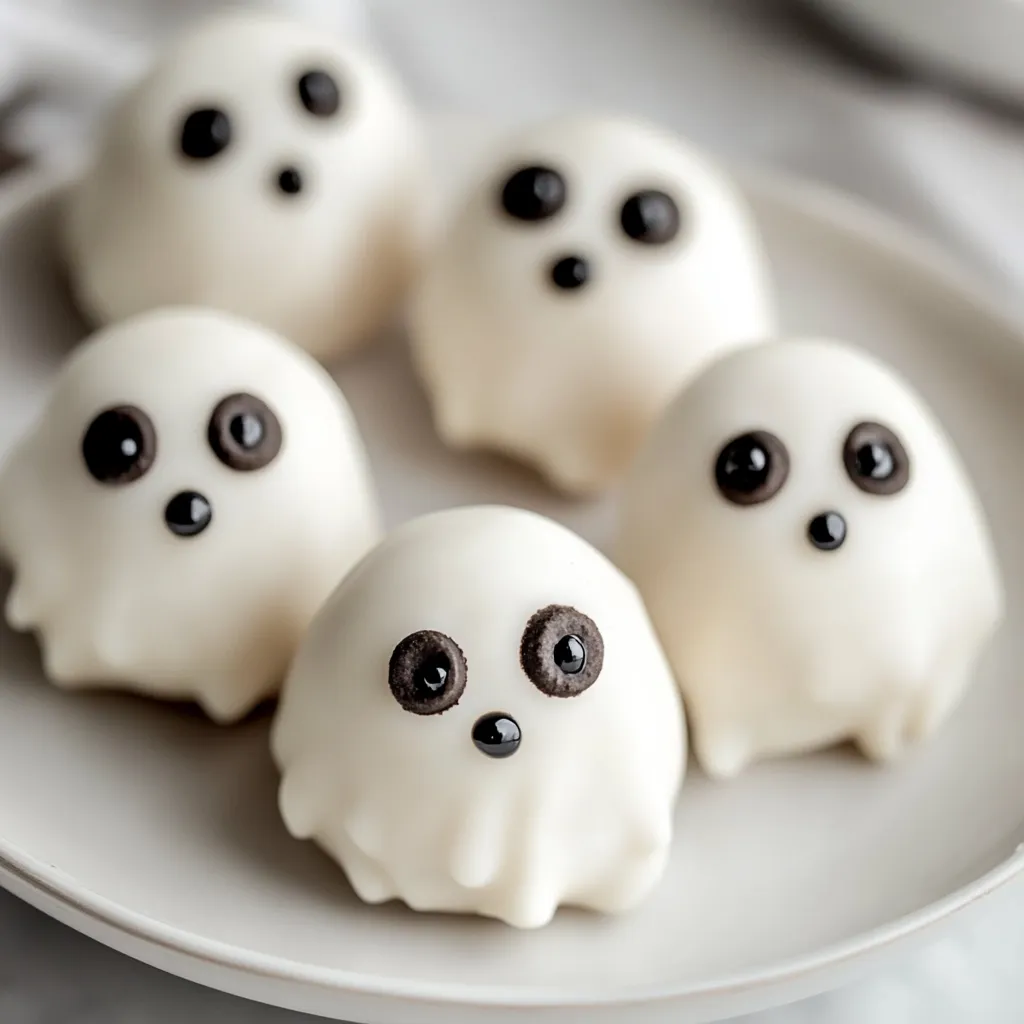
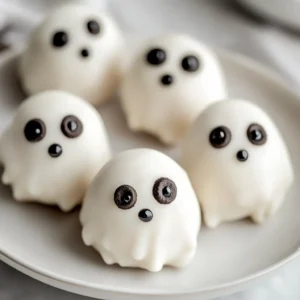
The Halloween season invites a blend of fun, creativity, and delicious treats. Among these, Spooky Ghost Oreo Balls stand out as an easy and fun no-bake dessert that captures the essence of Halloween. With their creamy texture and playful appearance, these ghostly delights are sure to delight everyone at your gathering. The combination of crunchy Oreo cookies, smooth cream cheese, and a glossy white chocolate coating transforms simple ingredients into an enticing treat that fits perfectly with the spooky spirit of Halloween.
What makes these ghost Oreo balls extra special is their versatility. They not only please the taste buds with their rich flavors but also serve as a delightful centerpiece for your Halloween table. Whether you’re hosting a party, attending a potluck, or just looking for a fun activity to do with your kids, these treats make for an engaging and mess-free way to enjoy the festivities. Each bite is a sweet sensation, where the crunch of Oreos meets the creaminess of cheese, all wrapped up in a ghostly white chocolate covering.
Recipe Overview
– Prep Time: 15 minutes
– Cook Time: 0 minutes
– Total Time: 45 minutes
– Course: Dessert
– Cuisine: American
– Servings: 12
– Calories: Approximately 150 per serving
Spooky Ghost Oreo Balls are a quick and simple dessert perfect for Halloween celebrations. These no-bake treats combine the rich flavor of Oreo cookies with cream cheese and a smooth white chocolate coating, creating a deliciously spooky treat that is equally appealing to children and adults alike. Here’s a look at what makes this recipe so special.
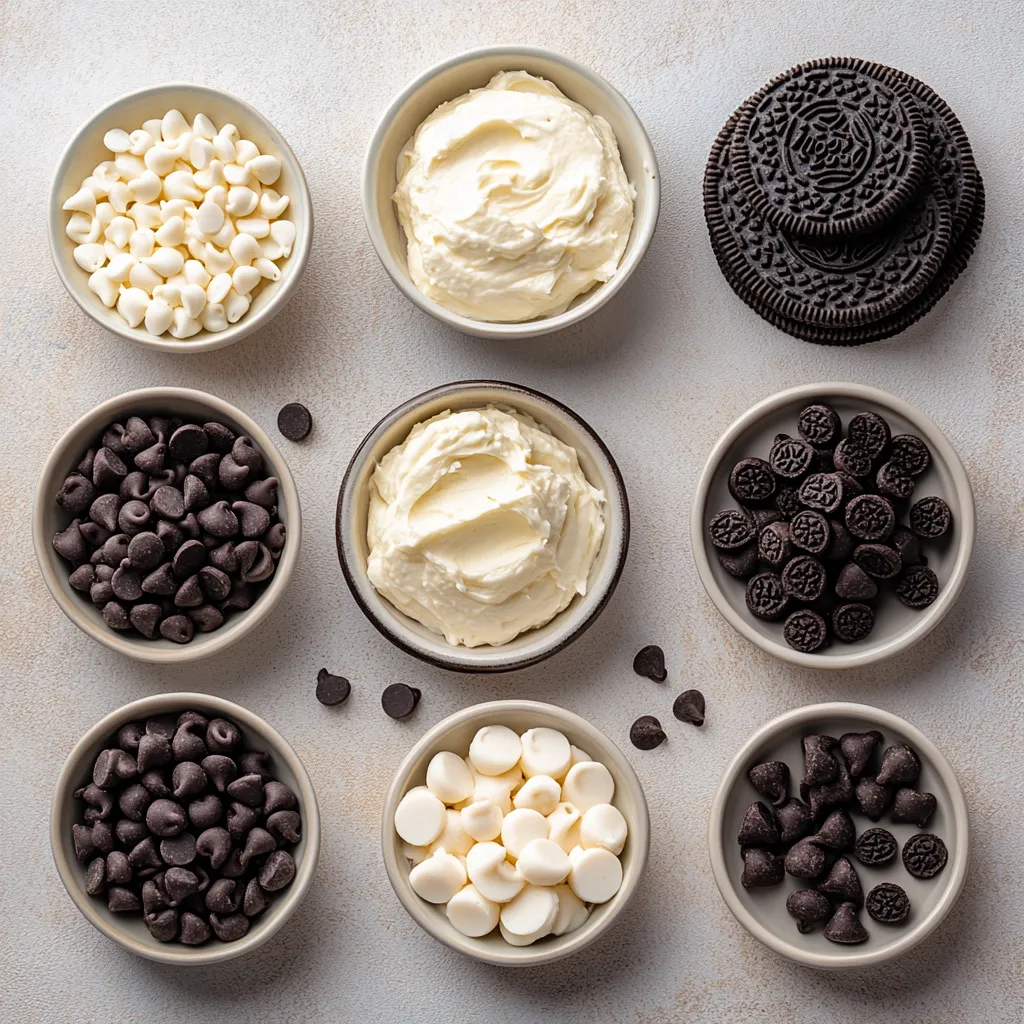
Ingredients
– 1 package of Oreo cookies (approximately 36 cookies)
– 8 oz cream cheese, softened to room temperature
– 1 cup white chocolate chips
– Black icing or mini chocolate chips for creating ghostly eyes
Instructions
1. Begin by crushing the Oreo cookies into fine crumbs. You can do this using a food processor for a quick and even texture, or if you prefer a more hands-on approach, place the cookies in a zip-top bag and use a rolling pin to crush them into crumbs.
2. In a large mixing bowl, combine the crushed Oreo crumbs with the softened cream cheese. Mix thoroughly until the two ingredients are well incorporated and form a cohesive mixture.
3. With clean hands, scoop out portions of the mixture and roll them into small balls, roughly 1 inch in diameter. Place each ball on a baking sheet lined with parchment paper to prevent sticking.
4. Transfer the baking sheet to the freezer and allow the balls to chill for about 30 minutes, which will help them firm up and hold their shape.
5. While the Oreo balls are chilling, prepare the white chocolate coating. In a microwave-safe bowl, melt the white chocolate chips in 30-second intervals, stirring well between each interval until the chocolate is completely smooth and melted.
6. Once the Oreo balls have firmed up, take each one and dip it into the melted white chocolate. Ensure that each ball is fully coated, then place it back onto the parchment-lined baking sheet.
7. Before the white chocolate coating sets, use black icing or mini chocolate chips to add two eyes on each ghost ball, giving them a spooky and fun appearance.
8. Let the chocolate coating set completely, either at room temperature or in the refrigerator for a quicker option.
9. Once the white chocolate has hardened, arrange your delightful ghost Oreo balls on a festive platter, perfect for serving at Halloween gatherings or parties.
The preparation of Spooky Ghost Oreo Balls is straightforward, making it ideal for novice bakers and seasoned chefs alike. The recipe calls for only a handful of ingredients, yet provides a big payoff in taste and presentation.
Presentation Tips
For an extra festive touch, consider garnishing the platter with some Halloween-themed decorations, such as candy pumpkins or faux spider webs, to create an enticing display for your spooky treats. This not only elevates the visual appeal of your desserts but also enhances the overall Halloween atmosphere at your gathering. The contrast of the stark white chocolate with the black icing eyes on these ghostly delights creates an eye-catching effect that is sure to draw attention and bring smiles to those who experience them.
As we move through this guide, we will break down the essential steps to ensure your Spooky Ghost Oreo Balls turn out perfectly every time. From crushing the Oreo cookies to achieving a smooth white chocolate coating, every detail counts in creating a treat that’s both delicious and delightful. Let’s dive deeper into the preparation and chilling process to ensure your spooky creations are not just good, but great!
Stay tuned for the next section where we’ll explore the intricacies of crushing the cookies and combining the ingredients, ensuring that every ghost Oreo ball you make is truly special.
Techniques for Dipping the Chilled Oreo Balls
Dipping chilled Oreo balls into melted white chocolate can be both a fun and creative process. The first technique to master is the art of the dip itself. Use a fork or a toothpick to gently submerge each ball into the melted chocolate, allowing excess chocolate to drip back into the bowl. This method helps create a desirable thin coat that’s both shiny and appealing. Alternatively, you can use a chocolate dipping tool specifically designed for this purpose, making it easier to maneuver and coat the balls evenly.
Another technique involves using a deep bowl to house the melted chocolate, giving you more room to dip without knocking the balls against the edges. It’s beneficial to tilt the bowl slightly to pool more chocolate towards one side, facilitating a smooth and even dip. Remember to work quickly during this step, as allowing the balls to warm up too much can cause them to lose their shape.
Tips for Achieving an Even Coating
To achieve an even coating on your Oreo balls, there are a few tips to keep in mind. Ensure that your Oreo balls are chilled adequately before dipping; if they’re too soft, they are more likely to fall apart or become misshapen during dipping.
Utilize a toothpick or fork for easier handling during the dipping process. After dipping, make sure to gently tap the fork against the side of the bowl to remove excess chocolate. This will help reduce the risk of clumping and ensure that the coating is uniform. You may even want to perform a second dip after the first coating has set to thicken the chocolate layer for a more durable finish.
Troubleshooting Uneven Coating Issues
If you find that your Oreo balls are not achieving the desired even coating, it might be due to a few common mistakes. One issue is the temperature of the melted chocolate. If it’s too hot, the chocolate can become too fluid and may not adhere properly. Conversely, if it’s too cool, it may not coat well at all. Striking a balance by reheating the chocolate only as needed can resolve these issues.
Another contributing factor to an uneven coating could be the shape or texture of the Oreo balls. If they seem crumbly or aren’t rolled into perfect spheres, they may have trouble holding the coating. Properly mixing the cream cheese and Oreo crumbs until they form a cohesive mixture will help with this. If needed, refrigerate your balls for an additional 10-15 minutes to help them firm up before attempting to coat them with chocolate.
Presentation Focus: Importance of a Smooth Surface for Aesthetics
The aesthetic appeal of your Spooky Ghost Oreo Balls largely depends on the smoothness and shine of the white chocolate coating. A well-coated ball not only looks more professional but also enhances the overall eating experience. Opting for a high-quality white chocolate or chocolate chips can significantly improve the finish of your treats. High-fat chocolate tends to melt smoothly and set beautifully, creating a glossy finish that is visually enticing.
Ensure your kitchen tools and workspace are clean before beginning the dipping process to avoid unwanted blemishes on your chocolate. The presentation is vital, especially for a playful holiday like Halloween, so strive to create an inviting visual appeal by arranging the balls neatly on a platter and garnishing with festive decorations.
Decorating the Ghosts
When it comes to decorating your spooky Oreo balls, the eyes are where you can let your creativity shine. Using black icing, you can pipe out ghostly eyes with precision. If you prefer a simpler route, mini chocolate chips can be strategically placed onto the white chocolate before it sets, creating an equally effective spooky look.
Enhance the appearance by using a combination of both methods. You might pipe the shape of the eyes with icing first, then place mini chocolate chips inside as pupils for added depth and dimension. This technique allows for greater expression in your ghostly creations, making them more fun and engaging.
Creative Decoration Variations for Halloween Themes
For those looking to explore creative variations in decoration for Halloween-themed occasions, consider adding fun alternatives such as edible glitter or sprinkles to your white chocolate coating before it sets. This can give your ghosts an enchanting glow that draws attention and excitement.
You may also experiment with using food coloring to tint your white chocolate. By creating spooky shades of orange, black, or purple, you can bring a vibrant and playful twist to the classic ghost image. Utilize themed cookie cutters or molds to create different shapes from additional coating or melted chocolate as well.
Setting the Chocolate
Once your Oreo balls are dipped and decorated, they need to set. The process of setting the chocolate is crucial for achieving the right firmness and texture. Ideally, allow the chocolate-covered balls to sit at room temperature for about 30 minutes until they are firm to the touch. However, for those looking to speed things up, placing them in the refrigerator for 10-15 minutes can expedite this process.
Both methods have their pros and cons. While room temperature setting allows for gradual hardening, it may take longer and risk melting under warm conditions. Refrigeration, on the other hand, ensures quicker setting; however, if left too long, it might lead to a chalky finish due to condensation.
Signs that the Chocolate is Set and Ready for Serving
Identifying when your chocolate is properly set gives you the confidence to serve your treats. Look for a firm texture; the chocolate coating should be solid and no longer tacky to the touch. You can do a gentle press on the side of one ball to confirm it holds its shape. Additionally, a glossy appearance indicates that the coating has finished setting nicely and is ready to be admired and enjoyed.
Serving Suggestions
Creative arrangements of your Spooky Ghost Oreo Balls can elevate your Halloween parties. Consider arranging them in patterns on a spooky platter, or grouping them with various sized bowls of complementary Halloween treats such as caramel apples, candy corn, or themed cupcakes.
When presenting, a great idea is to create a spooky ambiance – use black and white serving dishes, scatter faux cobwebs around the table, or even incorporate themed decorations like miniature pumpkins and bats around the platter for a Halloween feast.
Pair your ghostly treats with festive drinks such as an apple cider or a fun Halloween punch to complement the flavors of the Oreo balls, creating a cohesive and enjoyable experience for your guests.
Storage & Shelf Life
For effective storage of your Spooky Ghost Oreo Balls, place them in an airtight container in the refrigerator. This ensures they maintain freshness and texture over the coming days. They can also be kept at room temperature for short periods, but it’s best to consume them within a week for optimal quality.
To keep your treats at their best, layering them between sheets of parchment paper can help prevent sticking, especially if you’re storing a larger batch. The recommended shelf life for these Oreo balls is about 5-7 days, so plan to enjoy them while they’re fresh and delicious!
Health Considerations
In terms of nutritional breakdown, each serving of Spooky Ghost Oreo Balls contains approximately 150 calories, making them a relatively indulgent treat. While they incorporate classic dessert ingredients, for those with dietary restrictions, alternatives can be explored. For gluten-free versions, consider using gluten-free Oreo cookies instead.
Additionally, for dairy-free options, swapping out the cream cheese for a dairy-free alternative or using coconut cream can provide similar creaminess while accommodating dietary needs. Fat-free cream cheese can further reduce calorie content while still allowing for delightful texture and flavor.
Conclusion
Spooky Ghost Oreo Balls offer a delightful blend of rich flavors and playful presentation, making them an ideal treat for Halloween festivities. With a prep time of just 15 minutes, these no-bake delights allow you to focus on fun while still delivering a sweet surprise to your guests. Whether arranged on a platter with creative decorations or presented as a part of a larger dessert spread, these ghostly treats promise to enchant audiences with their creamy texture and charming aesthetics.
Spooky Ghost Oreo Balls: No-Bake Halloween Delights
Ingredients
- 1 package Oreo cookies
- 8 oz cream cheese softened
- 1 cup white chocolate chips
- to taste black icing or mini chocolate chips
Instructions
- Crush the Oreo cookies into fine crumbs using a food processor or rolling pin.
- Combine the crushed Oreo crumbs with softened cream cheese in a large mixing bowl.
- Roll the mixture into small balls, about 1 inch in diameter, and place on a parchment-lined baking sheet.
- Chill the balls in the freezer for about 30 minutes to firm up.
- Melt the white chocolate chips in a microwave-safe bowl in 30-second intervals, stirring until smooth.
- Dip each chilled Oreo ball into the melted white chocolate, ensuring full coverage.
- Place the coated balls back on the parchment-lined baking sheet.
- Add black icing or mini chocolate chips for eyes before the coating sets.
- Allow the chocolate coating to set completely at room temperature or in the refrigerator.
- Serve the ghost Oreo balls on a festive platter for Halloween gatherings.