
Introduction
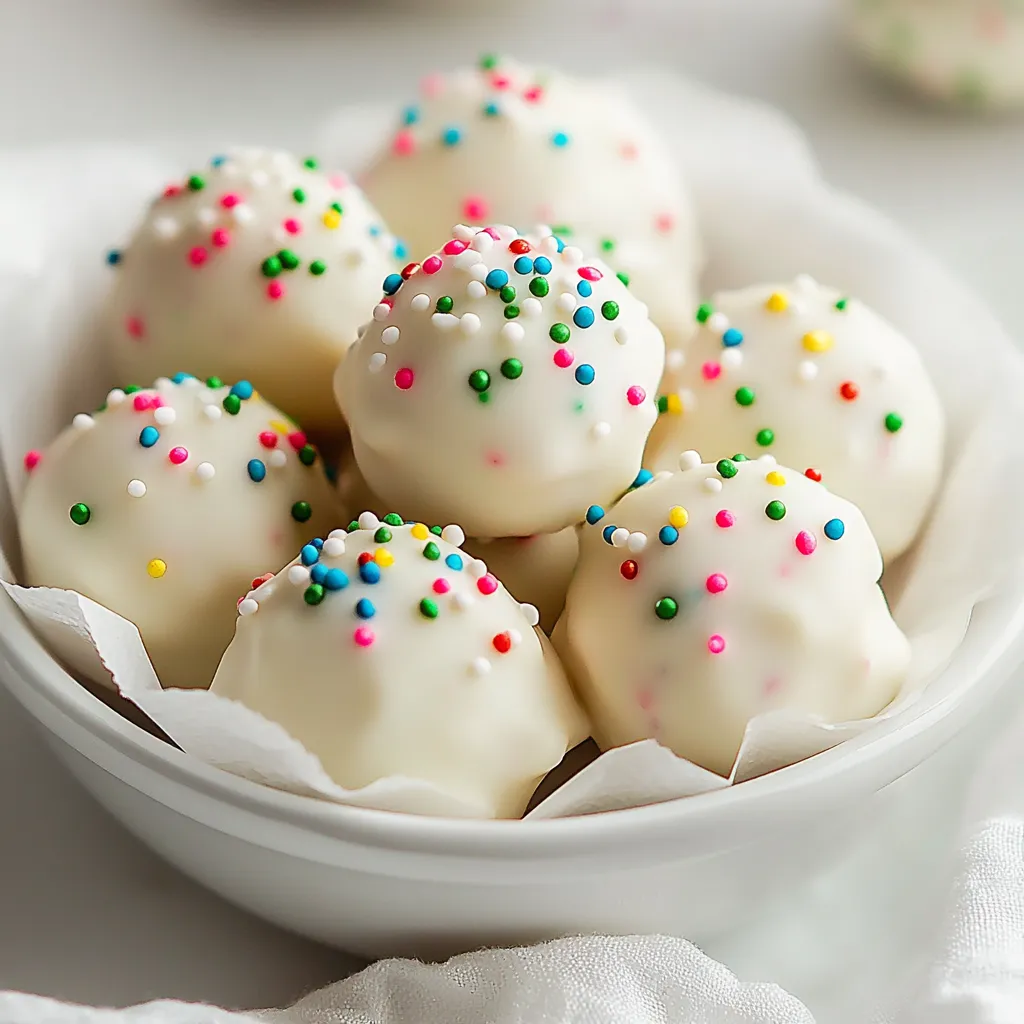
Explore the delightful combination of nostalgia and festive flavors with our captivating Little Debbie Christmas Tree Cake Truffles. These truffles encapsulate the essence of the beloved holiday snack in a new, indulgent form that merges creamy goodness with vibrant decorations. The inspiration behind this recipe comes from the childhood favorite Little Debbie Christmas Tree Cakes, which are iconic in their festive look and taste. By transforming them into bite-sized truffles, you can enjoy the same delightful flavors packaged in a fun and shareable treat.
These truffles are perfect for holiday gatherings or as a cherished seasonal indulgence. Whether you’re hosting a festive party or simply looking for a delightful way to celebrate the season, these truffles promise to elevate the occasion with their charming appearance and delicious taste. They not only look great on any dessert table, but they also bring an element of nostalgia that will be appreciated by guests of all ages.
Recipe Overview
The whimsical charm of these truffles shines through, as they are effortlessly transformed from iconic Little Debbie cakes into bite-sized delights. This recipe requires minimal ingredients and utilizes straightforward techniques, making it accessible for both novice bakers and seasoned chefs. In just under an hour, you can create approximately 16 delightful truffles that will not only brighten any festivities but also satisfy your sweet tooth.
Total Time:
– Prep Time: 20 minutes
– Total Time: 1 hour
Yield/Servings:
– Approximately 16 truffles
Difficulty:
– Not specified in the recipe
Ingredients
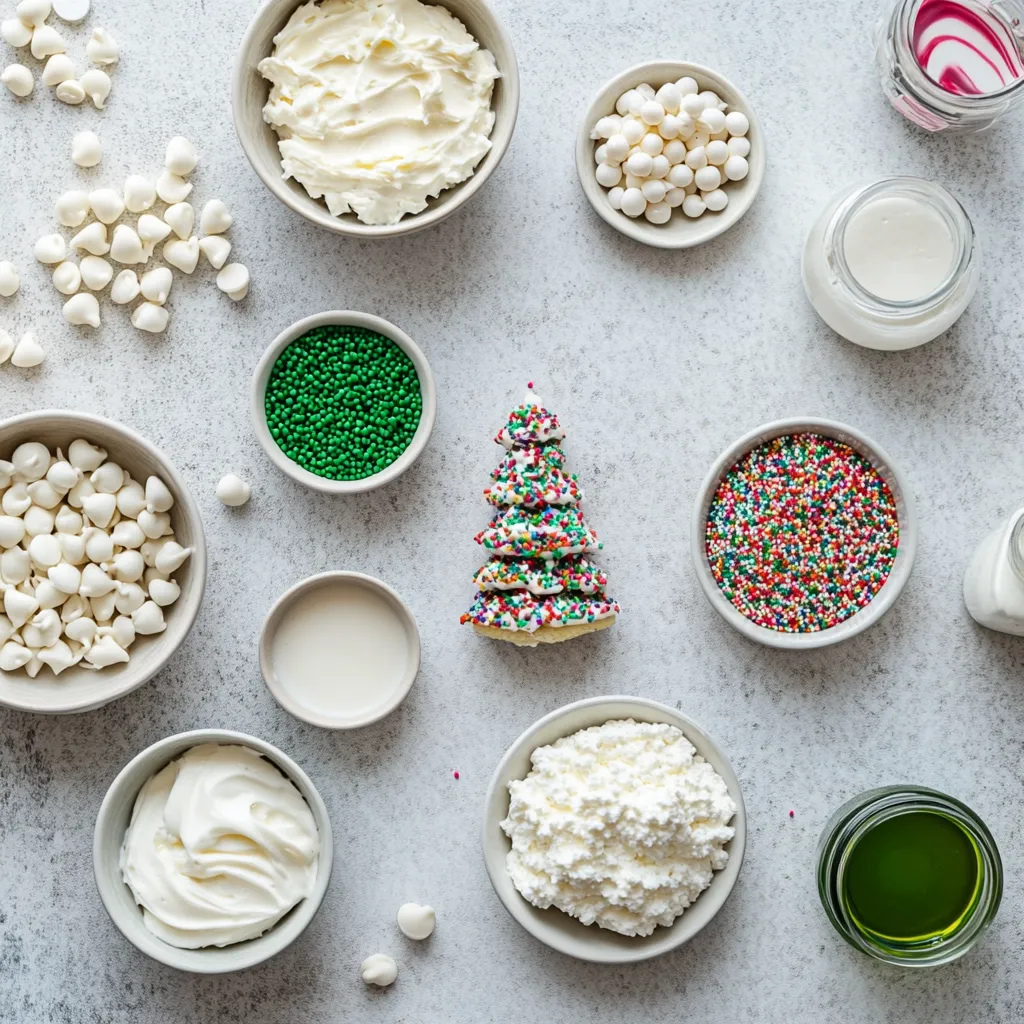
Gather the following ingredients to ensure your festive truffles turn out perfectly:
– 1 box of Little Debbie Christmas Tree Cakes (8 cakes)
– 1 cup cream cheese, softened to room temperature
– 1 teaspoon pure vanilla extract
– 1 cup white chocolate chips
– 1 tablespoon coconut oil
– Green food coloring (optional, for a festive flair)
– Colorful sprinkles for decoration
Instructions
Understanding the preparation process is essential for creating the perfect truffle. Follow these detailed steps for optimal results.
Crumbling the Cake
1. Begin by placing the Little Debbie Christmas Tree Cakes into a large mixing bowl.
2. Using your hands or a fork, crumble the cakes into fine crumbs until they resemble a sand-like texture. The finer the crumbs, the smoother the truffle texture will be, which is key for achieving a delightful mouthfeel.
Combining the Ingredients
3. Add the softened cream cheese (ensuring it is at room temperature for easy mixing) and the pure vanilla extract to the crumbled cakes.
4. Mix thoroughly until the ingredients are well combined and a dough-like consistency forms. It is crucial to ensure that there are no lumps of cream cheese remaining, as this will affect the final texture of the truffles.
Forming the Truffles
5. Take small portions of the mixture, approximately 1 tablespoon each.
6. Roll these portions into smooth balls. Ensure the truffles are shaped evenly for a beautiful finish.
7. Arrange the truffles on a baking sheet lined with parchment paper. It is important to ensure there is space between each truffle to avoid them sticking together.
Chilling the Truffles
8. Once all the mixture is formed into balls, transfer the baking sheet to the refrigerator and chill for about 30 minutes. This helps the truffles firm up for easier handling and ensures they keep their shape when coating with chocolate.
Preparing the Coating
9. While the truffles are chilling, prepare the coating by melting the white chocolate chips and coconut oil together in a microwave-safe bowl.
10. Heat the mixture in 30-second intervals, stirring well between each interval, until it is fully melted and smooth. If desired, add a few drops of green food coloring to achieve a vibrant, festive color that enhances the visual appeal of the truffles.
Dipping the Truffles
11. After the truffles have chilled, remove them from the refrigerator. Dip each truffle into the melted white chocolate using a fork to ensure an even coating.
12. Allow any excess chocolate to drip off before placing the truffles back onto the parchment paper. This step is essential for achieving a clean finish on the truffles.
Decorating the Truffles
13. While the chocolate is still wet, generously sprinkle colorful decorations on top of each truffle to add a festive touch. This final step not only enhances the look but also adds a delightful crunch to each bite.
Final Chilling
14. Once all truffles are coated and decorated, return them to the refrigerator for an additional 15-20 minutes to allow the chocolate to set completely. This step helps to ensure that the truffles maintain their shape during serving.
These simple yet delicious Little Debbie Christmas Tree Cake Truffles are sure to impress anyone at your holiday gatherings. The combination of creamy cake and sweet white chocolate, along with the cheerful decorations, makes them a festive treat suitable for Christmas celebrations or any other holiday occasion.
Melting the Chocolate Coating
Preparing to melt chocolate is a straightforward task that sets the stage for the truffles’ final touch. Begin by taking a microwave-safe bowl and measuring out 1 cup of white chocolate chips along with 1 tablespoon of coconut oil. The coconut oil enhances the creaminess and ensures a smoother texture, making it easier to coat the truffles evenly.
To melt the mixture, place the bowl in the microwave and heat it in intervals of 30 seconds. Stir the mixture thoroughly between each interval to help the chocolate chips melt uniformly without burning. White chocolate can be temperamental, so attentive stirring is essential.
If you choose to incorporate food coloring for a festive touch, add a few drops of green food coloring to the melted chocolate after it has been heated. Stir well until the coloring is fully integrated, giving your truffles a vibrant holiday appeal. This step allows you to elevate the visual aspect of the truffles significantly, making them even more enticing.
Coating the Truffles
Once the truffles are sufficiently chilled, it’s time to dip each one in the melted white chocolate. Using a fork, gently lift a truffle from the refrigerator and submerge it halfway into the melted chocolate. This method ensures an even layer of chocolate coats the truffle completely.
After dipping, allow any excess chocolate to drip off back into the bowl. This step is crucial because it helps achieve a clean and professional finish. Place the coated truffle on the parchment paper, ensuring it is spaced adequately from the others to prevent them from sticking together.
For those who prefer a thicker coating, you can double dip by returning the truffle to the melted chocolate a second time after the first layer has cooled slightly. Ensure that the chocolate envelopes the truffle completely to provide a satisfying cracking feel when bitten into.
Decorating the Truffles
While the melted chocolate is still wet, it is time to get creative with the decorations. Generously sprinkle colorful decorations over each truffle, allowing them to stick to the chocolate before it hardens. This is an excellent opportunity to express your creativity by experimenting with different types of sprinkles—think holiday-themed shapes, edible glitter, or even crushed holiday candies.
To ensure even coverage, avoid pouring the sprinkles directly from the container. Instead, use your fingers or a small spoon to apply them gently across the surface of the truffle. This method also allows for better control and ensures that each truffle has a festive touch.
Setting the Chocolate
After decorating, it’s essential to return the coated truffles to the refrigerator for an additional 15-20 minutes. This chilling step is crucial as it helps the chocolate coating to set completely, ensuring a firm and satisfying bite. The chocolate will not only harden but also create a delightful contrast between the soft inside and the crisp, creamy exterior.
During this time, you can prepare your serving presentation or clean up your workspace. Once the chocolate has set, your truffles will be ready to impress during holiday gatherings.
Serving Suggestions
When it’s time to serve your delightful Christmas Tree Cake Truffles, consider how you present them. An attractive display can elevate their appeal even further. Arrange the truffles on a festive platter, and consider garnishing them with additional sprinkles or edible glitter for a touch of sparkle.
For a complete treat, think about pairing these truffles with hot chocolate or your favorite holiday beverages, which can enhance the indulgent experience. Serve them as a delightful dessert option during dinner parties or as sweet gifts in decorative tins. Their festive look and delightful flavor make them an ideal centerpiece for holiday celebrations.
Storage Tips
Proper storage is key to preserving the freshness and flavor of your truffles. Store the truffles in an airtight container, placing parchment paper between layers to prevent sticking. Keeping them refrigerated is ideal for extending their shelf life; they can last up to one week under proper conditions.
For those who want to prepare ahead or prolong enjoyment, consider freezing the truffles. Place them in a single layer on a baking sheet to freeze them solid before transferring them into a freezer-safe container or bag. When ready to enjoy, simply take them out and let them thaw in the refrigerator for several hours before serving.
Nutritional Information
Each Little Debbie Christmas Tree Cake Truffle is a delightful treat packed with flavor but is also rich in calories. While specific nutritional content may vary, it’s essential to be aware that each truffle contains a notable amount of sugar and fat due to the cream cheese and chocolate coating.
Those with dietary restrictions, particularly those avoiding dairy, should note that the recipe uses cream cheese and white chocolate, both of which contain dairy. Always check the packaging for allergen information if serving to guests with dietary sensitivities.
Conclusion
These Little Debbie Christmas Tree Cake Truffles deliver a charming combination of textures and flavors that make them a memorable addition to any holiday gathering. Featuring creamy centers enveloped in a rich chocolate shell, these treats can be prepared in just one hour, allowing them to shine as festive delights to be shared and savored. Their unique charm and delightful taste are sure to bring smiles during the holiday season.

Little Debbie Christmas Tree Cake Truffles Recipe
Ingredients
- 1 box Little Debbie Christmas Tree Cakes
- 1 cup cream cheese softened
- 1 teaspoon pure vanilla extract
- 1 cup white chocolate chips
- 1 tablespoon coconut oil
- to taste green food coloring
- to taste colorful sprinkles
Instructions
-
Crumble the Little Debbie Christmas Tree Cakes into fine crumbs in a large mixing bowl.
-
Mix in the softened cream cheese and vanilla extract until well combined.
-
Roll the mixture into smooth balls, about 1 tablespoon each, and place on a lined baking sheet.
-
Chill the truffles in the refrigerator for about 30 minutes.
-
Melt the white chocolate chips and coconut oil in a microwave-safe bowl, stirring until smooth.
-
Dip each truffle into the melted chocolate, allowing excess to drip off.
-
Sprinkle colorful decorations on top of each truffle while the chocolate is still wet.
-
Return the truffles to the refrigerator for 15-20 minutes to set the chocolate.
-
Serve at holiday gatherings or enjoy as a seasonal treat.