

Introduction
In today’s fast-paced world, finding wholesome and satisfying snacks can be a challenge, particularly for busy individuals and families. This is where the concept of homemade snacks comes into play. Not only do homemade snacks allow you to control the ingredients, but they also offer a healthier alternative to store-bought options, often laden with preservatives and added sugars. Among the many snack recipes available, granola bars stand out as a popular choice, and for good reason. They are portable, customizable, and can be tailored to suit various dietary preferences.
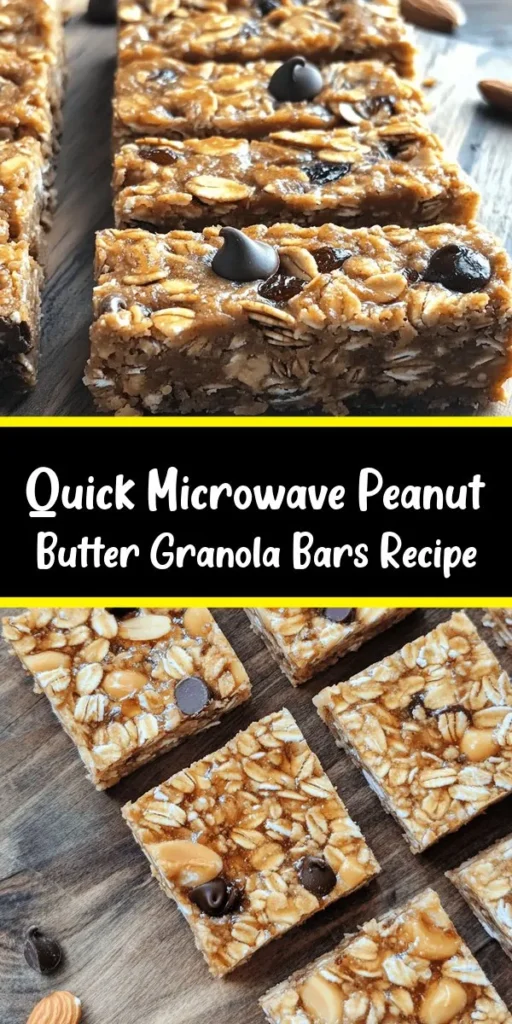
One of the most beloved ingredients in the realm of homemade snacks is peanut butter. Its creamy texture and rich flavor make it a favorite among both children and adults. Peanut butter is not just a delicious addition; it is also packed with protein and healthy fats, making it a satisfying choice for a quick energy boost. Today, we are excited to share a simple and quick recipe for Easiest Microwave Chewy Peanut Butter Granola Bars. These bars are not only delectable but also align perfectly with the busy lifestyles many people lead.
What sets this recipe apart is its versatility. You can personalize your granola bars by adding an array of mix-ins, such as chocolate chips, nuts, seeds, or dried fruits, allowing you to tailor each batch to your own taste preferences and nutritional needs. Whether you need a quick breakfast on the go, a post-workout snack, or a sweet treat for the kids, these granola bars are the perfect solution.
Understanding the Ingredients
To create these Easiest Microwave Chewy Peanut Butter Granola Bars, it’s essential to understand the key ingredients that make them nutritious and delicious. Each component plays a vital role in both flavor and health benefits.
Old-Fashioned Rolled Oats
At the heart of these granola bars lies old-fashioned rolled oats. They serve as a wholesome base, providing the necessary texture and structure. Rolled oats are rich in dietary fiber, which is crucial for digestive health. This fiber not only helps to keep you feeling full but also supports heart health by helping to reduce cholesterol levels. Additionally, oats are a source of complex carbohydrates, providing sustained energy without causing spikes in blood sugar levels.
Peanut Butter
Peanut butter is the star ingredient in this recipe, and for good reason. It is an excellent source of protein, which is vital for muscle repair and overall bodily functions. The healthy fats present in peanut butter, primarily monounsaturated fats, contribute to heart health and can help keep you feeling satiated. Not only does peanut butter add a creamy texture, but it also enhances the flavor of the granola bars, making them irresistibly tasty.
Honey or Maple Syrup
To sweeten our granola bars, we have the option of using honey or maple syrup. Both natural sweeteners bring their unique flavors and health benefits to the table. Honey is known for its antibacterial properties and is a source of antioxidants. It adds a distinct sweetness that pairs beautifully with peanut butter. On the other hand, maple syrup is rich in minerals like manganese and zinc and has a lower glycemic index than refined sugars, making it a slightly healthier sweetening option. The choice between honey and maple syrup ultimately comes down to personal preference and dietary considerations.
Brown Sugar
In addition to the natural sweeteners, a touch of brown sugar is included in the recipe. Brown sugar not only enhances the sweetness but also adds a hint of moisture, helping to bind the ingredients together. The molasses content in brown sugar contributes to a richer flavor profile, making each bite of the granola bar more enjoyable.
Vanilla Extract and Salt
A splash of vanilla extract is added to elevate the overall taste of the granola bars. Vanilla adds a warm, sweet aroma that complements the nuttiness of the peanut butter. A pinch of salt is equally important, as it enhances the flavors and balances the sweetness, ensuring that the granola bars are not overly sweet.
Optional Add-Ins
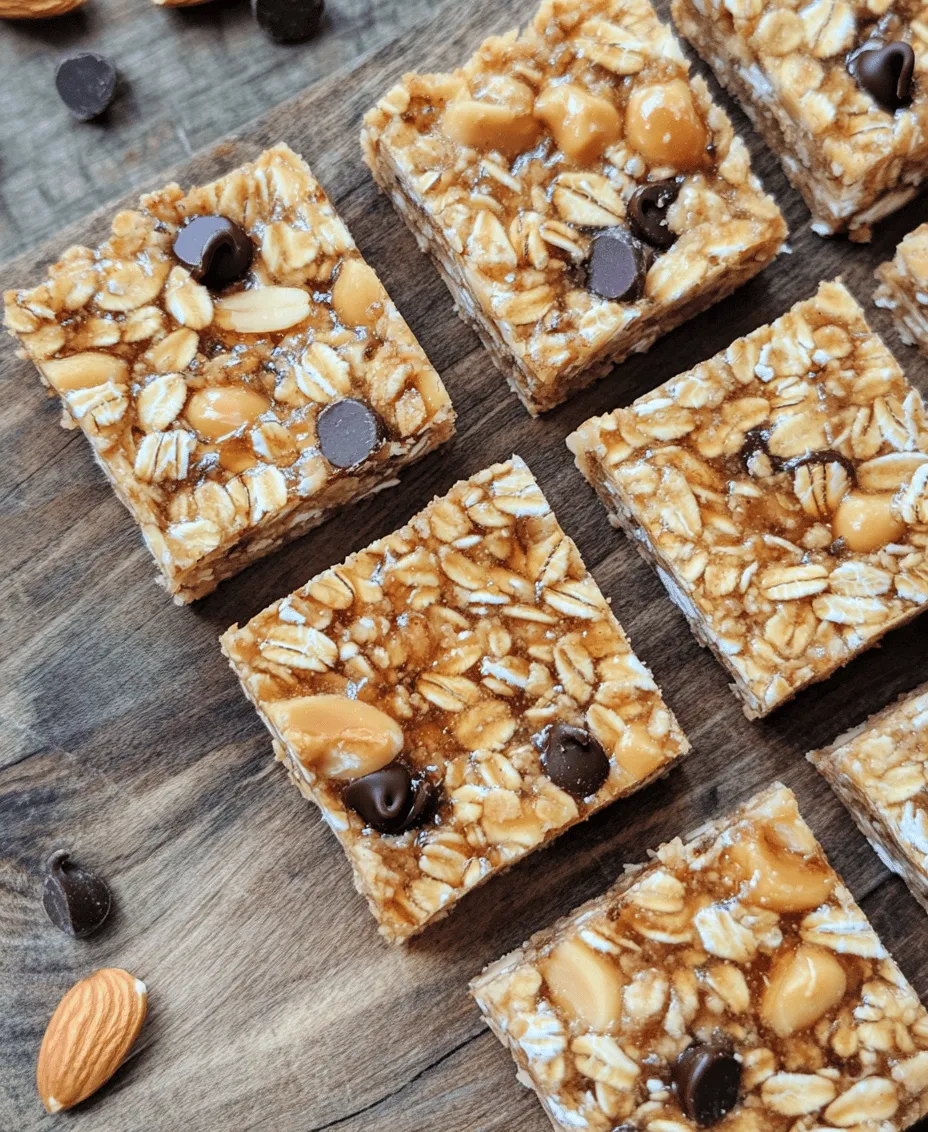
One of the best aspects of these granola bars is the potential for customization. You can easily personalize your bars by adding various mix-ins. Chocolate chips can introduce a delightful sweetness, while nuts and seeds contribute healthy fats and crunch. Dried fruits, such as cranberries or raisins, add natural sweetness and additional nutrients. Each ingredient can enhance the nutritional profile of your granola bars, so feel free to get creative based on your preferences and dietary needs.
Step-by-Step Recipe Guide
Now that we’ve covered the ingredients and their benefits, let’s dive into the step-by-step process of making the Easiest Microwave Chewy Peanut Butter Granola Bars. This straightforward guide will ensure that you achieve perfect results every time.
Preparing the Baking Dish
Before you begin mixing your ingredients, it’s crucial to prepare your baking dish. Start by choosing a microwave-safe dish, such as an 8×8-inch square pan. To ensure easy removal of the granola bars once they’re set, line the bottom and sides of the dish with parchment paper. This will create a non-stick surface that allows the bars to be lifted out cleanly. Additionally, leaving some overhang of parchment paper will aid in cutting the bars into even squares later on.
Mixing the Wet Ingredients
Next, it’s time to combine the wet ingredients. In a microwave-safe bowl, add the peanut butter and your choice of sweetener (honey or maple syrup). Microwave the mixture for about 30 seconds or until it becomes warm and easier to stir. This step is important as it helps to thin out the peanut butter, allowing it to blend smoothly with the sweetener.
Once warmed, remove the bowl from the microwave and stir the peanut butter and sweetener together until you achieve a smooth, creamy consistency. If you wish to enhance the flavor further, this is also the time to add in the vanilla extract and a pinch of salt. Stir until all the wet ingredients are thoroughly combined.
Incorporating the Oats
After mixing the wet ingredients, it’s time to incorporate the dry ingredient that serves as the base of our bars—old-fashioned rolled oats. Pour the oats into the bowl with the peanut butter mixture. Using a spatula or wooden spoon, gently fold the oats into the mixture until they are evenly coated. The goal is to ensure that every oat is enveloped in the delicious peanut butter blend, creating a cohesive mixture that will hold together once baked.
At this stage, if you’re planning to add any optional ingredients like chocolate chips, nuts, or dried fruits, now is the perfect time to fold those in as well. This way, they will be evenly distributed throughout the granola bars, resulting in delightful bursts of flavor in every bite.
—
In this first part of our guide to making Easiest Microwave Chewy Peanut Butter Granola Bars, we’ve explored the significance of homemade snacks, the nutritional benefits of key ingredients, and the initial steps in the recipe. Stay tuned for the next section, where we will cover the final steps in creating these delicious granola bars and discuss tips for achieving the best results.
Folding in the Oats and Optional Mix-Ins
Once you have prepared the wet mixture with peanut butter, honey, and vanilla, it’s time to incorporate the oats and any optional mix-ins. This step is crucial for ensuring an even distribution of flavors and textures throughout your granola bars.
Begin by adding your rolled oats to the bowl with the wet ingredients. Using a spatula or wooden spoon, gently fold the oats into the mixture. It’s important to do this slowly to prevent the oats from breaking apart. The goal is to coat each oat flake with the peanut butter mixture without over-mixing, which can lead to a gummy texture.
If you’d like to include additional mix-ins such as chocolate chips, dried fruit, seeds, or nuts, now is the time to add them. Gently fold them into the mixture along with the oats. Ensure that your mix-ins are evenly distributed throughout, as this will provide bursts of flavor in every bite. Remember, the beauty of homemade granola bars lies in their customizable nature; feel free to experiment with different combinations that suit your taste preferences.
Pressing the Mixture
After you’ve thoroughly combined the oats and any mix-ins, the next step is pressing the mixture firmly into your prepared baking dish. This technique is vital for achieving the right texture in your granola bars.
Transfer the mixture into the greased or lined baking dish. Using the back of a spatula or your hands, press down firmly on the mixture, spreading it evenly across the dish. Ensure that the layer is compacted well—this will help the bars hold together once they are cooled and cut. If the mixture feels loose, the bars may crumble when you attempt to cut them.
Take your time with this step. A well-pressed mixture is essential for creating bars that are chewy but still hold their shape. You can use a piece of parchment paper to help with pressing; place it over the mixture and press down with your hands to avoid sticking.
Microwaving for Perfection
Once your mixture is pressed into the baking dish, it’s time to microwave it. The microwave is a convenient tool for this recipe, allowing the mixture to cook quickly and efficiently.
Set your microwave to high and cook the granola mixture for about 1 to 2 minutes. Keep a close eye on the mixture as it cooks; you want it to bubble slightly but not overcook. If you notice it begins to brown or the edges start to harden too quickly, stop the microwave and check for doneness. The mixture should be firm but still slightly soft in the center, as it will continue to set while cooling.
Microwave cooking times may vary depending on your appliance’s wattage, so it’s essential to monitor your bars closely. If you’re unsure, start with a shorter cooking time and check for doneness, adding additional seconds as needed. Overcooking can lead to dry granola bars, which is something you want to avoid.
Cooling and Setting
After microwaving, allow the granola bars to cool at room temperature for a few minutes before placing them in the refrigerator. The cooling process is essential to allow the bars to firm up properly. Refrigerating them for at least 1 hour will help them set and become easier to cut.
Once the bars have cooled, you’ll notice they have solidified nicely and are ready for the next step. If you’re in a hurry, you can place the baking dish in the freezer for about 20-30 minutes to speed up the setting process.
Cutting and Serving
When your granola bars have set, it’s time to cut them into perfect squares or rectangles. Using a sharp knife, carefully cut through the bars, applying gentle pressure to avoid crumbling them. For best results, you may want to run the knife under hot water and dry it before cutting, as this can help achieve cleaner cuts.
These granola bars can be enjoyed in various ways. They’re perfect as a quick snack on their own, but you can also pair them with fresh fruit for added nutrition. Consider serving them alongside yogurt for a delightful breakfast or snack option. For a more decadent treat, try drizzling them with melted dark chocolate or a sprinkle of sea salt for an extra flavor boost.
Nutritional Information
One of the biggest advantages of making your own granola bars is knowing exactly what goes into them. Here’s a rough breakdown of the nutritional content per serving, assuming you cut your bars into 12 pieces:
– Calories: Approximately 150–180 calories per bar
– Protein: 4–6 grams
– Fiber: 2–3 grams
– Sugar: 5–10 grams (depending on the type of sweetener and mix-ins used)
These bars can easily fit into various dietary preferences, including vegan and gluten-free, depending on the specific ingredients you choose. For a vegan version, ensure that your sweetener is plant-based, and for gluten-free bars, opt for certified gluten-free oats.
Why Homemade Granola Bars?
Creating your granola bars at home comes with numerous advantages that make it a worthwhile endeavor:
– Control Over Ingredients: One of the main benefits of making your granola bars is the ability to control what goes into them. You can avoid preservatives, artificial flavors, and unhealthy additives often found in store-bought options. This way, you can focus on wholesome ingredients that align with your dietary needs and preferences.
– Cost-Effectiveness: Homemade granola bars can be significantly more economical than their store-bought counterparts. Purchasing ingredients in bulk can save you money in the long run, especially when you consider the cost of pre-packaged snacks. A little investment in pantry staples like oats, nut butters, and sweeteners can yield a large batch of delicious bars.
– Customization Options: Making your granola bars allows you to experiment with flavors and textures. Whether you prefer a nutty flavor, fruity bursts, or the richness of chocolate, you have the freedom to customize the recipe to fit your tastes. You can even create seasonal variations by incorporating ingredients like pumpkin spice in the fall or coconut and tropical fruits in the summer.
Conclusion
In summary, the Easiest Microwave Chewy Peanut Butter Granola Bars offer a simple yet satisfying way to enjoy a wholesome snack without the hassle of complicated processes. From folding in the ingredients to pressing the mixture and enjoying the delightful results, this recipe embodies convenience, flavor, and health benefits.
By making these granola bars at home, you not only control the ingredients but also save money and create a snack that fits your personal taste perfectly. So why not give this recipe a try? Enjoy the delicious blend of flavors and textures while feeling confident about what you’re feeding yourself and your loved ones. These bars are sure to become a staple in your snack rotation, perfect for busy days, outdoor adventures, or simply a satisfying treat at home.
Easiest Microwave Chewy Peanut Butter Granola Bars
Ingredients