
Introduction
Discover the joy of making Classic Old-Fashioned Divinity Candy, a sweet treat that embodies the essence of nostalgic confectionery. This fluffy, nougat-like candy is not only a delightful indulgence but also a celebration of traditional candy-making techniques. With its simple ingredients and straightforward process, anyone can master this timeless recipe and bring a touch of homemade charm to their dessert table. The combination of light, airy egg whites and the rich sweetness of sugar creates a textural experience that is both light and satisfying.
Divinity candy has long been associated with special occasions and holidays, making it a cherished staple on many dessert tables. Whether it be for festive celebrations, family gatherings, or simply a sweet craving, this classic candy delivers a taste of nostalgia with every bite. Made with just a few essential ingredients, including nuts, this delightful treat showcases the beauty of homemade confections.
Recipe Overview
– Total Time: Not specified in the recipe
– Yield: Not specified in the recipe
– Difficulty: Not specified in the recipe
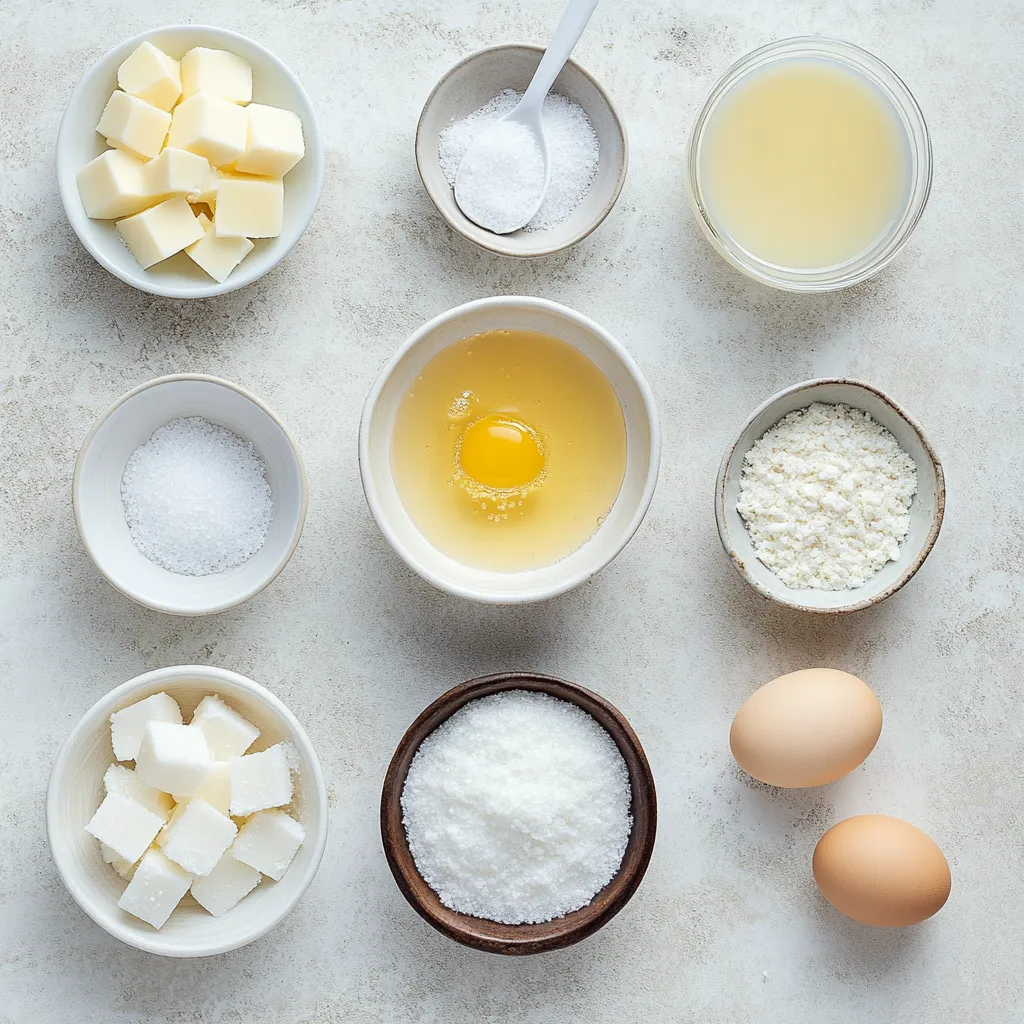
Ingredients
– 2 cups granulated sugar
– 1/2 cup light corn syrup
– 1/2 cup water
– 2 large egg whites, at room temperature
– 1/4 teaspoon salt
– 1 teaspoon pure vanilla extract
– 1 cup finely chopped nuts (such as pecans or walnuts)
Instructions
1. Begin by preparing your workspace. Line a baking sheet with parchment paper and set it aside for later use.
2. In a medium-sized saucepan, combine the granulated sugar, light corn syrup, and water. Stir gently to mix the ingredients before placing the saucepan over medium heat.
3. Bring the mixture to a boil without stirring. Use a candy thermometer to monitor the temperature. Cook the syrup until it reaches 250°F (121°C), which is known as the hard-ball stage.
4. While the syrup is cooking, in a large mixing bowl, use an electric mixer to beat the egg whites and salt until soft peaks form. This usually takes about 2-3 minutes.
5. Once the syrup has reached the desired temperature, carefully remove it from the heat. With the mixer running on low speed, slowly drizzle the hot syrup into the beaten egg whites. Be cautious not to pour it directly onto the beaters to avoid splattering.
6. Increase the mixer speed to medium-high and continue to beat the mixture until it becomes thick and glossy, about 5-7 minutes. Add the vanilla extract and mix until well combined.
7. Gently fold in the chopped nuts until evenly distributed throughout the candy mixture.
8. Using a spoon or a small cookie scoop, drop spoonfuls of the divinity mixture onto the prepared parchment-lined baking sheet. Allow the candies to cool at room temperature until set, which may take several hours.
Preparing the Workspace
Importance of Organization
Having an organized workspace can significantly streamline the candy-making process and ensure safety. When making candy, it’s essential that all ingredients are easily accessible and that the area is clear of clutter. This organization not only promotes efficiency but also minimizes the risk of accidents that could occur in a disordered environment. Ensuring that tools and ingredients are at hand allows you to focus on the intricate steps involved in candy making without interruption.
Material Required
Outline the necessary equipment and utensils, emphasizing the need for a baking sheet, parchment paper, a medium-sized saucepan, and an electric mixer. The baking sheet serves as a cooling station for your divinity candy once it is ready to be formed, while the parchment paper prevents the candy from sticking, ensuring an easier release. The medium-sized saucepan is crucial for heating the sugar syrup to the correct temperature, and the electric mixer is indispensable for whipping the egg whites to the right consistency.
Calibrating Your Environment
Ensure the area is clean and free from distractions for an efficient cooking experience. Consider keeping a towel handy for any spills and having a designated space for each component of the recipe. If possible, prep all ingredients beforehand, measuring them out and placing them in small bowls or containers. This preparation will help you move through the recipe more smoothly and allow you to focus on the precise timing and technique needed for perfect divinity candy.
Understanding the Sugar Mixture
Ingredients Breakdown
Explore the roles of granulated sugar, light corn syrup, and water in creating the right texture for the divinity candy. Granulated sugar is the primary ingredient, contributing sweetness and structure to the candy. The light corn syrup serves an essential role in preventing crystallization during cooking, allowing for a smooth and glossy texture in the finished product. Water is used to dissolve the sugar and create the syrup, essential for achieving the proper consistency necessary for this type of candy.
Combining Ingredients
Detail the mixing process before heating and how this step sets the foundation for the candy’s flavor. When the granulated sugar, light corn syrup, and water are mixed together, they create a cohesive syrup that will undergo a chemical transformation as it heats. This step is crucial because it ensures that all ingredients are uniformly combined, promoting an even cooking process.
Cooking Techniques
Discuss the significance of cooking the syrup without stirring to achieve the desired consistency and flavor. Stirring the syrup while it cooks can introduce air bubbles, which could lead to undesirable textures in the finished candy. By allowing the syrup to come to a boil undisturbed, it can reach the required temperature to create that signature hard ball stage without interference, resulting in a perfectly smooth candy base.
Heating to the Hard-Ball Stage
Candy Thermometer Usage
Provide insights into using a candy thermometer and why it’s crucial to monitor the temperature closely. A candy thermometer is essential for achieving the precise temperature of 250°F (121°C), which is necessary for developing the right consistency for divinity candy. This stage, known as the hard-ball stage, is critical—it indicates that the sugar syrup has reached the necessary firmness to properly shell the air whipped into the egg whites.
Recognizing the Right Temperature
Explain the characteristics of the hard-ball stage and why reaching 250°F (121°C) is essential for proper candy texture. When the syrup reaches this temperature, it can form a ball when a small amount is dropped into cold water, but it will hold its shape, indicating that it is firm enough to support the airy structure created by the egg whites. This unique feature of candy making ensures that your divinity candy will have that delightful tenderness while also maintaining a sturdy structure.
Safety Precautions
Share important safety tips for handling hot sugar syrup to avoid burns or accidents. Hot sugar syrup can cause severe burns, so it is essential to handle it with care. Use oven mitts or thick towels when removing the saucepan from the heat and pour the syrup slowly to maintain control. Make sure to keep children and pets away from the cooking area during this process to prevent accidents. Always prioritize safety by being aware of your surroundings and using both hands when handling hot items.
, their delightful sweetness becomes a true indulgence.
Correct Method for Combining the Hot Syrup with the Beaten Egg Whites
Successfully merging the hot syrup with the beaten egg whites is crucial to achieving the right consistency for divinity candy.
Mixer Settings
When integrating the syrup, start your mixer on a low speed. This step is vital as it helps to gently incorporate the hot syrup without overwhelming the egg whites. Gradually increase the speed to medium-high after you’ve added the syrup, which allows the mixture to aerate sufficiently and attain its signature fluffy texture.
Avoiding Splattering
To avoid any mess or accidents when pouring the syrup, tilt the saucepan slightly and pour the syrup slowly along the side of the mixing bowl, rather than pouring it directly onto the beaters. This controlled pouring technique ensures that the hot sugar mixture doesn’t spatter, reducing the risk of burns and keeping your workspace clean.
Whipping to Perfection
Recognizing Thickness and Glossiness
As you whip the mixture after adding the syrup, look for visual indicators to ascertain that it is being whipped correctly. The mixture should thicken considerably and develop a glossy sheen indicative of proper aeration. This process usually takes about 5-7 minutes of consistent mixing on medium-high speed.
Incorporating Vanilla Extract
Introducing the vanilla extract into the mixture is more than a flavor enhancer; it is an essential step that complements the sweetness of the sugar and balances the overall taste profile. Adding it after reaching the desired thickness maintains the warmth of the mixture and optimizes the infusion of flavor.
Final Texture Expectations
Before adding the nuts, the divinity mixture should showcase a pale ivory-to-white color, indicating it has been whipped to perfection. The texture should be thick yet light, enabling the candy to hold its shape while also being airy.
Folding in the Nuts
Choosing the Right Nuts
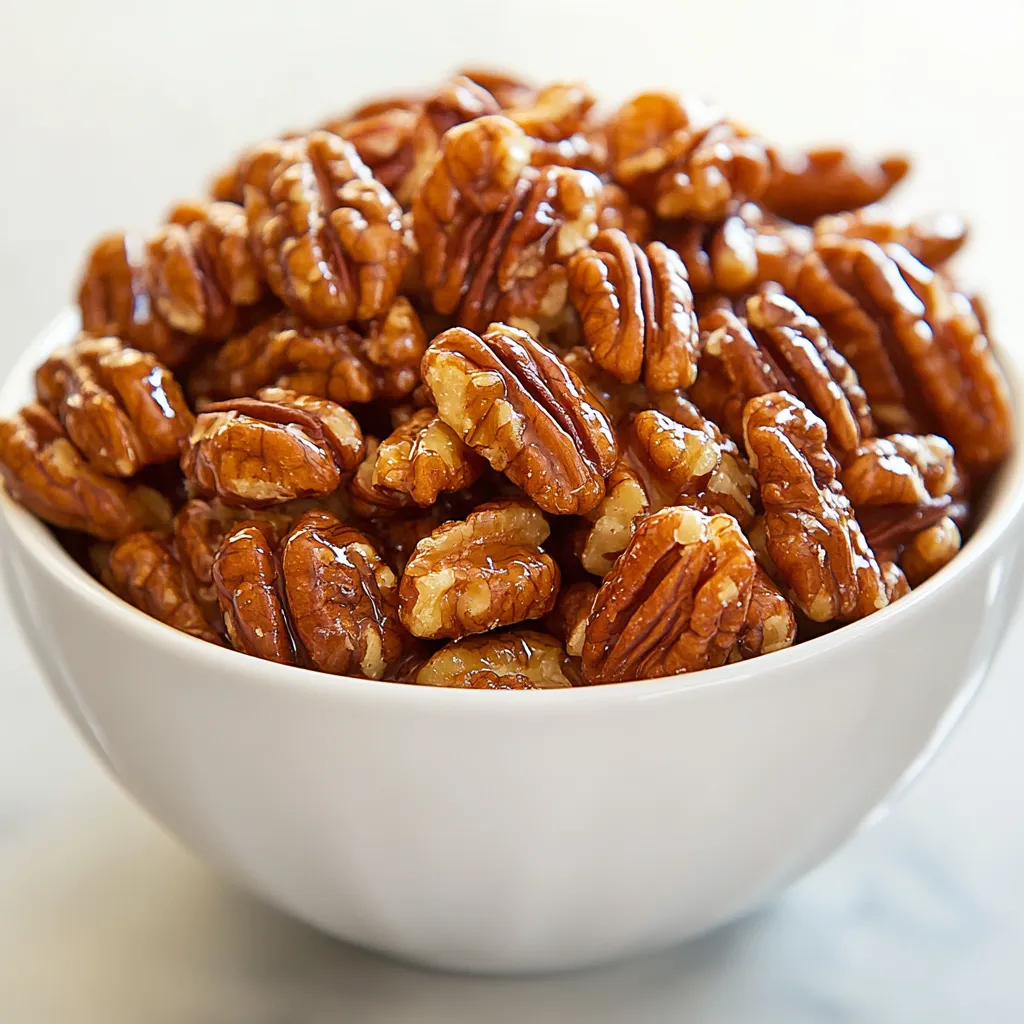
When selecting nuts for your divinity candy, consider using nuts such as pecans, walnuts, or even hazelnuts. Each nut variety brings its own unique flavor profile—pecans provide a buttery richness, while walnuts offer a slightly bitter note, balancing the sugar’s sweetness. Choose the nuts that best suit your taste preference.
Folding Technique
Utilize a gentle folding technique when combining the chopped nuts into the whipped candy mixture. To properly fold, use a spatula to scoop under the mixture and gently lift it over the nuts, rotating the bowl as you go. This method minimizes deflation, ensuring that your final product retains its desired volume.
Distribution Importance
Evenly distributing the nuts throughout the divinity mixture is key to achieving uniform flavor and texture. Consider the appearance and taste with every scoop; ensuring that nuts are well-incorporated enhances both the aesthetic and tasting experience of each bite.
Dropping the Mixture
Tools for Portioning
Using a teaspoon, tablespoon, or a small cookie scoop makes it easier to portion the divinity mixture onto your baking sheet. A cookie scoop, in particular, can provide uniform sizes, helping to ensure that each piece cooks evenly and looks consistent.
Spacing Considerations
When dropping the mixture onto the parchment-lined baking sheet, maintain adequate spacing—about 1 to 2 inches between each scoop. This spacing is critical; it allows air to circulate around each candy, facilitating an even set as they cool and preventing them from merging together.
Visual Appeal
To achieve a uniform appearance, try to keep your scoops consistent in size and shape. Using the same portioning tool throughout the process not only contributes to visual appeal but also ensures that each piece has a similar texture and flavor experience.
Cooling and Setting
Optimal Cooling Conditions
The ideal environment for cooling divinity candy is a dry, airy space at room temperature. Avoid placing the candies in overly humid environments, which can lead to undesirable textures and loss of their airy quality.
Timing for Setting
Typically, divinity candies require several hours to fully set. Check for signs of readiness: the outer surface should feel firm to the touch, and the candies should easily lift from the parchment paper without sticking.
Storage Recommendations
To maintain the freshness of your divinity candy, store it in an airtight container at room temperature. Avoid refrigeration, as this can alter the texture, making the candies sticky. If prepared in bulk, consider layering the candies with parchment paper to prevent them from sticking together.
Presentation Tips
Arranging the Candies
For an attractive presentation, arrange your divinity candies neatly in an elegant candy dish or on a decorative platter. Helping the candies to stand out can elevate their appeal and entices guests at gatherings.
Garnishing Suggestions
Enhance the visual impact of your divinity candy by sprinkling extra chopped nuts on top before they completely set, or consider adding edible glitter for a festive touch. These small details can make a big impression during celebrations.
Serving Recommendations
Classic Old-Fashioned Divinity Candy is perfect for various occasions, from holiday gatherings and potlucks to special celebrations. It complements other desserts beautifully, such as cakes and pies, and can be served alongside coffee or hot cocoa for a comforting treat.
Conclusion
Classic Old-Fashioned Divinity Candy offers a delightful combination of fluffy texture and nutty flavor, making it a cherished treat. With a straightforward process and careful attention to detail, you can create these candies that are perfect for sharing at gatherings or enjoying in quiet moments at home. As they set at room temperature, the resulting confections are sure to be a hit among all who taste them.

Classic Old-Fashioned Divinity Candy
Ingredients
- 2 cups granulated sugar
- ½ cup light corn syrup
- ½ cup water
- 2 large egg whites
- ¼ teaspoon salt
- 1 teaspoon pure vanilla extract
- 1 cup finely chopped nuts
Instructions
-
Prepare your workspace by lining a baking sheet with parchment paper.
-
In a saucepan, combine sugar, corn syrup, and water; stir gently and heat over medium.
-
Bring to a boil without stirring and cook until it reaches 250°F (121°C).
-
Beat egg whites and salt in a bowl until soft peaks form, about 2-3 minutes.
-
Once syrup is ready, slowly drizzle it into the egg whites with the mixer on low.
-
Increase mixer speed to medium-high and beat until thick and glossy, about 5-7 minutes.
-
Fold in the chopped nuts until evenly distributed.
-
Drop spoonfuls of the mixture onto the prepared baking sheet.
-
Allow candies to cool at room temperature until set, which may take several hours.