
Introduction
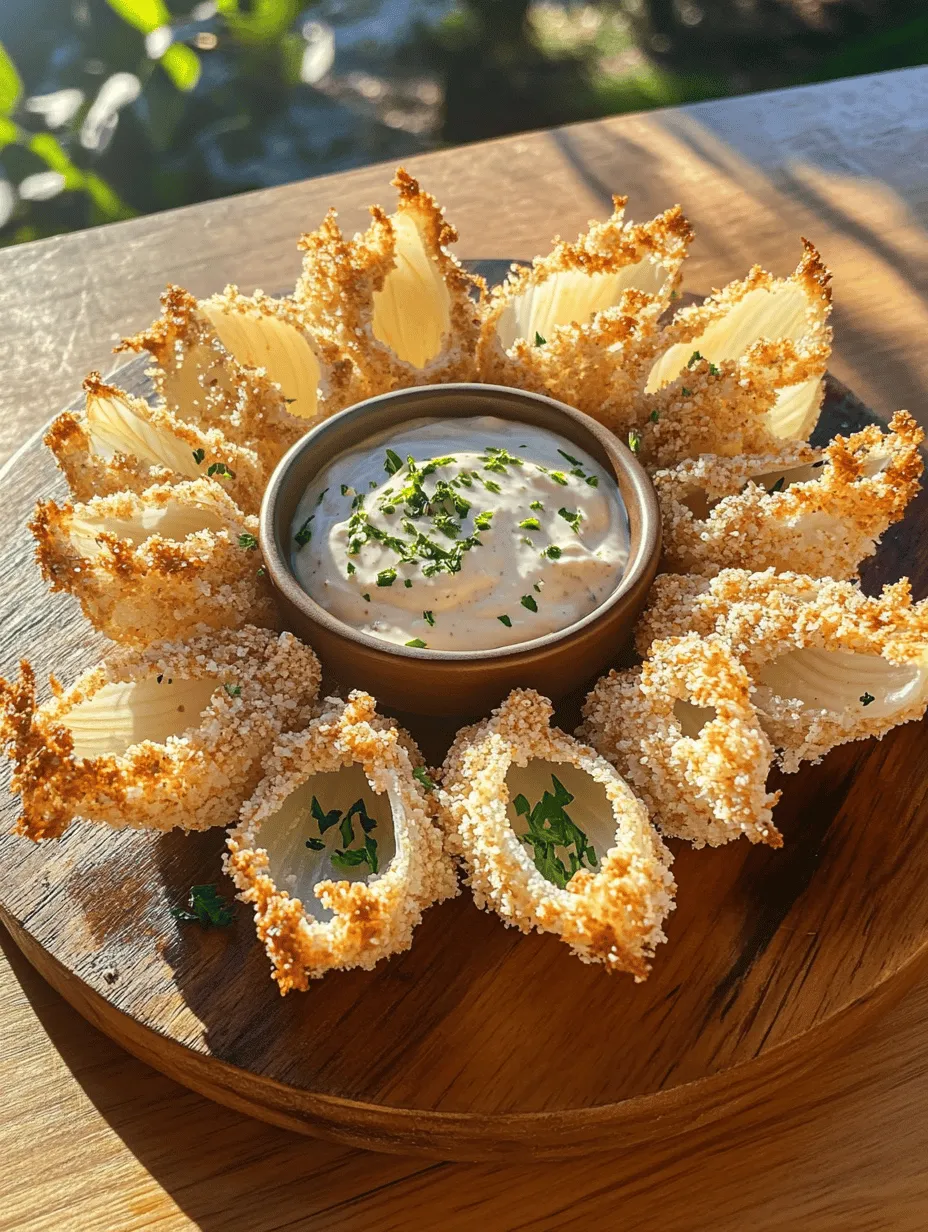
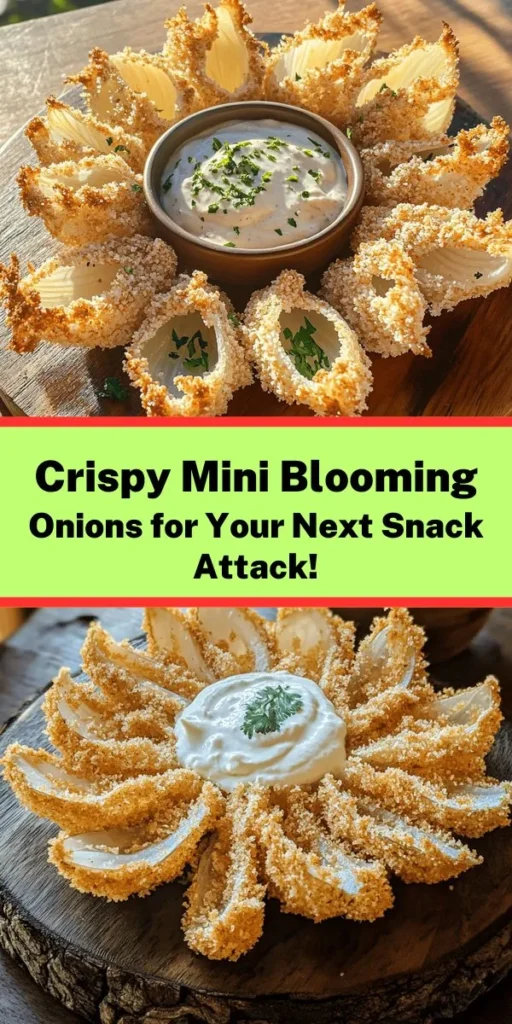
Appetizers can make or break a meal, setting the stage for the deliciousness to come. Among the myriad of options, crispy mini blooming onions stand out as a fun and enticing choice. Their captivating appearance and delightful crunch make them a favorite at gatherings, parties, and even casual dinners. Mini blooming onions are a delightful twist on the classic blooming onion, offering all the flavor and texture with a smaller, more manageable size that appeals to both children and adults alike.
What makes mini blooming onions so special is their versatility. They can serve as a standalone snack or be paired with a variety of dipping sauces, from classic ranch to zesty aioli. The combination of sweet onions, crispy coatings, and flavorful spices creates a mouthwatering appetizer that tantalizes the taste buds. In this article, we will delve into the origins of mini blooming onions, the ingredients that contribute to their unique flavor, and the step-by-step process to achieve the perfect crispy texture.
Understanding Mini Blooming Onions
The concept of blooming onions dates back to the 1980s when it was popularized by the Outback Steakhouse. Traditionally, a blooming onion is a large onion that has been cut to resemble a flower, battered, and deep-fried until golden brown. Mini blooming onions take this beloved dish and condense it into bite-sized pieces, making them perfect for sharing or enjoying solo.
The key to a successful mini blooming onion lies in the choice of onion. Sweet onions, such as Vidalia or Walla Walla, are preferred for this recipe due to their mild flavor and tender texture. These onions provide the perfect balance to the crispy coating, ensuring that each bite is a harmonious blend of flavors. The sweetness of the onion shines through the savory batter, creating a delightful contrast that keeps you coming back for more.
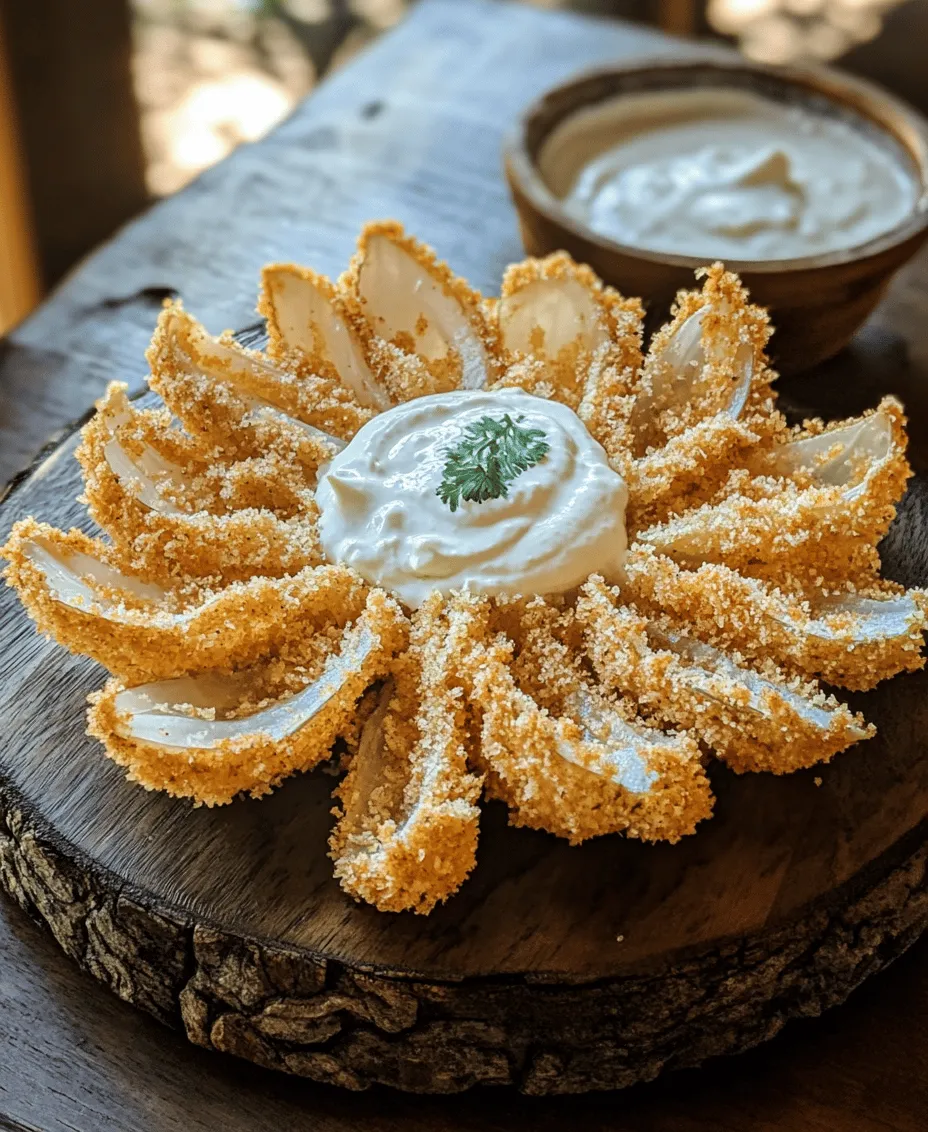
One of the most appealing aspects of crispy mini blooming onions is their texture. The outer coating is crispy and golden, while the inside remains soft and succulent. This contrast is essential in appetizers, as it adds an element of surprise to each bite. The crunch of the coating provides a satisfying experience, making mini blooming onions not just a treat for the palate but also for the senses.
Ingredient Breakdown
Sweet Onions
The star of our recipe is undoubtedly the sweet onion. Varieties like Vidalia, Walla Walla, or even Maui onions are ideal choices due to their natural sweetness. These onions are not only delicious but also less pungent than their yellow or white counterparts, making them more palatable for those sensitive to onion flavors. The sweetness of these onions enhances the overall taste of the dish, allowing the natural flavor to shine through even when coated in a crispy batter.
All-Purpose Flour
All-purpose flour serves as the foundation for the coating of our mini blooming onions. It is essential for creating a thick batter that adheres well to the onion’s surface. The flour not only helps in achieving a crispy texture when fried or baked but also absorbs moisture, allowing the coating to become crunchy when cooked. It is vital to ensure that the flour is evenly mixed with the spices to achieve uniform flavor throughout the coating.
Spices
To elevate the flavor of our mini blooming onions, we turn to a blend of spices that includes garlic powder, onion powder, paprika, cayenne pepper, salt, and black pepper. Each spice contributes its unique characteristics:
– Garlic powder adds a savory depth that complements the sweetness of the onion.
– Onion powder intensifies the onion flavor, creating a more robust taste experience.
– Paprika lends a mild smokiness and vibrant color to the coating.
– Cayenne pepper introduces a hint of heat, balancing the sweetness and providing a bit of kick.
– Salt enhances all the flavors, while black pepper adds a subtle spice that rounds out the seasoning.
This blend of spices ensures that every bite is bursting with flavor, making the mini blooming onions irresistible.
Buttermilk
Buttermilk plays a crucial role in this recipe, serving as a marinade that tenderizes the onions while infusing them with moisture and flavor. The acidity of buttermilk helps break down the onion’s fibrous structure, resulting in a softer interior. Moreover, it creates an ideal base for the flour and spices to adhere to, ensuring that the coating sticks well during cooking. If you don’t have buttermilk on hand, you can easily make a substitute by mixing regular milk with a splash of vinegar or lemon juice.
Panko Breadcrumbs
For that coveted crispy texture, panko breadcrumbs are the secret ingredient. Unlike traditional breadcrumbs, panko is made from crustless bread, resulting in larger, flakier particles that become exceptionally crispy when cooked. This light and airy texture allows the mini blooming onions to achieve that satisfying crunch, making them an addictive appetizer. When using panko, it is essential to ensure that it is evenly distributed over the onions to create a uniform coating.
Cooking Spray or Olive Oil
When it comes to cooking our mini blooming onions, we have two options: using cooking spray or olive oil. Cooking spray is a convenient choice, allowing for a light and even distribution of oil without adding excess fat. However, if you prefer the rich flavor of olive oil, it can be brushed or misted onto the onions before baking or frying. Both methods can yield delicious results, so feel free to choose the one that best suits your cooking preferences.
Preparation Steps
Step 1: Preparing the Onions for Blooming
To achieve the perfect mini blooming onion, the preparation of the onions is critical. Begin by selecting firm, fresh sweet onions. Once you have your onions, follow these steps:
1. Peel the Onions: Start by removing the outer skin of the onions. Be sure to peel them carefully to avoid any damage to the inner layers, as this will impact the blooming process.
2. Cut the Onions: Place the peeled onion on a cutting board, root side down. Using a sharp knife, make a series of vertical cuts from the top of the onion toward the root, ensuring not to cut all the way through. Aim for about 8-12 cuts, depending on the size of the onion. This technique is crucial for creating the blooming effect, allowing the petals to separate and expand during cooking.
3. Soak in Cold Water: Once the onions are cut, submerge them in a bowl of cold water for at least 30 minutes. Soaking helps the onion petals to open up and bloom, creating a beautiful flower-like appearance. It also removes some of the sharpness of the onion, enhancing its sweetness.
Step 2: Making the Perfect Coating
While the onions are soaking, it’s time to prepare the coating. The right coating will not only add flavor but also ensure that your mini blooming onions achieve that coveted crispy texture.
1. Mix the Dry Ingredients: In a large bowl, combine all-purpose flour with the spices: garlic powder, onion powder, paprika, cayenne pepper, salt, and black pepper. Whisk the ingredients together until they are evenly distributed. This step is crucial for ensuring that every bite of the coating is flavorful.
2. Prepare the Buttermilk Mixture: In a separate bowl, pour in the buttermilk. You can add a dash of hot sauce to the buttermilk if you want to introduce a little extra flavor and heat to the coating.
3. Achieving the Right Consistency: The dry mixture should be thick enough to coat the onions adequately but not so thick that it becomes a paste. Adjust the amount of buttermilk or flour as necessary to achieve this balance.
Step 3: The Breading Process Explained
Now that the onions are ready and the coating is prepared, it’s time to move on to the breading process:
1. Drain and Dry the Onions: After soaking, gently remove the onions from the cold water and shake off the excess moisture. Pat them dry with a paper towel to ensure that the coating adheres properly.
2. Coat with Flour Mixture: Take one onion at a time, and dip it into the flour mixture, ensuring that it is evenly coated. Shake off any excess flour before moving to the next step.
3. Dip in Buttermilk: Next, dip the floured onion into the buttermilk mixture, allowing it to soak briefly. This step is essential for ensuring the panko breadcrumbs stick well to the onion.
4. Coat with Panko Breadcrumbs: Finally, roll the buttermilk-coated onion in panko breadcrumbs, pressing gently to ensure that the breadcrumbs adhere well. Make sure to coat all sides thoroughly for an even crispiness.
5. Repeat for Remaining Onions: Continue this process until all your mini blooming onions are coated and ready for cooking.
By following these steps, you will create a batch of crispy mini blooming onions that are sure to impress your guests and satisfy your cravings. The combination of sweet onions, flavorful spices, and that irresistible crunch will make these a standout appetizer at any gathering. In the next part of this article, we will delve into the cooking methods, serving suggestions, and tips for ensuring your mini blooming onions turn out perfectly every time.
Importance of Drying the Onions Before Breading
One of the key steps in achieving crispy mini blooming onions is ensuring that the onions are thoroughly dried before breading. When onions retain moisture, it can lead to a soggy coating that fails to achieve the desired crunch. To properly dry the onions, it is advisable to pat them down with paper towels after rinsing. This step is crucial as it allows the flour and panko to adhere better, creating a crispier and more satisfying texture.
Techniques for Ensuring Even Coating with Flour and Panko
Achieving an even coating on your blooming onions is essential for a consistent texture and flavor. Here are some effective techniques:
1. Use a Three-Bowl Method: Set up three bowls: one with flour, one with beaten eggs, and one with a mixture of panko breadcrumbs and seasonings. This streamlined approach allows you to dip the onions sequentially and ensures each layer is applied evenly.
2. Shake Off Excess Flour: After dipping the onions in flour, gently shake off any excess before moving to the egg wash. This prevents clumping and ensures a smooth layer for the panko to stick.
3. Press and Rotate: When coating the onions in panko, make sure to press down gently while rotating them. This technique helps the breadcrumbs adhere better and ensures that every crevice is covered.
4. Double-Dip for Extra Crispiness: For an even thicker coating, consider double-dipping the onions. After the first round of panko, return them to the egg wash and then back into the panko for a second coating.
Tips for Achieving Maximum Crispiness
To ensure your mini blooming onions are not just crispy but perfectly golden brown, keep the following tips in mind:
1. Panko Over Regular Breadcrumbs: Always opt for panko breadcrumbs instead of traditional breadcrumbs. Panko is lighter and airier, which results in a crunchier texture when cooked.
2. Oil Misting: Lightly mist your onions with oil before they go into the air fryer. This not only enhances browning but also contributes to a delightful crunch.
3. Don’t Overcrowd the Air Fryer: While it may be tempting to cook multiple onions at once, overcrowding can lead to uneven cooking and steaming rather than crisping. Ensure there is ample space between each onion to allow hot air to circulate freely.
Cooking the Mini Blooming Onions
Preheating the Air Fryer
Preheating your air fryer is a critical step in the cooking process. By preheating, you ensure the cooking chamber reaches the desired temperature before adding your food, which is essential for achieving that crispy texture. This initial heat helps to form a crust quickly, sealing in moisture and preventing the onions from becoming soggy during the cooking process. Aim for a preheat temperature of around 375°F (190°C) for optimal results.
Arranging and Cooking the Onions
Once your air fryer is preheated, it’s time to arrange your onions. Follow these best practices for spacing in the air fryer basket:
1. Leave Space Between Each Onion: Arrange the onions in a single layer with some space between them. This allows the hot air to circulate around each onion, which is essential for even cooking.
2. Use a Non-Stick Spray: Lightly spray the air fryer basket with a non-stick cooking spray to prevent sticking and enhance crispiness.
3. Misting for Even Browning: After arranging the onions, mist them lightly with olive oil or cooking spray. This will help them brown evenly and create that irresistible crunch.
Timing and Checking for Doneness
Cooking times may vary based on the size of your onions and the air fryer model, but generally, mini blooming onions require about 10-15 minutes to achieve the perfect crispiness. Here are signs to look for to ensure they are done:
1. Golden Brown Color: The onions should achieve a rich golden brown hue. If they are too light, they may need additional time.
2. Crisp Texture: Gently tap the surface of the onions with a fork or a toothpick. They should feel crispy on the outside.
3. Internal Tenderness: Using a fork, check the interior of the onion. It should be tender and cooked through without being mushy.
Serving Suggestions
Crispy mini blooming onions make for an excellent appetizer or snack. Here are some ideas for complementary dipping sauces that can elevate your dish:
Classic Options
1. Ranch Dressing: A classic pairing with crispy fried foods, ranch dressing offers a creamy and tangy flavor that balances the richness of the onions.
2. Spicy Mayo: Mix mayonnaise with sriracha or your favorite hot sauce for a kick that complements the savory notes of the onions.
Adventurous Sauces
1. Garlic Aioli: Create a garlicky aioli by blending mayonnaise with roasted garlic, lemon juice, and a hint of Dijon mustard for a gourmet touch.
2. Honey Mustard: A mix of honey and Dijon mustard creates a sweet and tangy sauce that pairs wonderfully with the deep-fried onions.
Presentation Tips for Serving
How you present your mini blooming onions can make a significant difference in your guest’s dining experience. Consider these presentation tips:
1. Use a Rustic Platter: A wooden or slate platter adds an inviting touch, perfect for casual gatherings.
2. Garnish with Fresh Herbs: Sprinkle chopped parsley or chives around the onions for a pop of color and freshness.
3. Serve with a Variety of Dips: Arrange several dipping sauces in small bowls around the platter, allowing your guests to choose their favorites.
Nutritional Insights
Mini blooming onions can be a delightful indulgence, but it’s essential to consider their nutritional content. While they’re not the healthiest option, moderation is key.
1. Overview of Nutritional Content: One serving of mini blooming onions typically contains around 150-200 calories, depending on the amount of oil used and the size of the onions. They also provide a small amount of fiber and micronutrients from the onions.
2. Balance Between Indulgence and Moderation: Enjoying these crispy treats as an occasional snack or appetizer during gatherings can fit into a balanced diet. Pair them with fresh vegetables or a light salad to round out the meal.
3. Healthier Variations: For a healthier twist, consider baking instead of air frying, reducing the amount of oil used, or opting for whole wheat panko to increase fiber content.
Conclusion
Crispy mini blooming onions are an irresistible snack that brings a touch of fun to any appetizer spread. Their delightful crunch and savory flavor make them perfect for gatherings, game days, or simply a cozy night in. The simplicity of the recipe, combined with the potential for customization, allows you to adjust the flavors and presentation to your liking.
We encourage you to try making these crispy mini blooming onions at home. With a few simple steps and the right techniques, you’ll impress your family and friends with this crowd-pleasing dish that elevates any occasion. Whether served alongside classic dips or adventurous sauces, these mini blooming onions are sure to be a hit at your next gathering. Enjoy the process and savor every crispy bite!
Crispy Mini Blooming Onions in Air Fryer
Ingredients