

Introduction
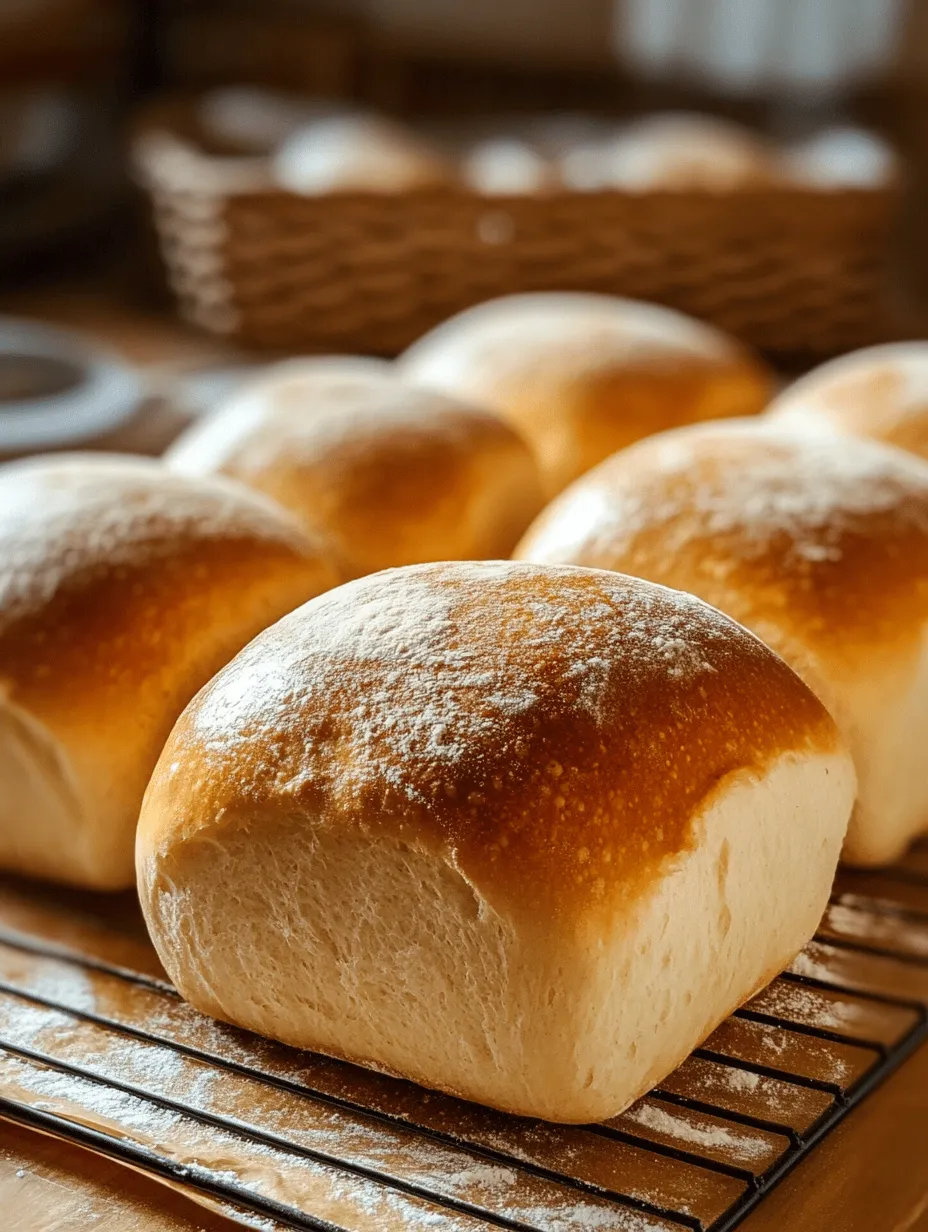
There’s something magical about the aroma of freshly baked bread wafting through your home. The process of baking bread is not just about creating a delicious staple; it’s an experience that invokes joy and satisfaction. From the moment you mix the ingredients to the time you slice into the warm, crusty loaf, baking bread is a journey filled with anticipation and delight. In this article, we will introduce you to our recipe for Freshly Baked Delight, a simple yet rewarding bread recipe that will elevate your baking skills and impress your family and friends.
Homemade bread brings with it a sense of accomplishment and a taste that far exceeds anything you can find in the store. The key to successful bread-making lies in the quality of your ingredients and the techniques you employ. Understanding the fundamentals of baking will not only help you create a perfect loaf but will also allow you to experiment and develop your own variations. We’ll explore the science behind bread baking, the importance of fresh ingredients, and how to harness the power of yeast for a perfect rise.
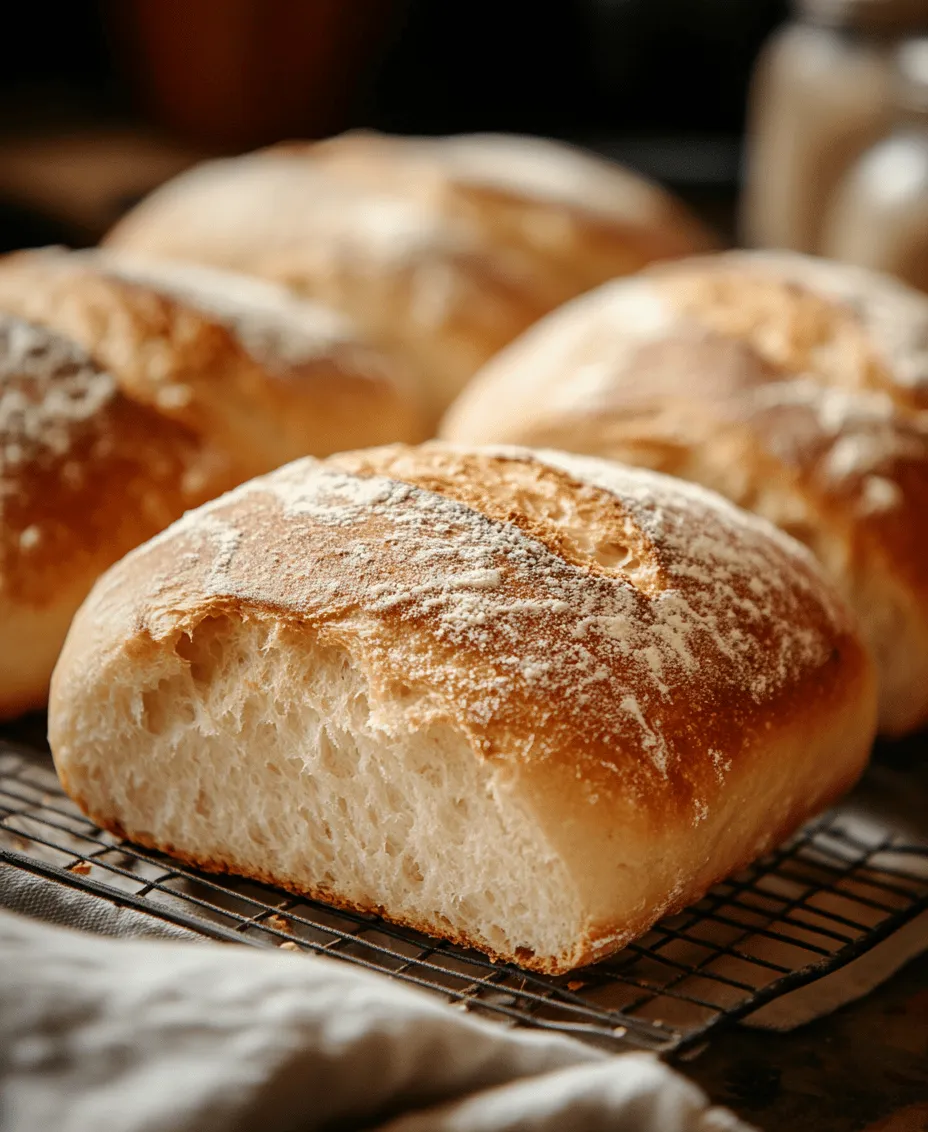
The benefits of homemade bread are numerous. Not only do you have complete control over what goes into your loaf, allowing you to avoid preservatives and additives, but you also have the opportunity to customize flavors and textures to your liking. Whether you prefer a soft, tender crumb or a rustic, crusty exterior, baking your own bread allows for creativity and personalization. Let’s dive into the process of making your very own Freshly Baked Delight.
Understanding the Basics of Bread Baking
The Science of Bread: How Yeast Works
At the heart of bread baking is yeast, a living organism that plays a crucial role in leavening dough. When yeast is combined with warm water and sugar, it begins to feed and reproduce, producing carbon dioxide gas as a byproduct. This gas gets trapped in the dough, causing it to rise and develop that delightful texture we all love in bread. Understanding how yeast works is essential for mastering bread baking.
Yeast thrives in warm, moist environments; typically, a temperature range of 100°F to 110°F is ideal for activation. If the water is too hot, it can kill the yeast; too cold, and the yeast won’t activate properly, leading to a dense loaf. The balance of warmth, time, and ingredients is what transforms simple components into a fluffy masterpiece.
Ingredient Breakdown: Importance of Each Ingredient in the Recipe
1. All-Purpose Flour: The backbone of our Freshly Baked Delight, all-purpose flour contains a balanced amount of protein, which contributes to gluten formation. Gluten is essential for the structure and texture of the bread, allowing it to rise and maintain its shape.
2. Water: Hydration is crucial in bread-making. Water activates the yeast and hydrates the flour, allowing gluten to develop. The right amount of water will lead to a moist crumb and a tender loaf.
3. Sugar: While sugar is often associated with sweetness, in bread-making, it serves multiple purposes. It feeds the yeast, helping it grow and produce more gas, and aids in browning the crust during baking, enhancing the flavor and appearance.
4. Salt: Salt is not just for seasoning; it strengthens gluten and controls yeast activity. Without salt, the bread can rise too quickly, resulting in a poor structure and unpleasant flavor.
5. Yeast: The star of the show, yeast is responsible for fermentation and leavening. Whether you choose active dry yeast or instant yeast, understanding how to proof and incorporate it is vital for success.
6. Olive Oil (Optional): Adding olive oil enhances the flavor and contributes to a softer crumb. It also helps keep the bread fresher for longer. While optional, it can elevate the overall quality of your loaf.
The Role of Temperature: How Warmth Affects Yeast Activation
Temperature is a crucial element in the bread-making process. As previously mentioned, yeast is most active at warm temperatures, which is why proofing it in warm water is the first step. However, temperature also plays a role during fermentation and baking.
During the first rise, a warm environment encourages yeast activity, leading to a light and airy loaf. If your kitchen is cool, you can create a warm spot by placing the dough in a turned-off oven with the light on or by covering it with a damp cloth to retain heat.
When it comes to baking, the initial heat helps the bread rise quickly in a process called “oven spring.” This burst of activity allows the loaf to achieve its final volume and create an appealing crust. Understanding the relationship between temperature and yeast will enhance your baking skills significantly.
Ingredients for Freshly Baked Delight
Detailed List of Ingredients with Descriptions
To create your own Freshly Baked Delight, you will need the following ingredients:
– 4 cups all-purpose flour: This will form the base of your bread, providing the necessary gluten structure.
– 1 ½ cups warm water (100°F to 110°F): Essential for activating the yeast and hydrating the flour.
– 2 tablespoons sugar: This will feed the yeast and enhance browning in the crust.
– 2 teaspoons salt: Important for flavor and controlling yeast activity.
– 2 ¼ teaspoons active dry yeast (or 1 packet): The leavening agent that will help your bread rise.
– 2 tablespoons olive oil (optional): Adds richness and can improve the shelf life of your bread.
The Significance of Each Ingredient
Each ingredient in this recipe plays a vital role in achieving the perfect loaf. The all-purpose flour provides the structure necessary for a good rise, while sugar acts as food for the yeast, ensuring a successful fermentation. Salt not only enhances flavor but also fortifies the gluten, leading to better texture.
Water is perhaps the most important ingredient in bread-making. The right hydration level will determine the dough’s consistency and the final crumb of the bread. Too little water will result in a dry loaf, while too much can make it overly sticky and hard to handle.
Olive oil, while optional, brings a wonderful flavor and a tender crumb to the bread. It can also impart a subtle richness that elevates the overall taste, making your Freshly Baked Delight not just a staple, but a highlight of your meals.
Optional Ingredients: Discussing the Use of Olive Oil for Added Richness
While the basic recipe for Freshly Baked Delight is simple and straightforward, incorporating optional ingredients can take your bread to the next level. Olive oil is a fantastic choice for adding depth of flavor and a moist texture.
You can also experiment with herbs, spices, or even cheeses to create a customized loaf that reflects your personal taste. Consider adding rosemary for a fragrant twist or a sprinkle of garlic powder for an aromatic touch. The beauty of baking bread at home is the freedom to innovate and create flavors that suit your palate.
Step-by-Step Instructions for Perfect Bread
Proofing the Yeast: Understanding the Importance of This Step
The first step in creating your Freshly Baked Delight is to proof the yeast. This is a critical step that ensures your yeast is alive and active, ready to help your dough rise.
To proof the yeast, combine the warm water and sugar in a small bowl. Sprinkle the yeast over the water and stir gently to combine. Allow the mixture to sit for about 5-10 minutes. You’ll know it’s ready when it becomes frothy and bubbly, indicating that the yeast is active. If your mixture doesn’t froth, it may mean that your yeast is expired or that the water was too hot or too cold. In this case, you’ll need to start over with a fresh batch.
Mixing the Dry Ingredients: Techniques for Proper Incorporation
While your yeast is proofing, you can prepare the dry ingredients. In a large mixing bowl, combine the all-purpose flour and salt. It’s essential to mix the salt into the flour before adding the yeast mixture, as direct contact between salt and yeast can hinder yeast activity.
Using a whisk, ensure that the flour and salt are evenly incorporated. This step is important to achieve a uniform texture in your bread.
Combining Mixtures: Creating the Perfect Dough Consistency
Once your yeast is proofed, it’s time to combine the wet and dry ingredients. Create a well in the center of the flour mixture and pour in the yeast mixture along with the olive oil, if using.
Using a spatula or wooden spoon, gently stir the mixture until it begins to come together. The dough should be slightly sticky but still manageable. If it’s too wet, you can gradually add a little more flour, but be cautious not to add too much, as this can result in a dense loaf.
Kneading Techniques: How to Achieve the Right Texture and Elasticity
Kneading is a crucial step in bread-making that develops gluten and gives the bread its structure. Once your dough has formed, turn it out onto a lightly floured surface.
To knead, press the dough with the heel of your hand, fold it over, and then turn it a quarter turn. Repeat this process for about 8-10 minutes, or until the dough becomes smooth and elastic. You can perform the “windowpane test” to check if your dough is ready: stretch a small piece of dough between your fingers. If it stretches thin enough to let light through without tearing, it’s ready for the next step.
The First Rise: What to Look For and How to Create Ideal Rising Conditions
After kneading, shape the dough into a ball and place it in a lightly greased bowl. Cover it with a damp cloth or plastic wrap to prevent it from drying out.
The first rise is where the magic happens. Find a warm, draft-free area for your dough to rise. Ideally, the dough should double in size within 1-2 hours. Look for a puffed appearance and a dough that feels airy and light to the touch. If your kitchen is cool, consider placing the bowl in an oven with the light on or near a warm window to create the ideal conditions for rising.
By following these initial steps, you are laying the groundwork for a delightful loaf of freshly baked bread. In the next part of this article, we will delve into the remaining steps of the baking process, guiding you toward the perfect finish for your Freshly Baked Delight. Stay tuned as we continue to explore the art of bread-making and unlock the secrets to achieving bakery-quality results right in your own kitchen.
Simple Homemade Bread
Ingredients