
Introduction
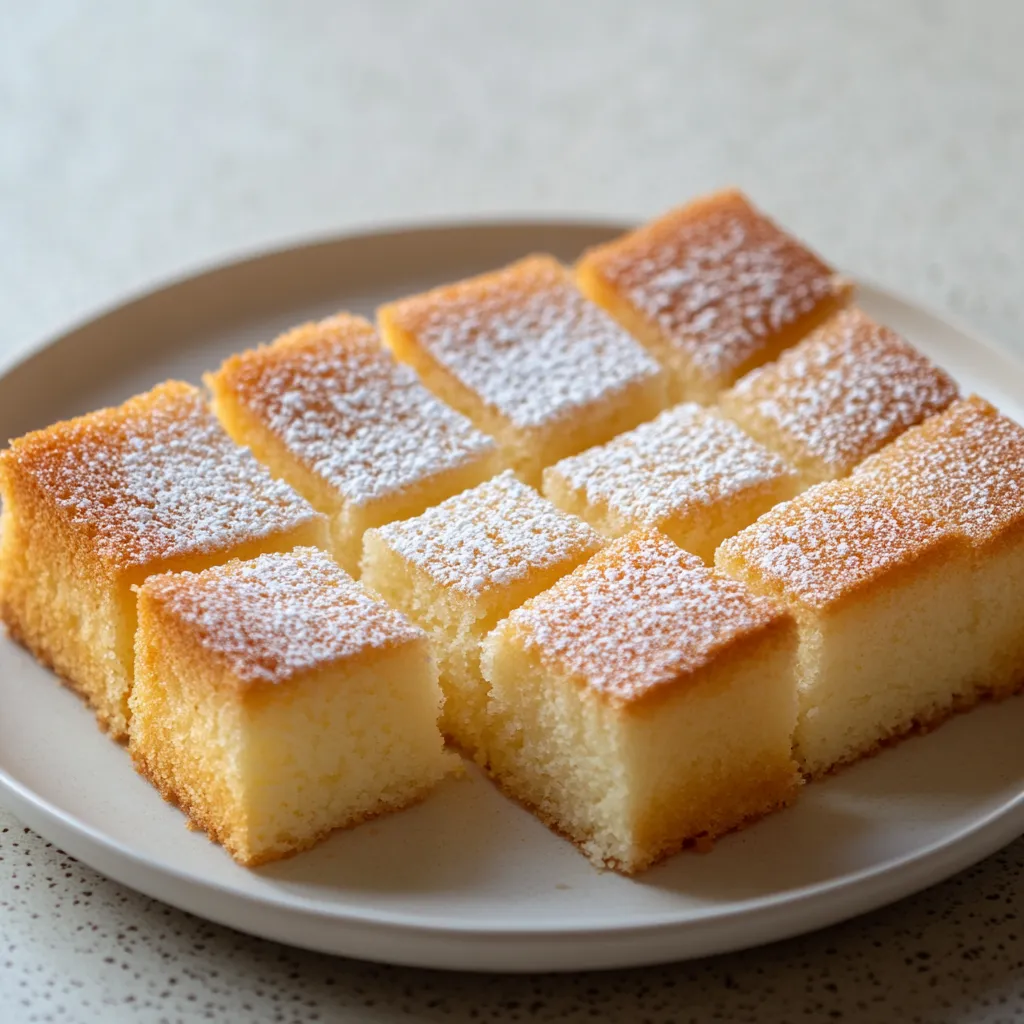
In the world of desserts, a soft and delicious cake stands out as a classic favorite. This American-style cake is not only easy to prepare but also incredibly satisfying to enjoy, making it a perfect choice for any occasion. Whether it’s a birthday party, a family gathering, or simply a sweet treat for yourself, this cake is sure to impress with its delightful texture and flavor. The combination of buttery richness and the light sweetness makes each bite a comforting experience that evokes fond memories of classic home-baked treats.
One of the best aspects of this recipe is its versatility. While it shines on its own, it also serves as a fantastic canvas for various toppings and frostings, allowing you to customize it to your personal taste. Serve it warm with a sprinkle of powdered sugar, or pair it with a dollop of whipped cream and fresh berries for a charming dessert that’s both simple and elegant. No matter how you choose to enjoy it, each slice promises to deliver a heartwarming taste of nostalgia while delighting your palate.
Recipe Overview
– Prep Time: 15 minutes
– Cook Time: 30 minutes
– Total Time: 45 minutes
– Course: Dessert
– Cuisine: American
– Servings: 12
– Calories: Approximately 250 per serving
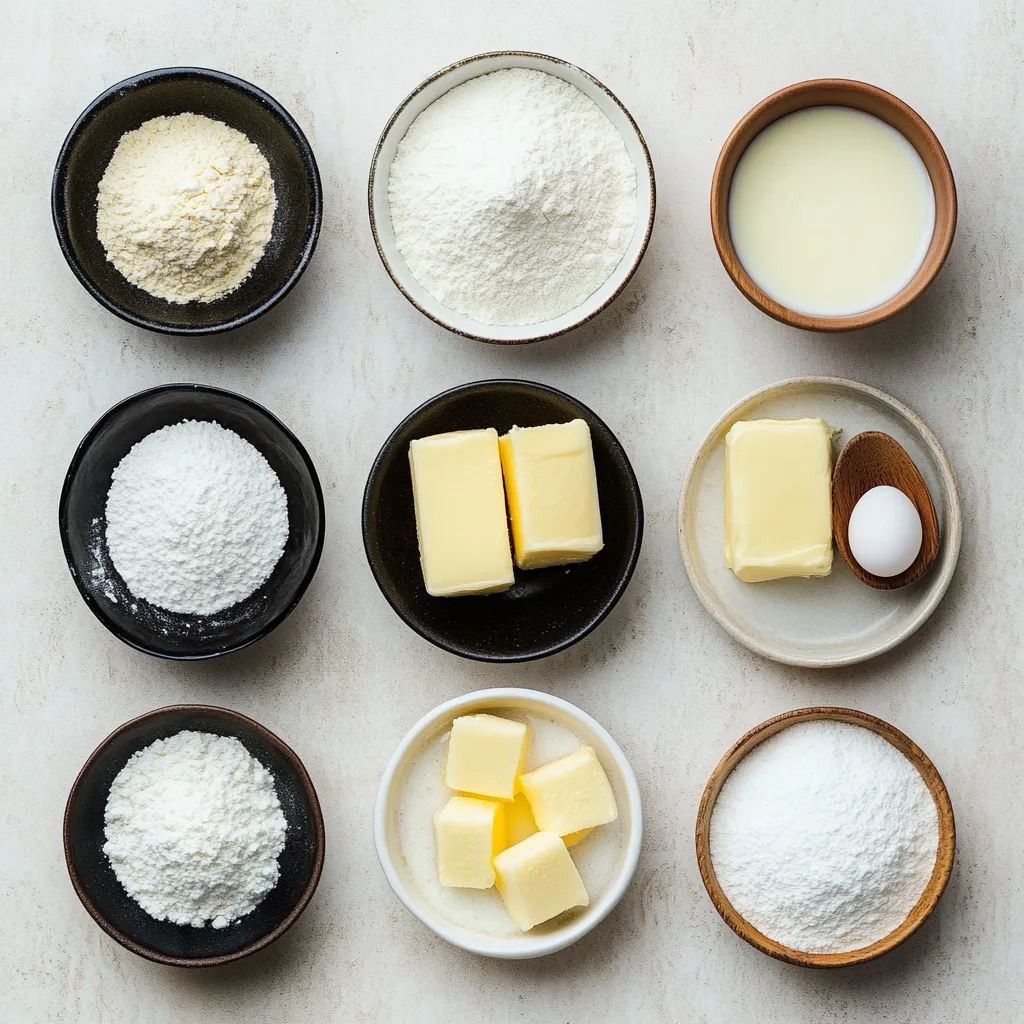
Ingredients
– 2 cups all-purpose flour
– 1 cup granulated sugar
– 1/2 cup unsalted butter, softened to room temperature
– 1 cup whole milk
– 2 large eggs
– 1 tablespoon baking powder
– 1 teaspoon pure vanilla extract
– 1/2 teaspoon fine sea salt
Instructions
1. Begin by preheating your oven to 350°F (175°C). Prepare a 9×13 inch baking pan by greasing it lightly to prevent sticking.
2. In a large mixing bowl, use a hand mixer or stand mixer to cream together the softened butter and granulated sugar. Beat the mixture until it becomes light and fluffy, which should take about 3-5 minutes.
3. Add the eggs to the butter-sugar mixture one at a time, ensuring each egg is fully incorporated before adding the next. Follow this by stirring in the pure vanilla extract until well blended.
4. In a separate bowl, combine the all-purpose flour, baking powder, and fine sea salt. Whisk the dry ingredients together until evenly mixed.
5. Gradually incorporate the dry ingredients into the wet mixture, alternating with the whole milk. Start and end with the dry ingredients, mixing gently until just combined. Avoid overmixing to keep the cake tender.
6. Pour the batter into the prepared baking pan, using a spatula to spread it evenly across the surface.
7. Place the pan in the preheated oven and bake for 25-30 minutes. The cake is done when a toothpick inserted into the center comes out clean or with a few moist crumbs.
8. Once baked, remove the cake from the oven and allow it to cool in the pan for about 10 minutes. After that, carefully transfer it to a wire rack to cool completely.
9. Once cooled, slice the cake into squares and serve it warm or at room temperature for the best flavor.
Preparation Steps
Preheating the Oven
Preheating your oven is a critical first step in baking the perfect cake. When the oven reaches the desired temperature of 350°F (175°C), it creates a consistent heat that is essential for even cooking. A proper preheat ensures that your cake starts baking right away, which helps maintain its fluffiness. While your oven is preheating, take a moment to prepare your 9×13 inch baking pan. Grease it lightly to promote easy release of the cake once it’s baked. Using butter or baking spray is common, and make sure to cover the entire base and sides of the pan to prevent any sticking.
Creaming the Butter and Sugar
The technique of creaming butter and sugar together is fundamental in many baking recipes; it’s where magic starts to happen. When you cream these ingredients, the butter traps air, which gives your cake its light texture. Using a hand or stand mixer, beat together the softened unsalted butter and granulated sugar for about 3-5 minutes until the mixture turns light and fluffy. The sugar granules help to cut through the fat of the butter, creating a fluffier texture. Perfecting this step not only contributes to a well-risen cake but also enhances the overall flavor profile, providing a deliciously sweet base for your batter.
Adding Eggs and Vanilla
Incorporating the eggs one at a time into your butter-sugar mixture is essential for ensuring proper emulsification. Each egg adds moisture and structure to your cake, and adding them separately allows for better integration and prevents the mixture from curdling. After the eggs are fully blended in, introduce the pure vanilla extract. Vanilla is much more than just a flavoring agent; it brings warmth and depth to your cake that transforms it from simple to extraordinary. The aroma of vanilla wafting through your kitchen as you mix enhances the entire baking experience, making it even more delightful.
Mixing Dry Ingredients
Next comes the incorporation of the dry ingredients. In a separate bowl, whisk together the all-purpose flour, baking powder, and fine sea salt. Mixing these components evenly is crucial for achieving a uniform cake. The baking powder will activate during baking, providing lift and lightness, while the fine sea salt enhances the sweetness of the cake without being overpowering. Be sure to avoid clumping by whisking vigorously; this will ensure that the leavening agent is evenly distributed, leading to a cake that bakes consistently and rises perfectly.
Combining Wet and Dry Ingredients
When it’s time to bring the wet and dry mixtures together, do so gradually. Alternate adding the dry ingredients with the whole milk, starting and ending with the flour mixture. This technique helps the flour to absorb moisture gradually, which aids in maintaining the cake’s tender crumb. Overmixing at this stage can lead to a dense texture, so mix gently and only until you see that the ingredients are just combined. The batter should remain slightly lumpy, and it’s perfectly fine for there to be a few streaks of flour remaining.
Pouring the Batter
Once your batter is well-prepared, the next step is to pour it into your greased baking pan. Using a spatula, spread the batter evenly to ensure that the cake will rise uniformly. This step is essential because uneven batter distribution can lead to uneven baking, resulting in a cake that is perhaps burnt on one side while remaining undercooked on the other. A well-distributed batter guarantees even heat flow and allows the cake to bake to perfection.
Baking the Cake
Determining Baking Time
The final step before enjoying your beautifully crafted cake is to bake it in the preheated oven. The baking time will typically be between 25-30 minutes. To determine if your cake is ready, perform the toothpick test: insert a toothpick into the center of the cake. When you pull it out, it should come out clean or with a few moist crumbs attached, but not wet batter. This technique is a classic method to ensure that the cake is fully baked but retains moisture, producing that tender texture you desire.
Cooling Process
After pulling your cake out of the oven, allow it to cool in the pan for about 10 minutes. This resting period helps to settle the cake and makes transferring it to a wire rack much easier, reducing the risk of damaging the cake’s structure. Once transferred, let it cool completely before slicing into squares to serve. Cooling the cake thoroughly not only ensures that each piece holds its shape but also intensifies the flavors, making for a much more enjoyable dessert experience.
Understanding why letting the cake cool in the pan and then transferring it to a wire rack is essential for the best results
Letting the cake cool in its pan for about 10 minutes before transferring it to a wire rack is crucial for achieving the perfect texture and maintaining its structural integrity. The initial cooling period allows the cake to firm up slightly, preventing it from crumbling when removed from the pan. Such actions also ensure that moisture is retained, resulting in a tender crumb. The wire rack facilitates even cooling, as it allows air to circulate around the entire cake, preventing sogginess on the bottom. This cooling process elevates the quality of the final dessert, making each slice wonderfully soft and fluffy.
Cutting and Serving
When it comes to serving this delightful cake, uniformity in slicing ensures an appealing presentation and provides guests with consistent portions. A serrated knife works best for cutting cakes, as it can glide smoothly through the soft texture without compressing the cake. For clean cuts, it is a good idea to wipe the knife with a damp cloth between slices.
Offering the cake warm or at room temperature can significantly enhance the experience. Serving it warm allows for the butter to be slightly melty, enhancing the flavor, while room temperature provides a softer texture that many cake enthusiasts prefer. Consider pairing your slices with a cup of tea or coffee for an inviting dessert experience.
Optional Presentation Tips
Dusting with Powdered Sugar
One of the simplest yet most effective ways to elevate your cake’s appearance is a dusting of powdered sugar. This not only adds an elegant touch but also enhances the dessert’s overall flavor profile without overwhelming it. A fine sieve works well to sprinkle a light and even layer across the top of the cake. For added flair, consider placing a doily beneath the sieve while dusting, creating a beautiful pattern that adds visual interest to your dessert.
Serving Suggestions
Enhancing your cake’s appeal with whipped cream and fresh berries can create a vibrant, mouth-watering contrast that excites the palate. A dollop of lightly sweetened whipped cream complements the cake’s sweetness while fresh berries can introduce a hint of tartness, balancing the flavors. Raspberries, blueberries, or strawberries are particularly popular choices. For an impressive presentation, consider arranging the berries atop the cake or serving them alongside on the plate.
Flavor Profile
Sweetness Level
This cake showcases a balanced sweetness that appeals to a wide range of tastes. With the inclusion of granulated sugar, the flavor does not overpower but instead complements the inherent richness of the butter and the creaminess of the whole milk. This moderate sweetness makes a versatile base that can harmonize beautifully with various toppings and accompaniments, from zesty fruits to creamy frostings.
Texture Dynamics
One of the hallmarks of this cake is its light and airy texture, achieved through proper mixing techniques and ingredient selection. The creaming method, where softened butter and sugar are whipped together until fluffy, introduces tiny air pockets, giving the cake its lift. Maintaining a gentle hand when mixing the batter is essential to ensure the air is not knocked out, resulting in a tender crumb that melts in your mouth.
Storage Tips
Best Practices for Storing Cake
To preserve the moisture and flavor of any leftover cake, ensure it is completely cooled before storing. Wrap individual pieces in plastic wrap or foil, or place the entire cake in an airtight container. This helps to seal in moisture and prevent it from drying out. Properly stored, the cake can last on the countertop for up to three days. If you wish to keep it longer, consider freezing.
Freezing the Cake
Freezing is an excellent option for extending the cake’s shelf life without compromising its rich texture and taste. Begin by allowing the cake to cool completely. Then, wrap it tightly in plastic wrap and perhaps in aluminum foil for an extra layer of protection against freezer burn. It’s advisable to label the container with both the date and the type of cake for easy identification. This cake can be frozen for up to three months; when ready to enjoy, simply thaw it out in the refrigerator overnight for the best results.
Common Mistakes to Avoid
Overmixing the Batter
One of the common pitfalls when making this type of cake is overmixing the batter. Overmixing develops the gluten in the flour, leading to a dense, heavy cake rather than the light and tender texture desired. To avoid this, mix the wet and dry ingredients until just combined, ensuring not to see any dry flour pockets while keeping the batter somewhat lumpy is perfectly acceptable.
Incorrect Oven Temperature
Accurate oven temperature is crucial for successful baking. An oven that runs hot may cause the cake to bake too quickly on the outside while leaving the interior undercooked, leading to an undesirable outcome. Conversely, an oven that is too cool might not provide the necessary heat to rise properly. To ensure consistent results, using an oven thermometer can help monitor and adjust the temperature accordingly, promoting even baking across all cakes.
Variations to Try
Flavor Infusions
For those looking to customize this cake, consider various flavor variations. Adding lemon zest can introduce a refreshing citrus note that complements the cake’s sweetness, while using almond extract instead of vanilla can impart a subtle, nutty flavor. Simply substitute a portion of the vanilla in the recipe to explore these delightful twists.
Add-ins and Toppings
To create unique cake experiences, explore the possibility of adding fruits, nuts, or chocolate chips to the batter. Incorporating blueberries or chopped walnuts can enhance both flavor and texture, adding bursts of flavor and a pleasant crunch. Top with a buttercream frosting or a simple glaze for additional sweetness, making each variation distinct and exciting.
Conclusion
This soft and delicious American cake combines a sweet flavor with an airy texture, making it a hit for any dessert lover. With a total time of just 45 minutes from prep to serve, this cake is both convenient and satisfying for gatherings or simply enjoying at home. Its versatility offers ample opportunity for creative modifications while remaining a classic choice for any occasion.

Soft and Delicious Cake Recipe: A Classic American Dessert
Ingredients
- 2 cups all-purpose flour
- 1 cup granulated sugar
- ½ cup unsalted butter softened
- 1 cup whole milk
- 2 large eggs
- 1 tablespoon baking powder
- 1 teaspoon pure vanilla extract
- ½ teaspoon fine sea salt
Instructions
- Preheat your oven to 350°F (175°C) and grease a 9x13 inch baking pan.
- Cream together the softened butter and granulated sugar until light and fluffy, about 3-5 minutes.
- Add the eggs one at a time, mixing well after each addition, then stir in the vanilla extract.
- In a separate bowl, whisk together the flour, baking powder, and sea salt.
- Gradually mix the dry ingredients into the wet mixture, alternating with the milk, starting and ending with dry ingredients.
- Pour the batter into the prepared pan and spread it evenly.
- Bake for 25-30 minutes until a toothpick comes out clean.
- Cool in the pan for 10 minutes, then transfer to a wire rack to cool completely.
- Slice into squares and serve warm or at room temperature.